This month has been a roller-coaster for EXO-Ls. We got a new sub-unit, we got a solo album, we lost another member to the military and we got a new concert. The concert I won’t be talking too much about because I’ve only seen bits of it (which I really enjoyed!). So let’s start.
In the beginning of the month, D.O. went into the military. On the first of July he also dropped a solo song as a goodbye for his fans. It was beautiful and every time I listen to it I feel like he is patting me on the back and telling me that everything will be alright, part of the song says 괜찮아 which means That’s Okay and that is also the name of the song.
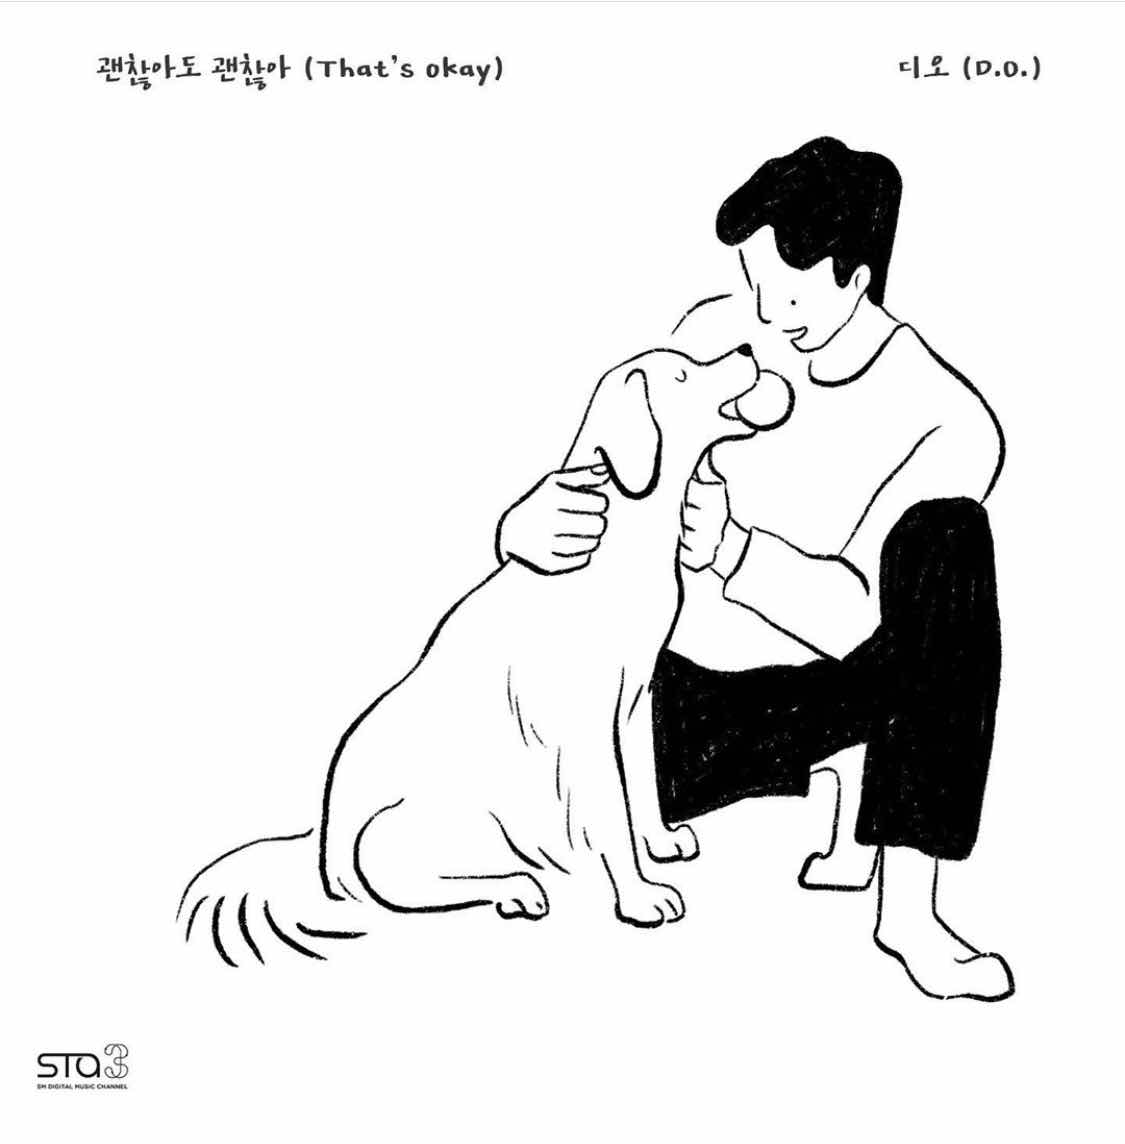

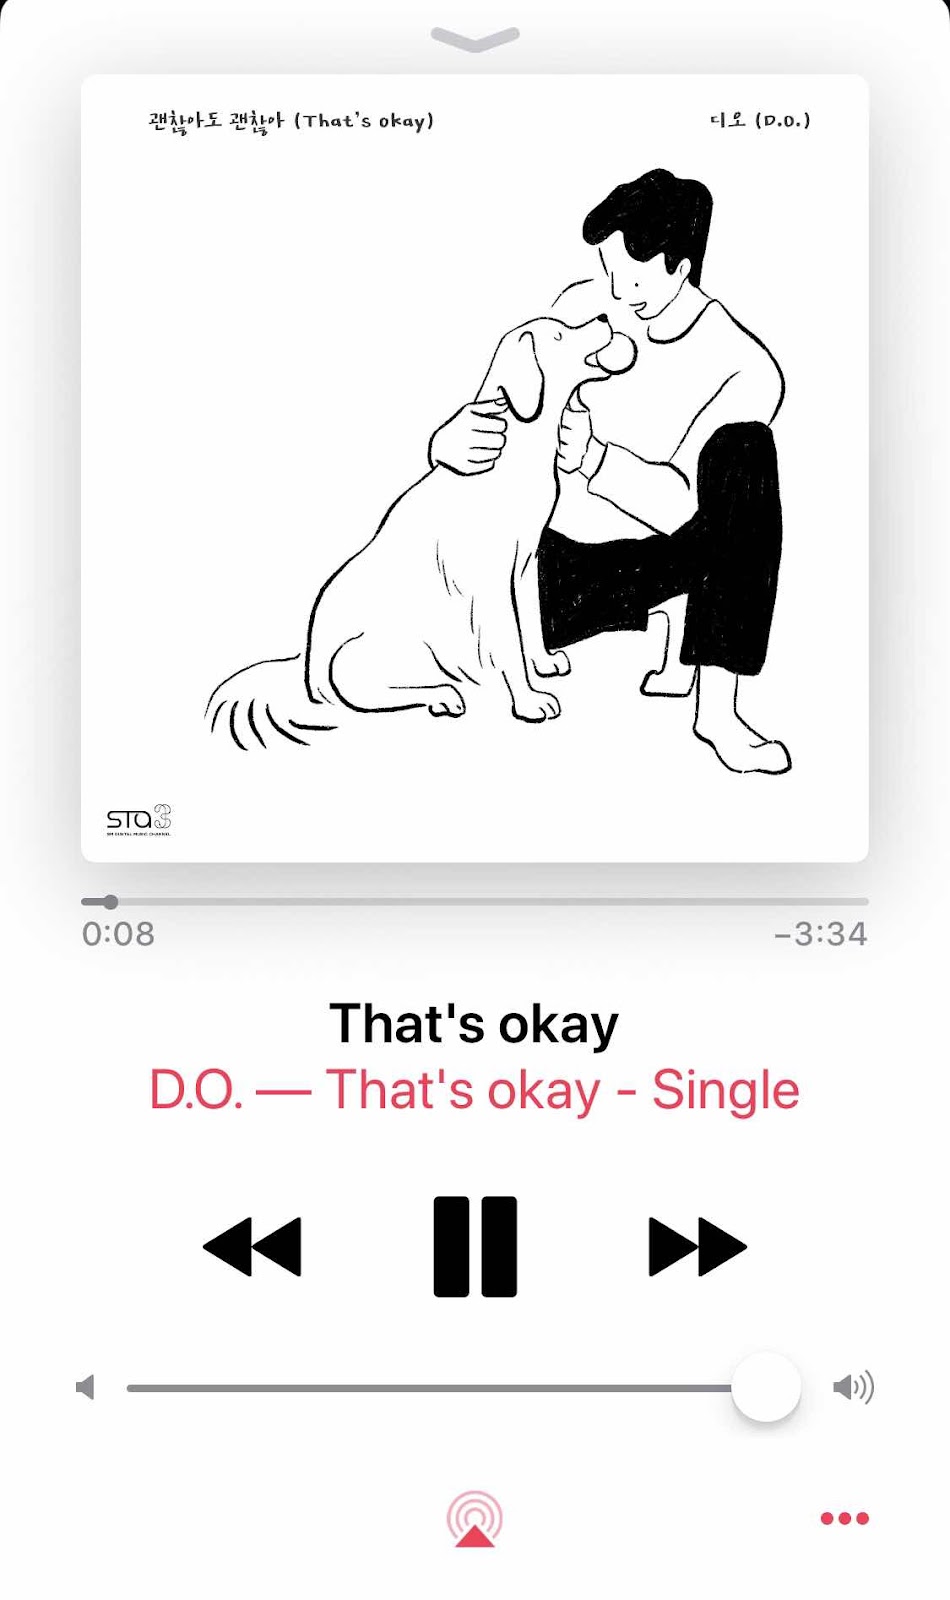
Take a listen to the beautiful song.
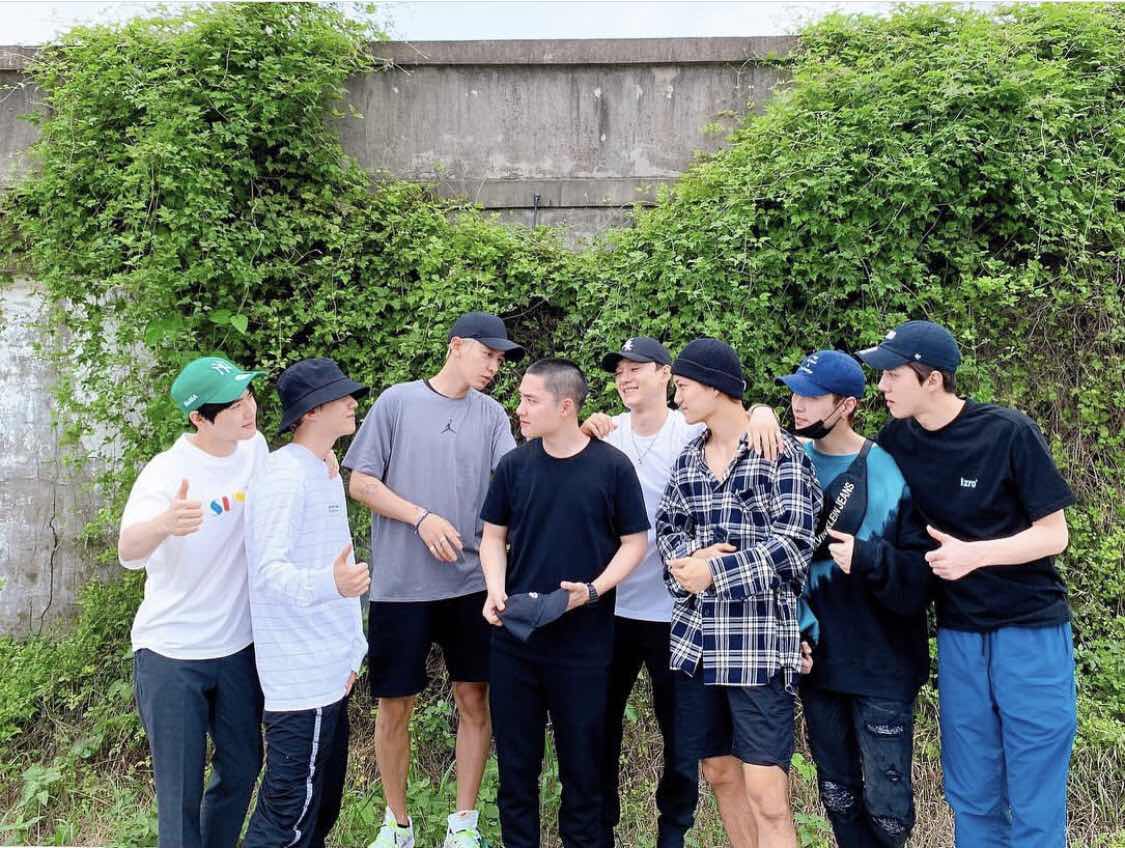
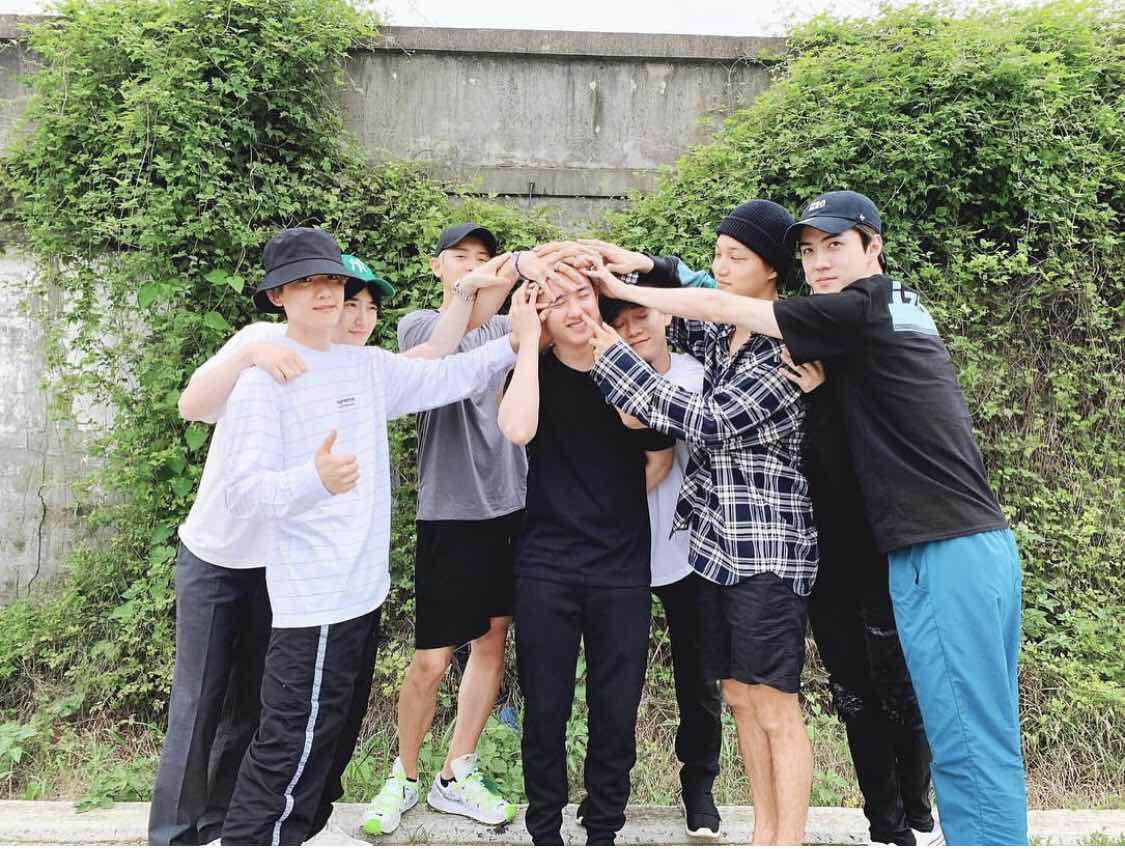
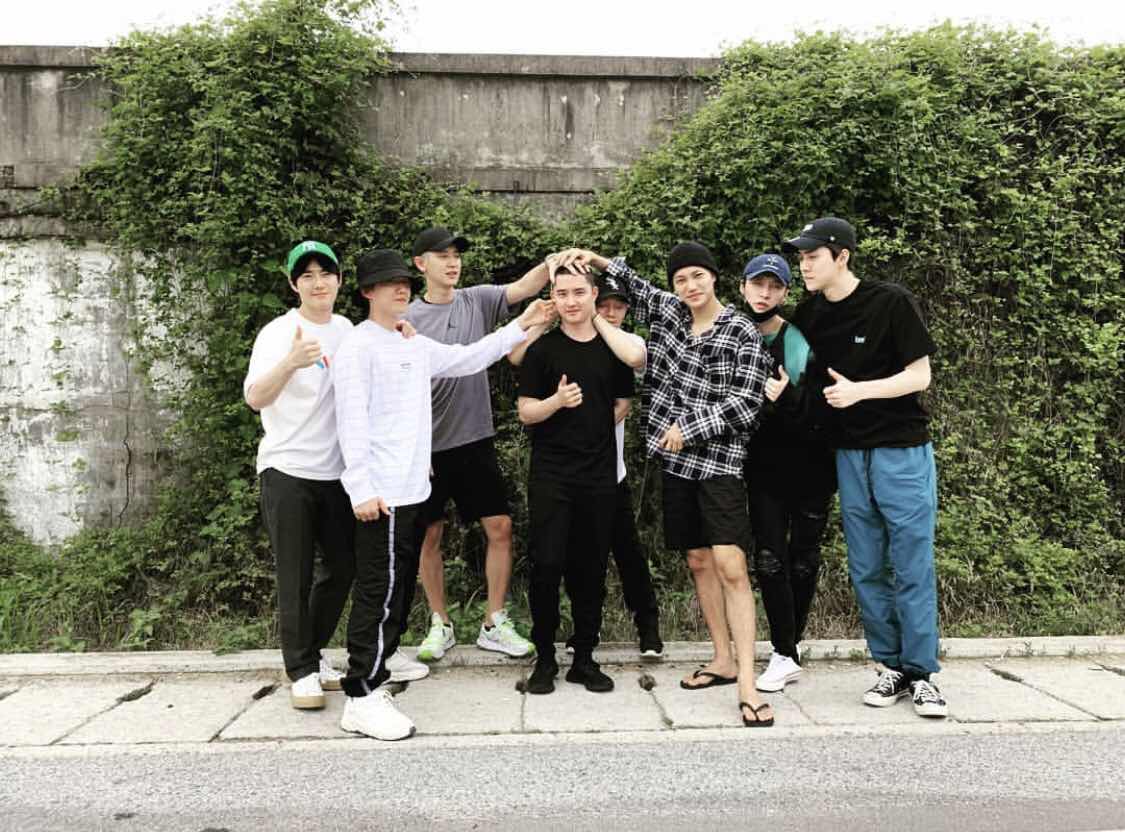
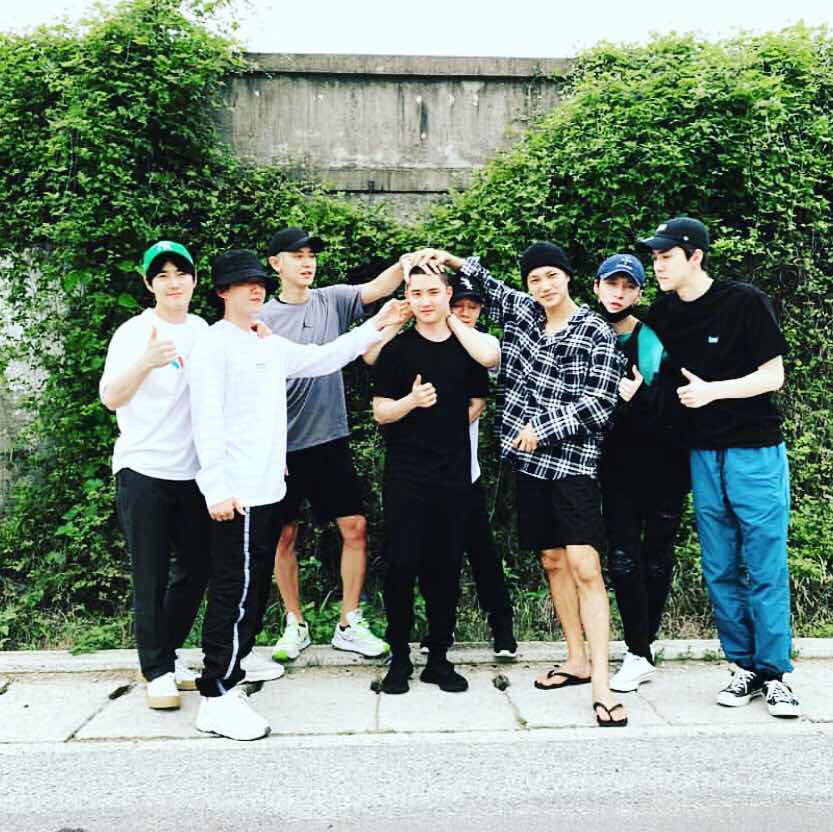
We also got some pretty pictures of the boys sending D.O. off including Lay, who was very busy prepping for his solo concert, but still found the time to come see him off.
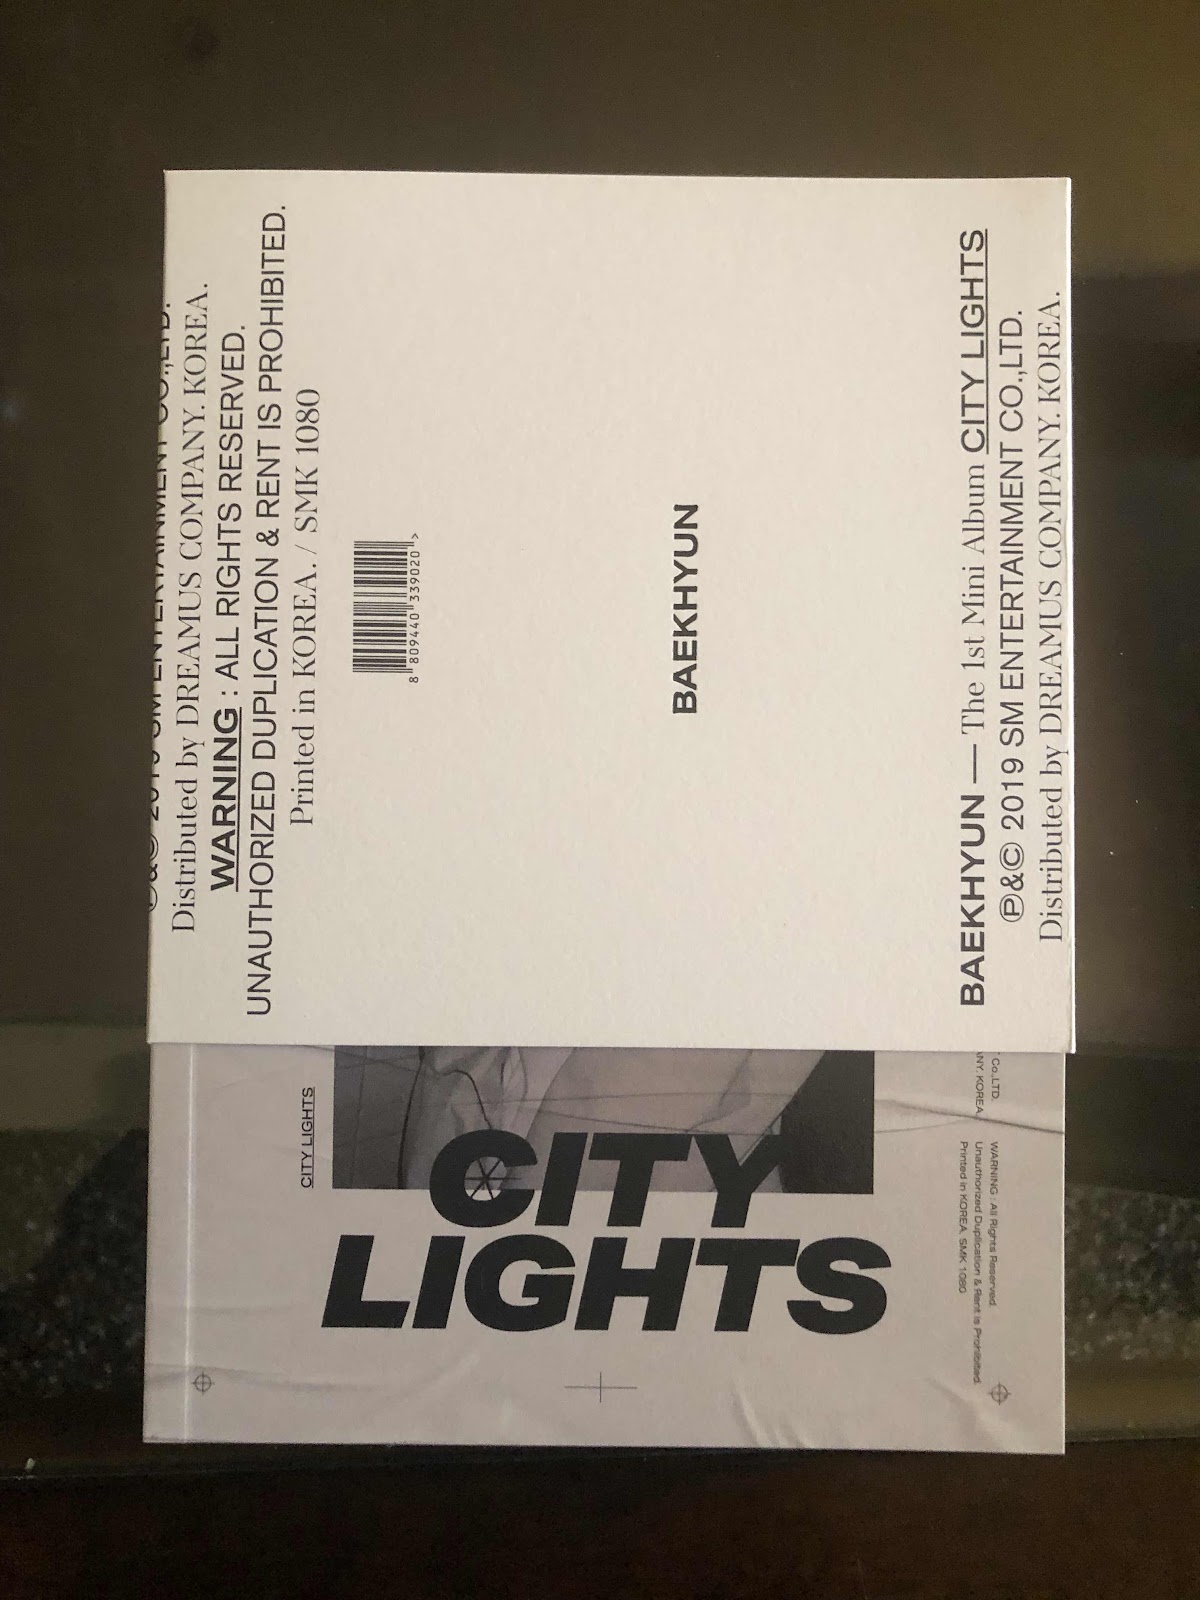
On July 10, City of Lights, Baekhyun’s solo Album dropped. I had already pre-ordered the Album (there are two versions) but of course I had to get the digital version too because I needed to hear that album NOW. As usual, Baekhyun did not disappoint. The album was AMAZING!!
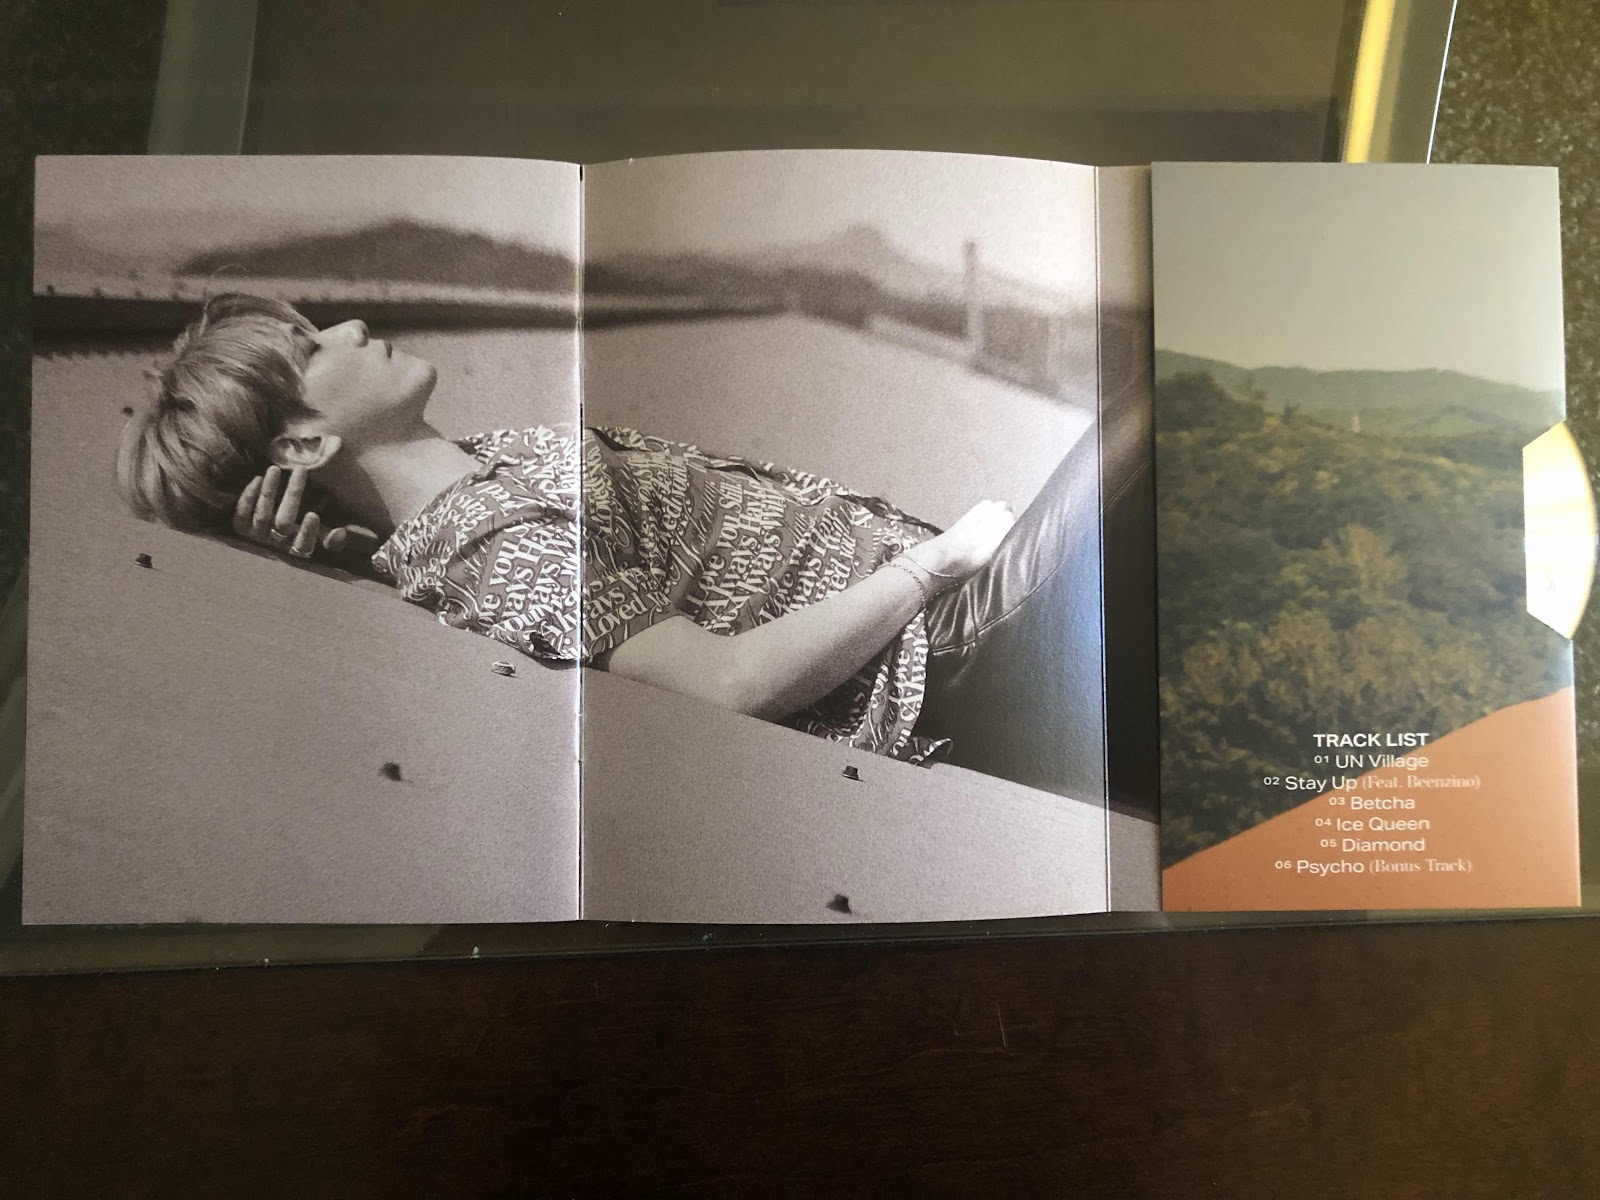
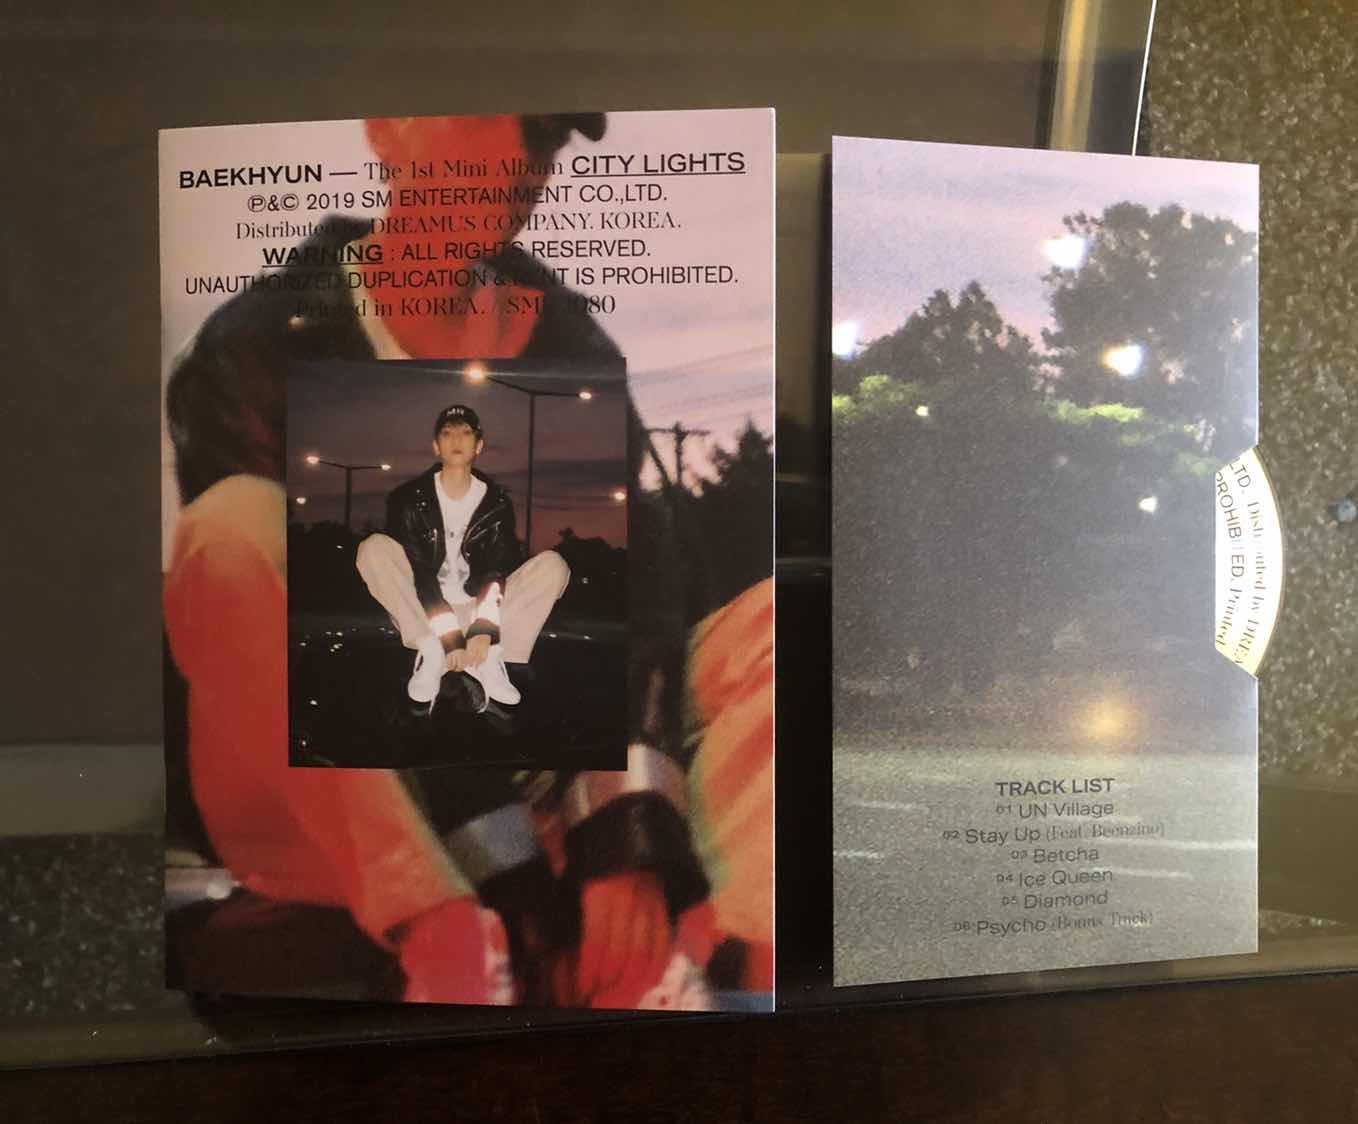
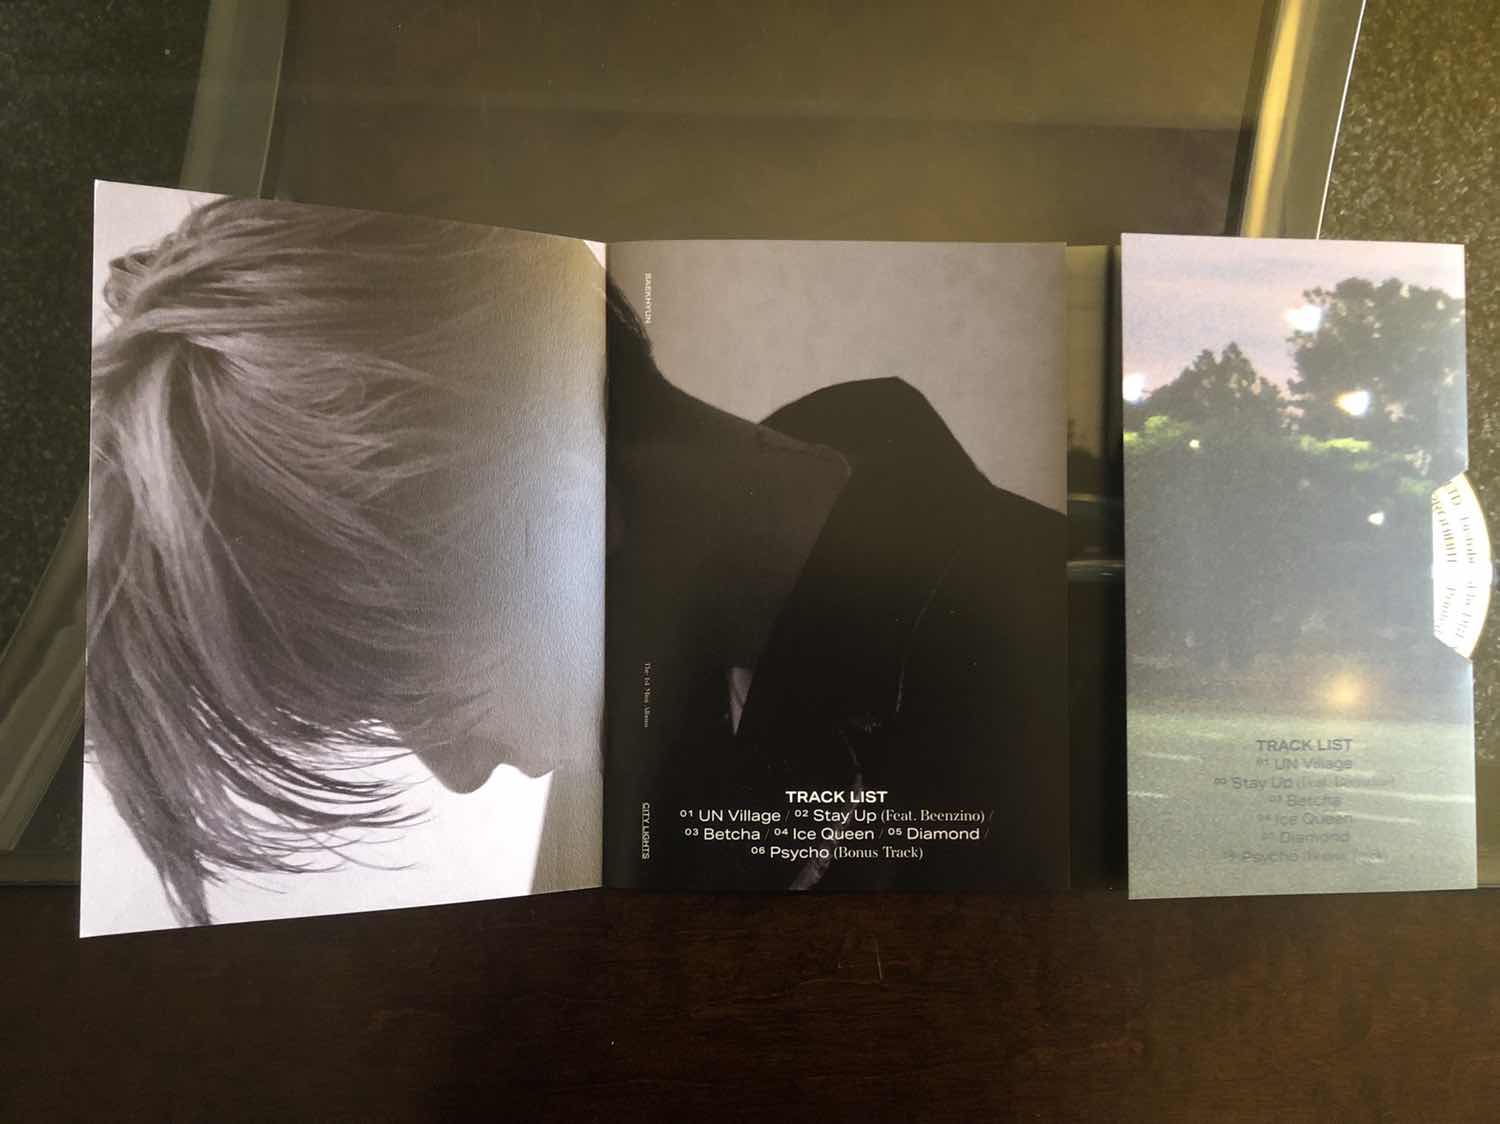
Here is the tracklist:
1. UN Village
2. Stay Up (ft. Beenzino)
3. Betcha
4. Ice Queen
5. Diamond
6. Psycho
My favorite favorite songs of the whole album are:
UN Village: The sound, the MV, the moves! Just everything.
Betcha: This song is so dang catchy!
Now let us look at the physical albums:

The two versions are Day and Night.

It came with a folded poster.
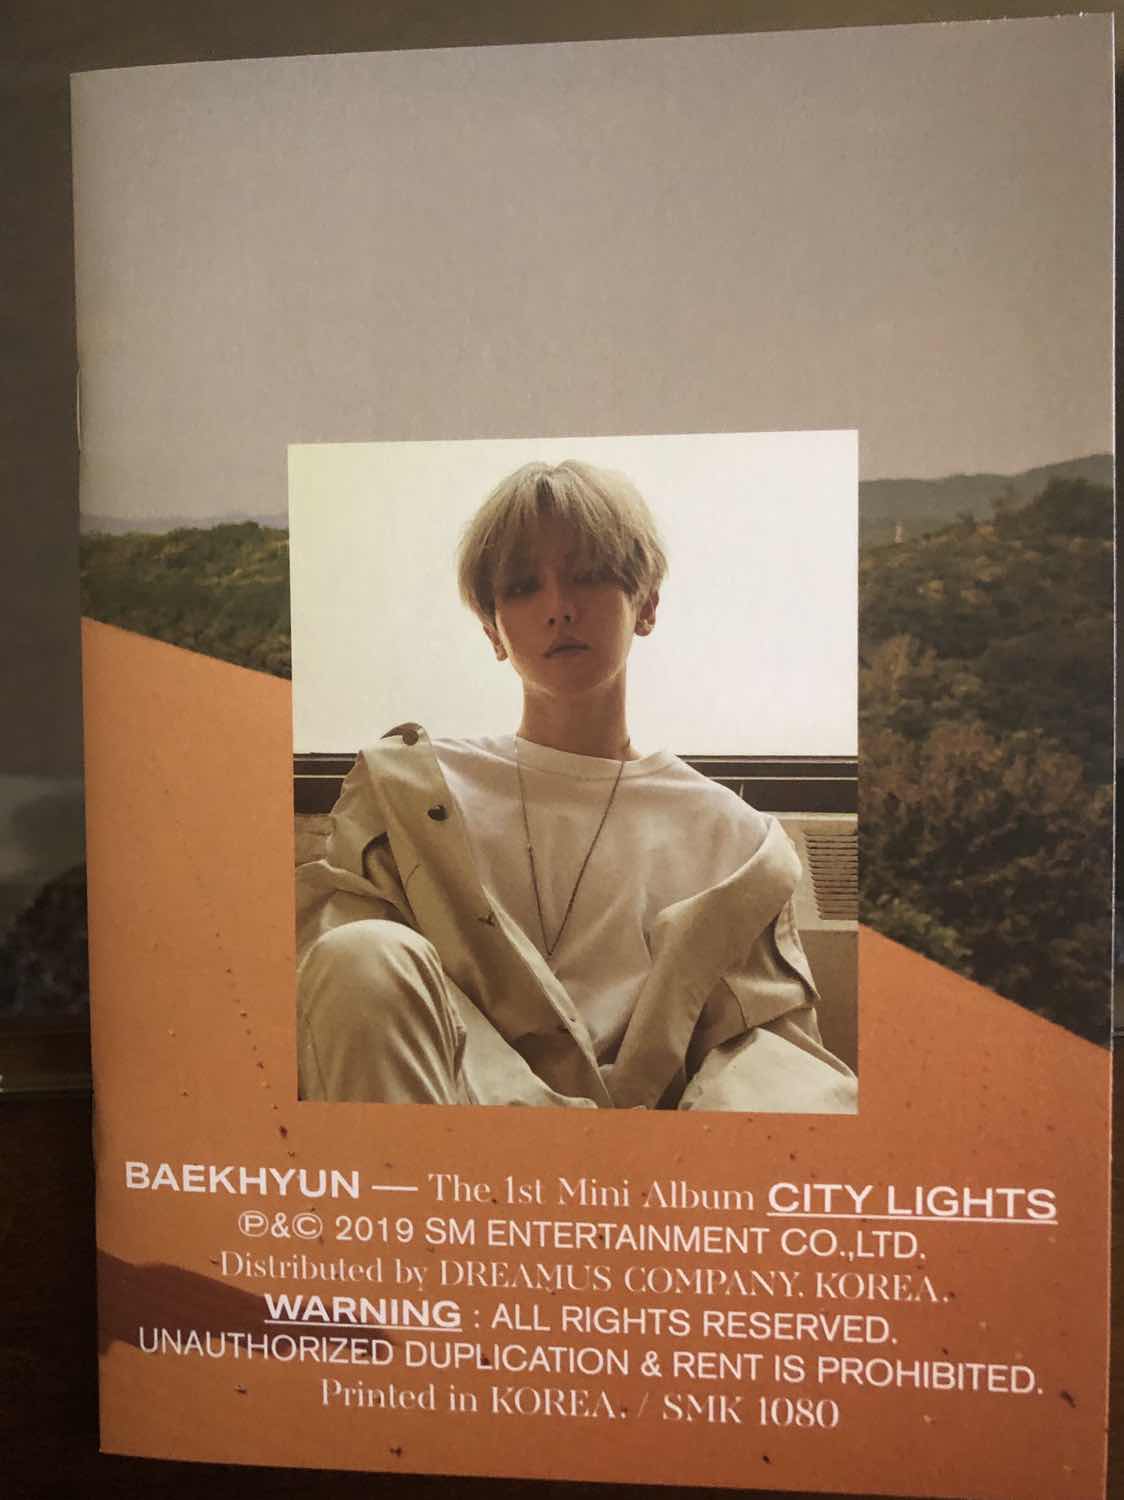
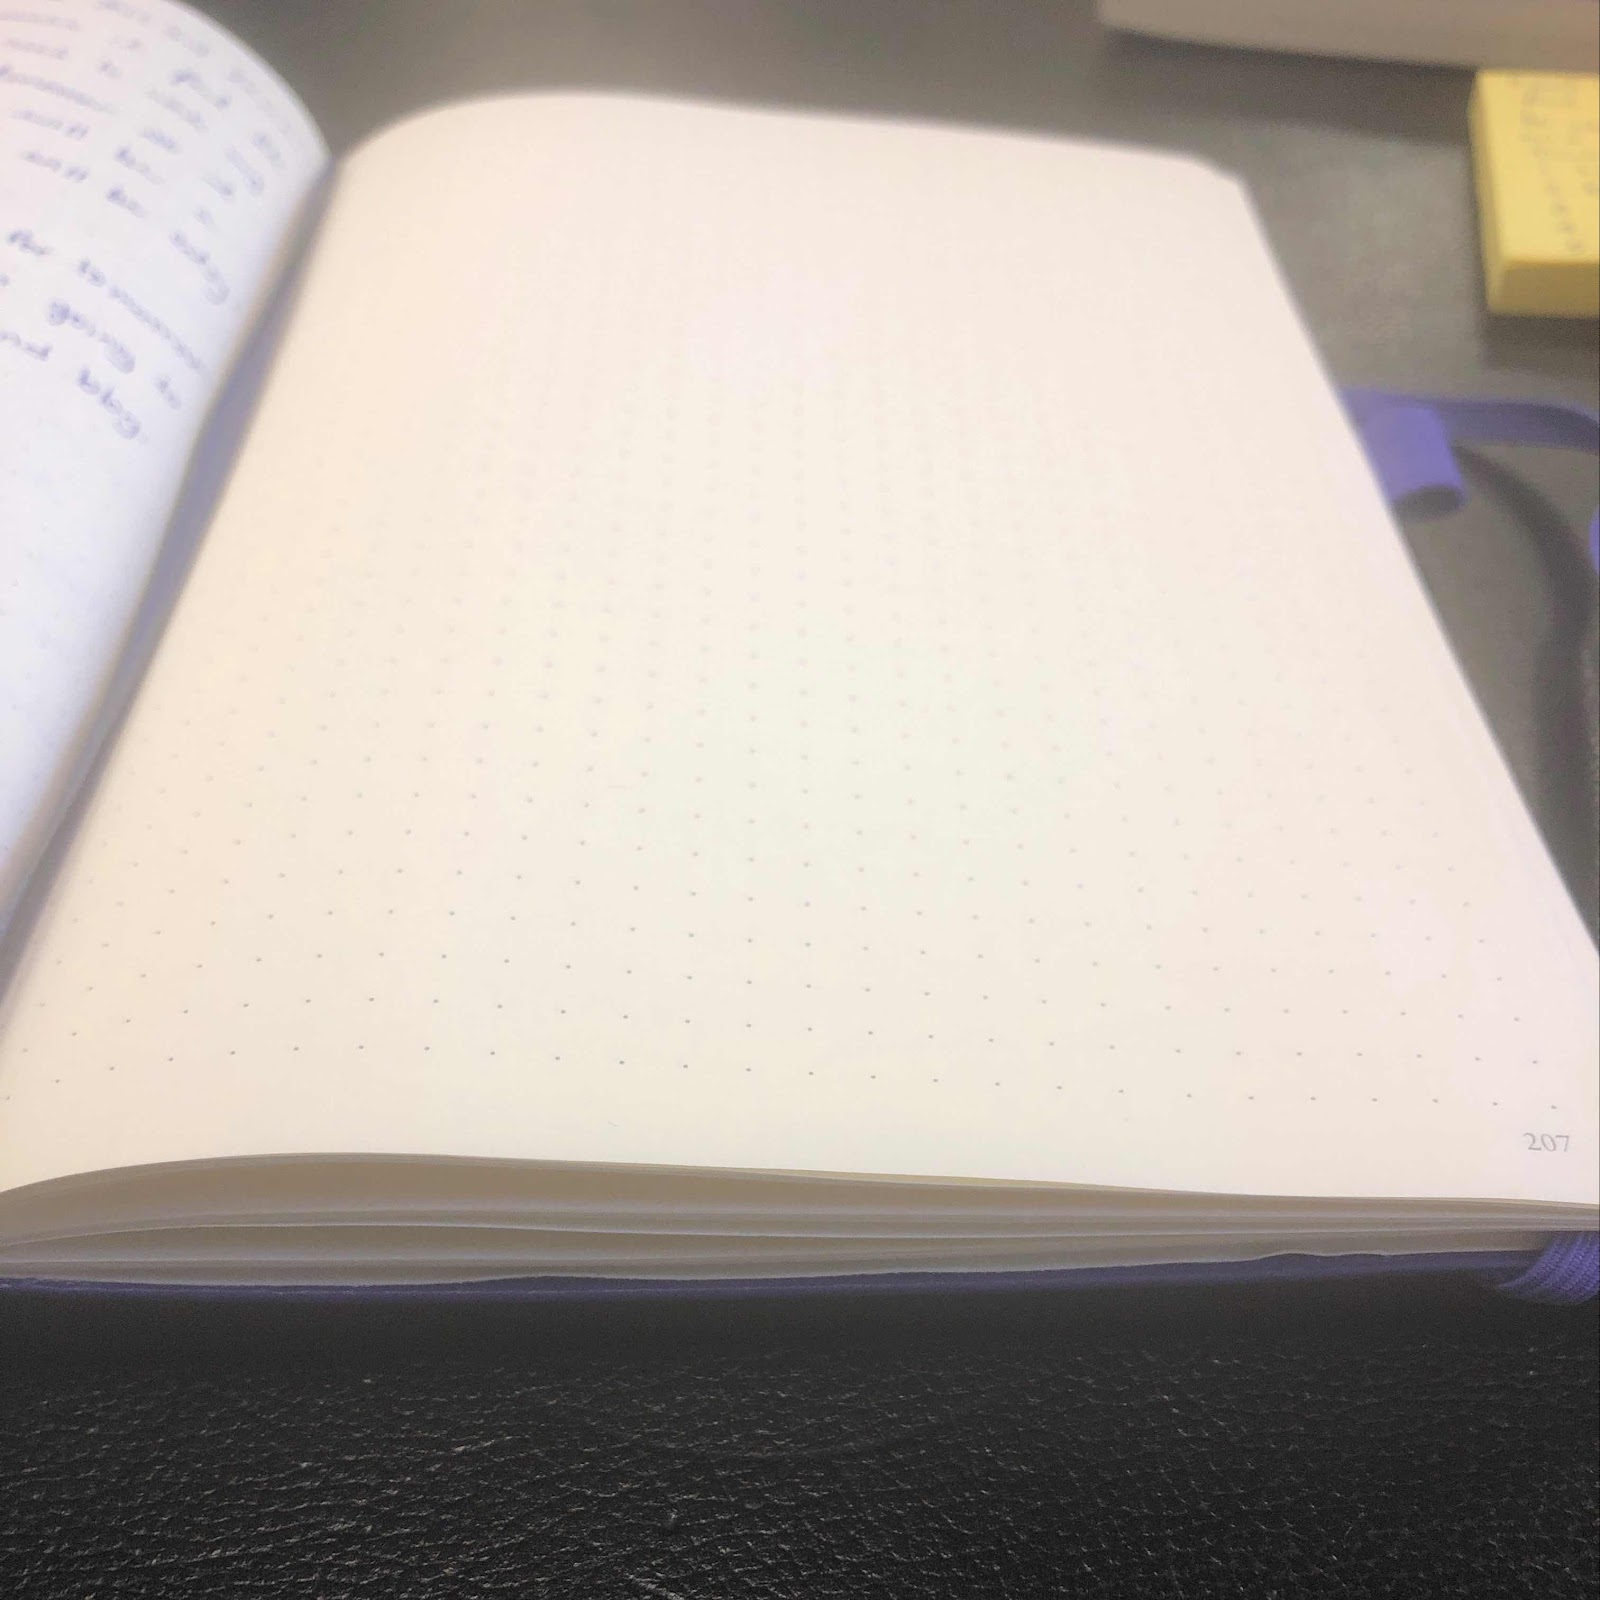
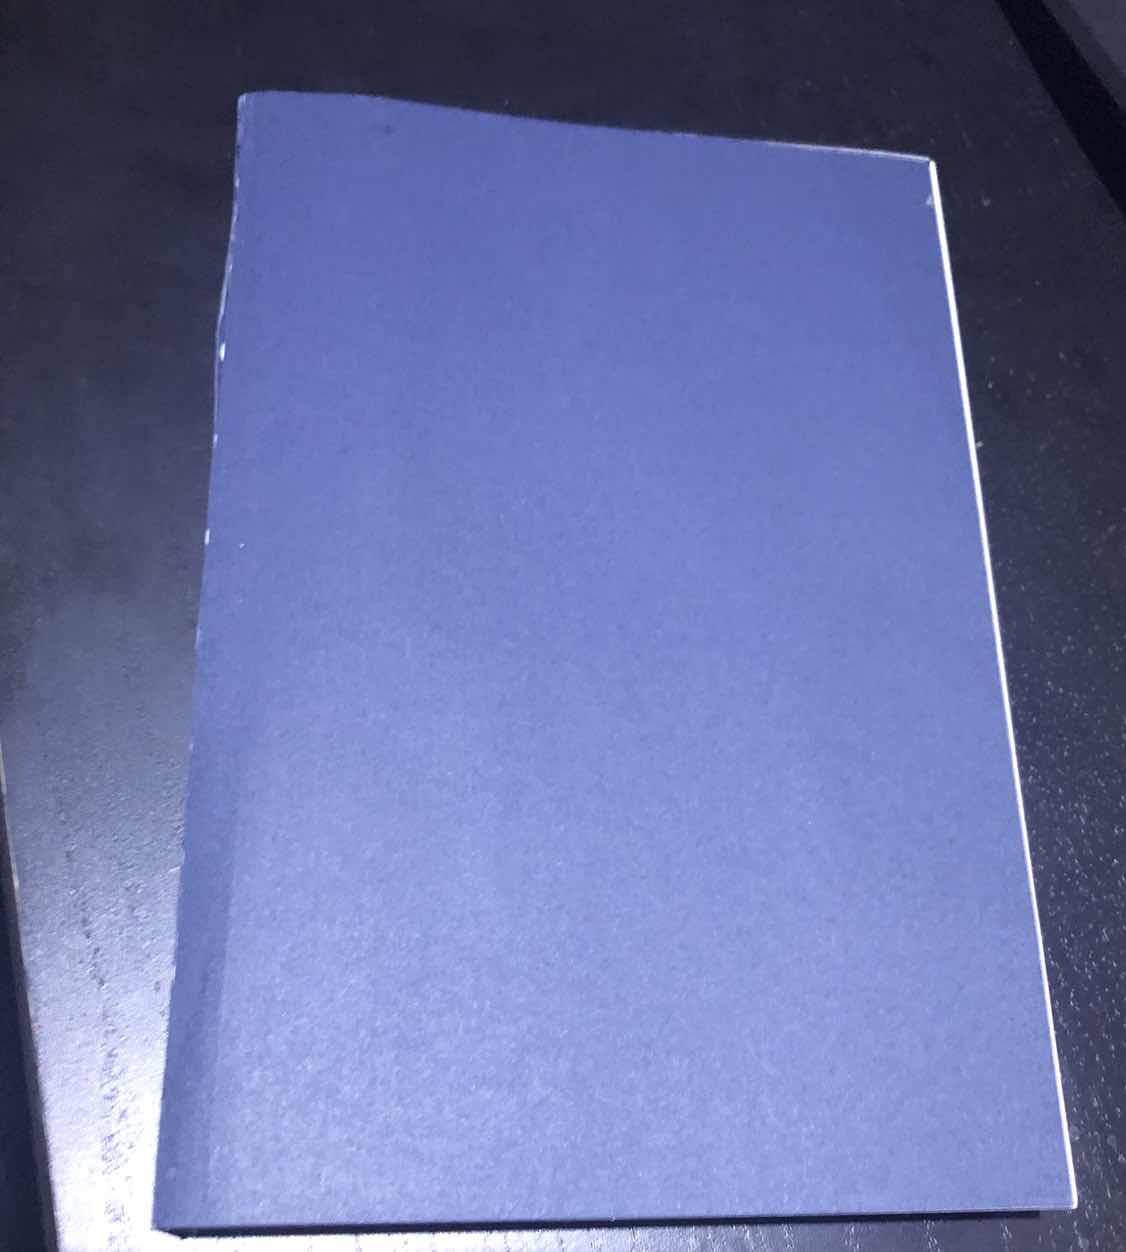
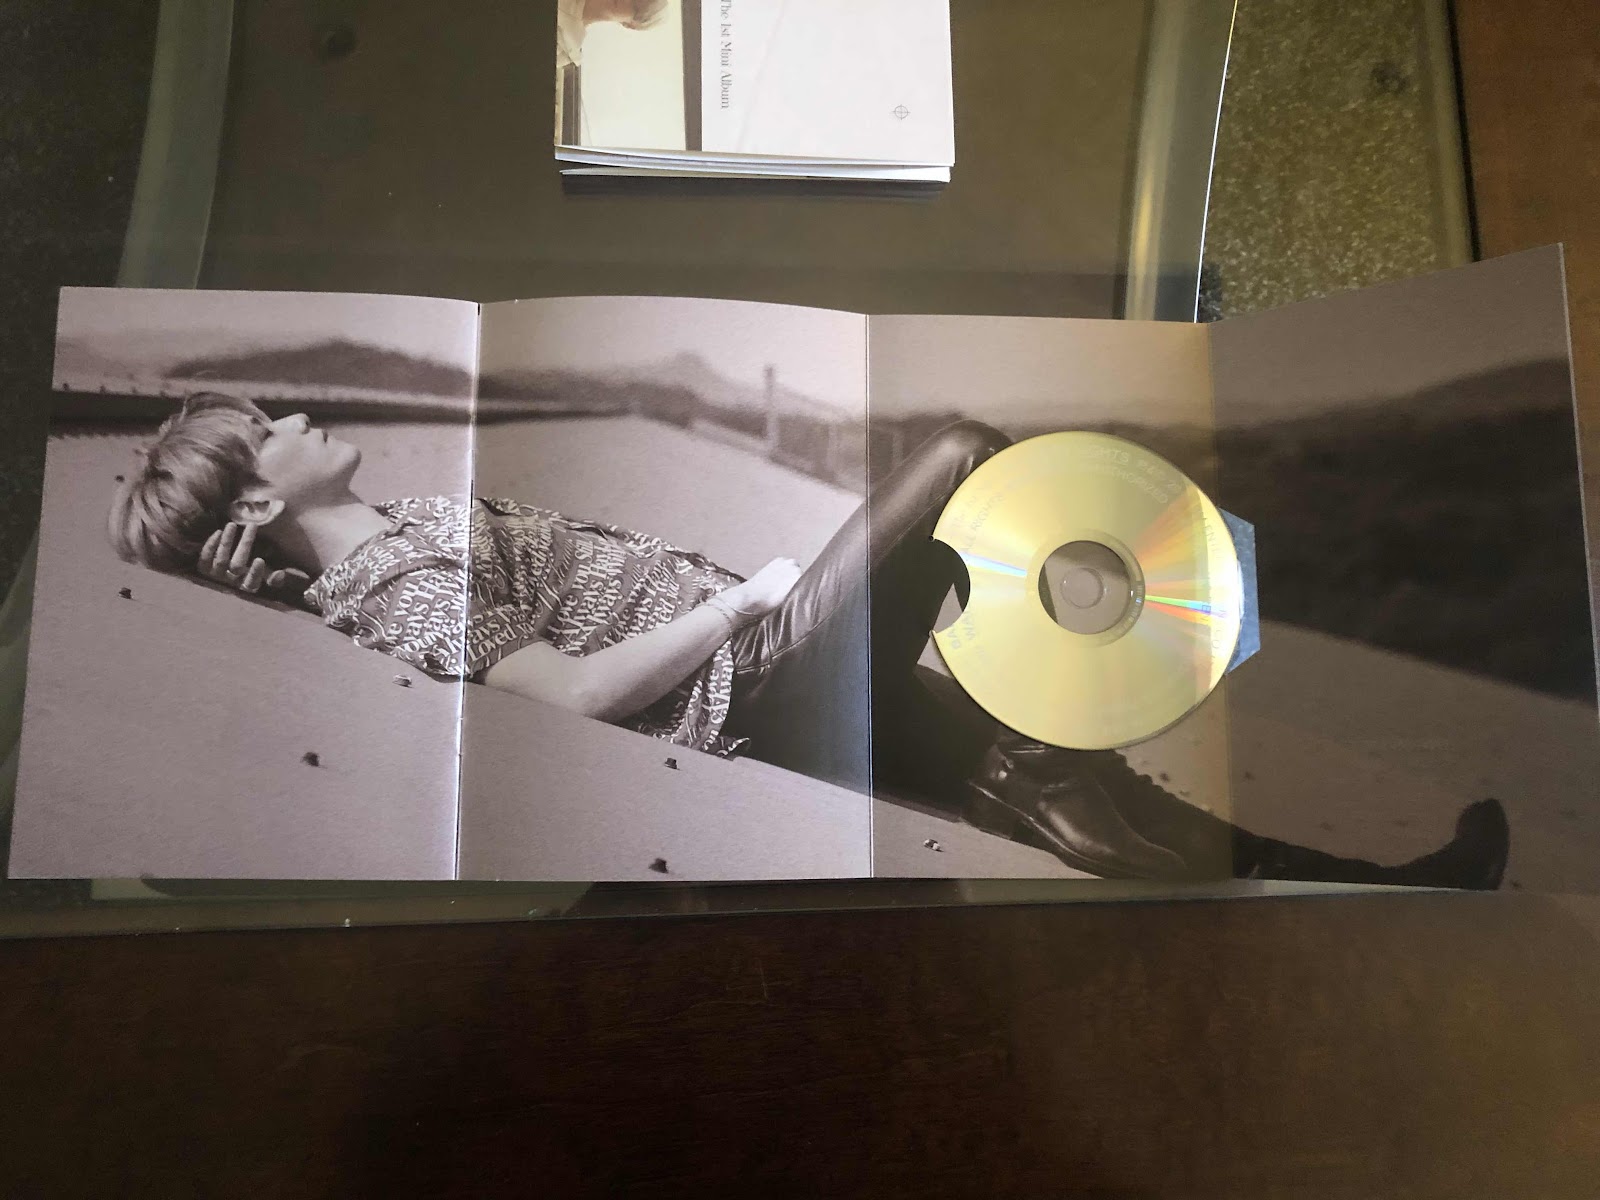
A booklet.

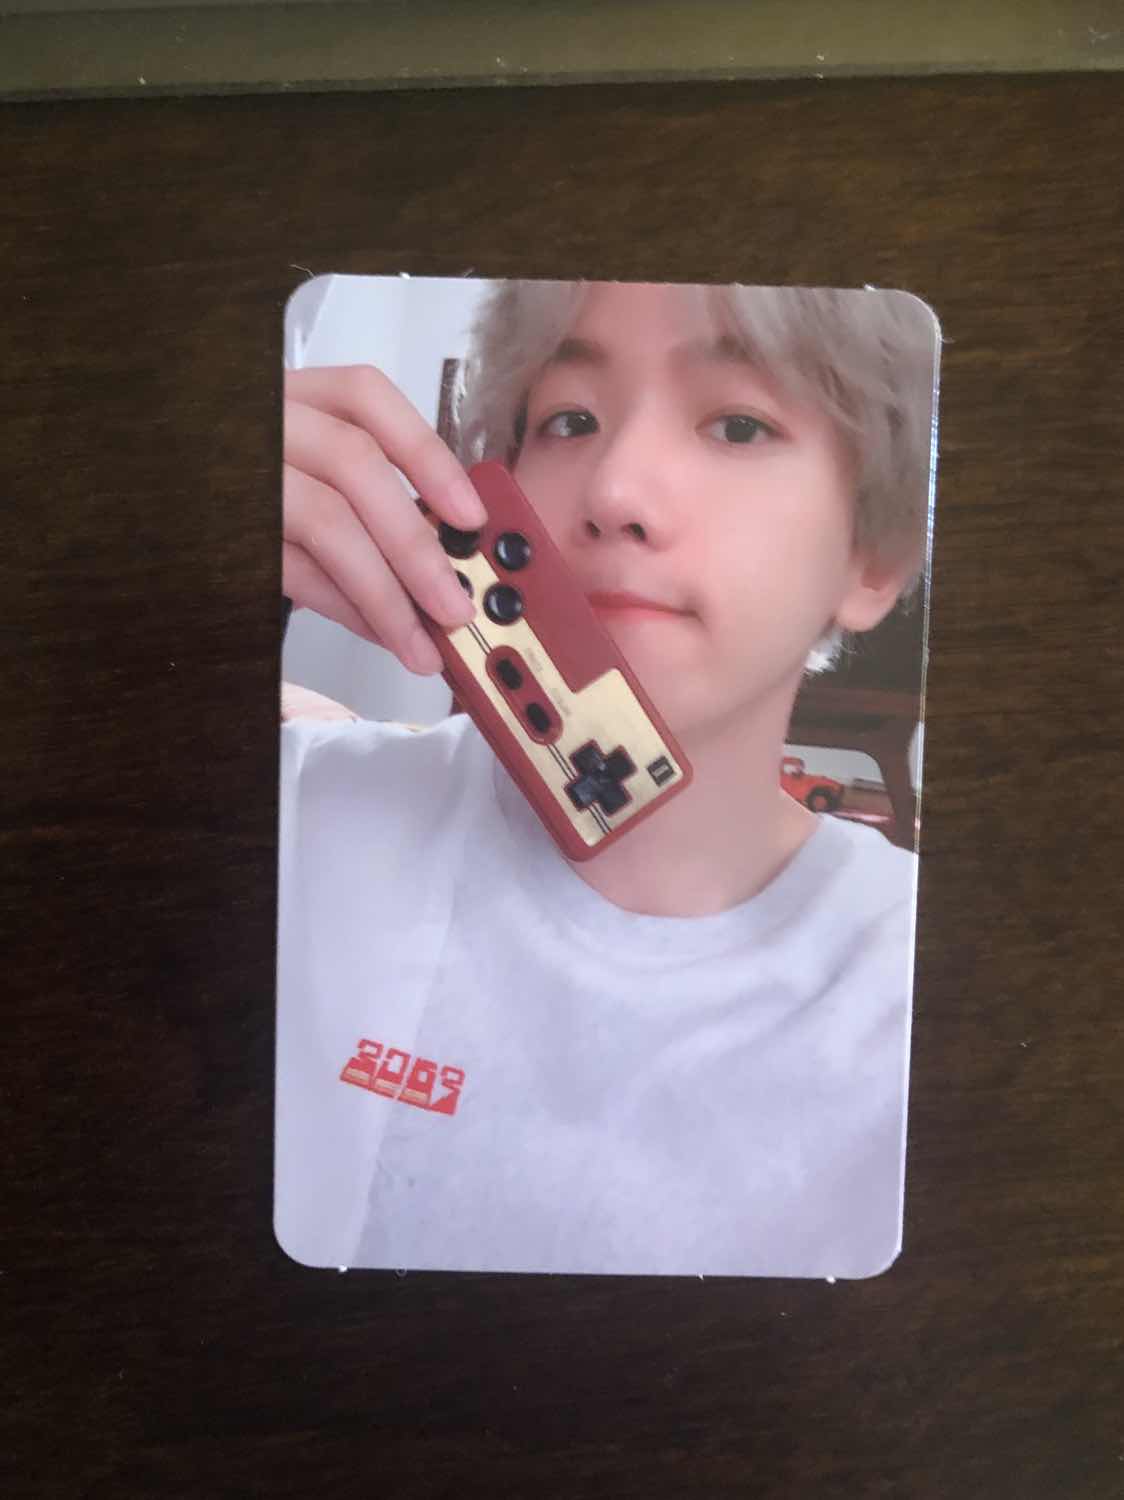
And a card.

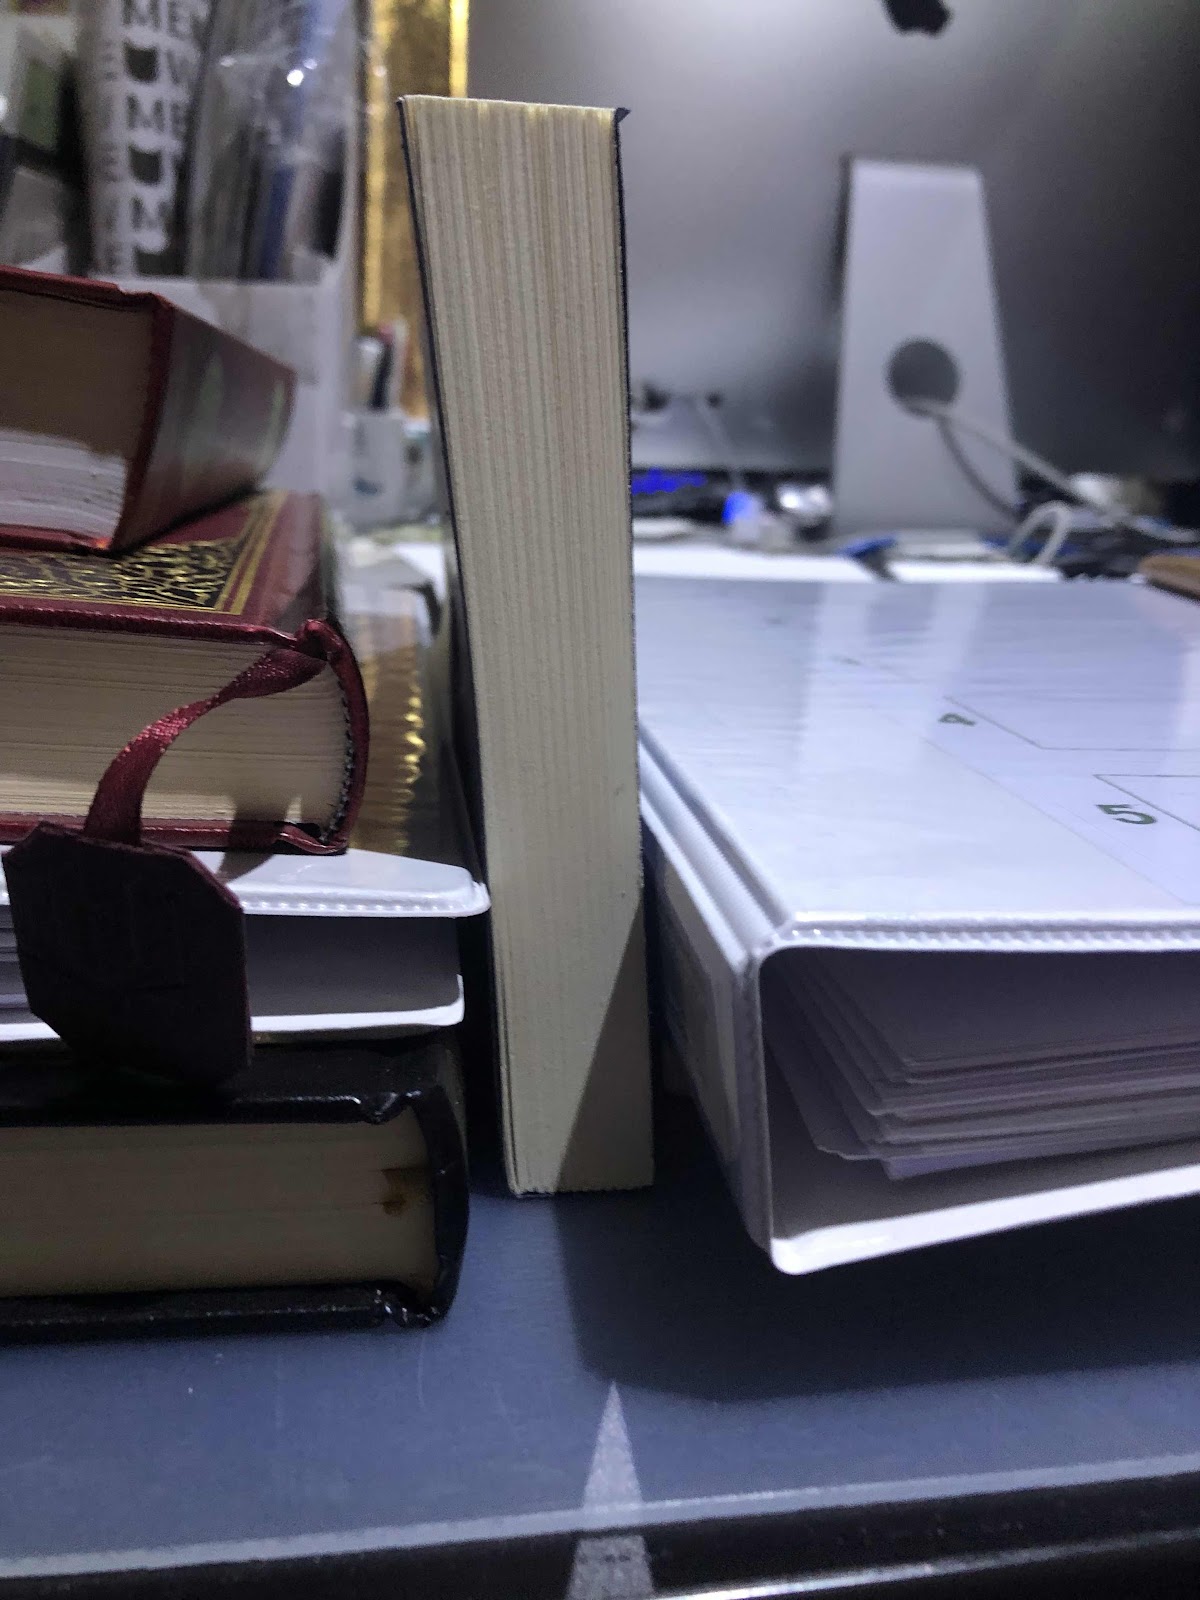
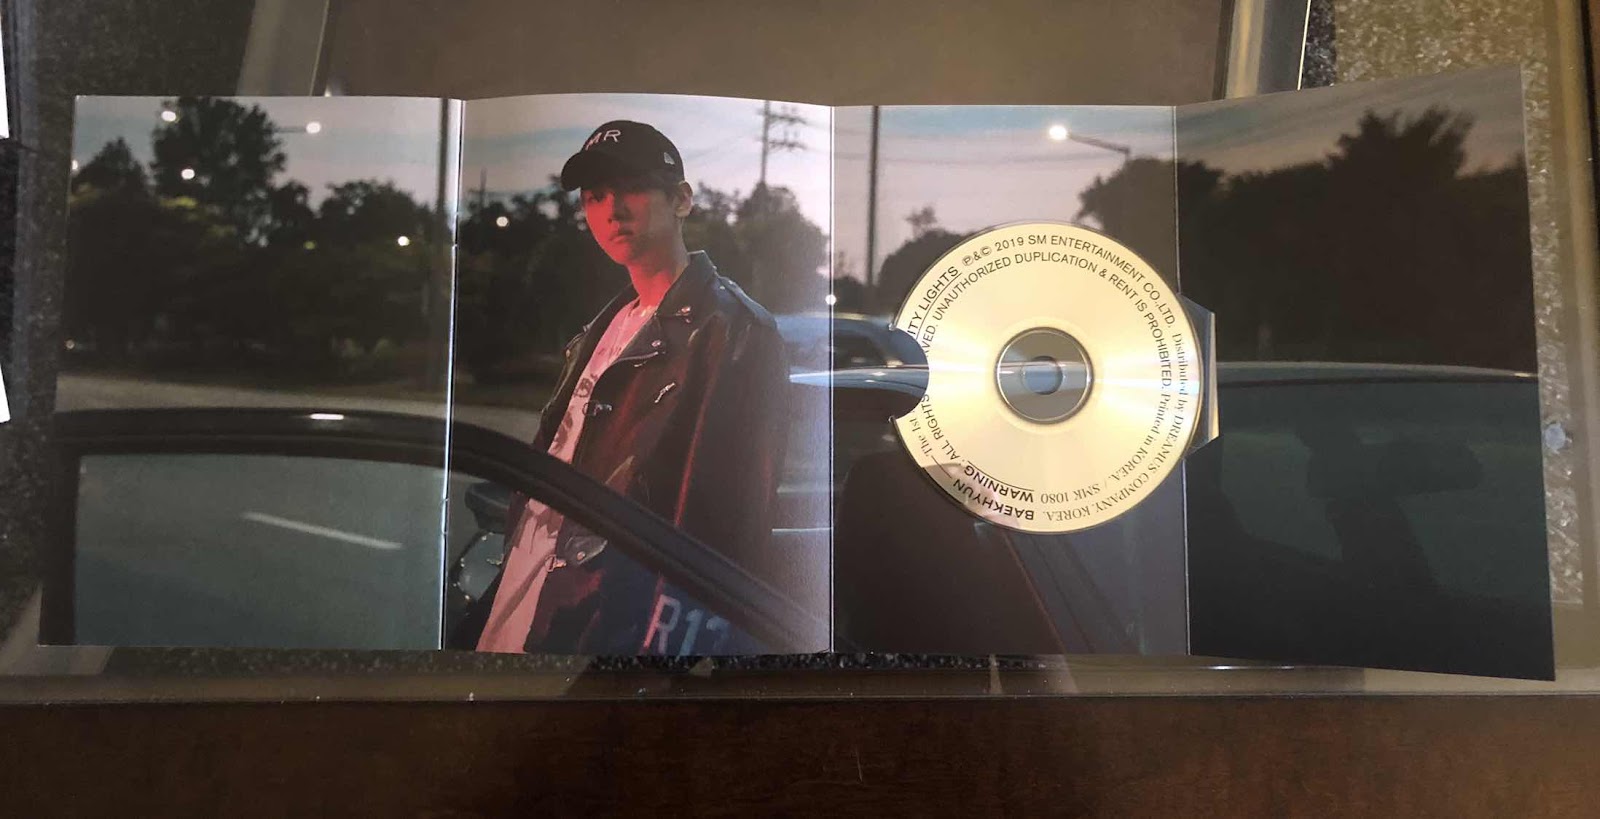
A book.

All that is the Day Version.

The Night Version.
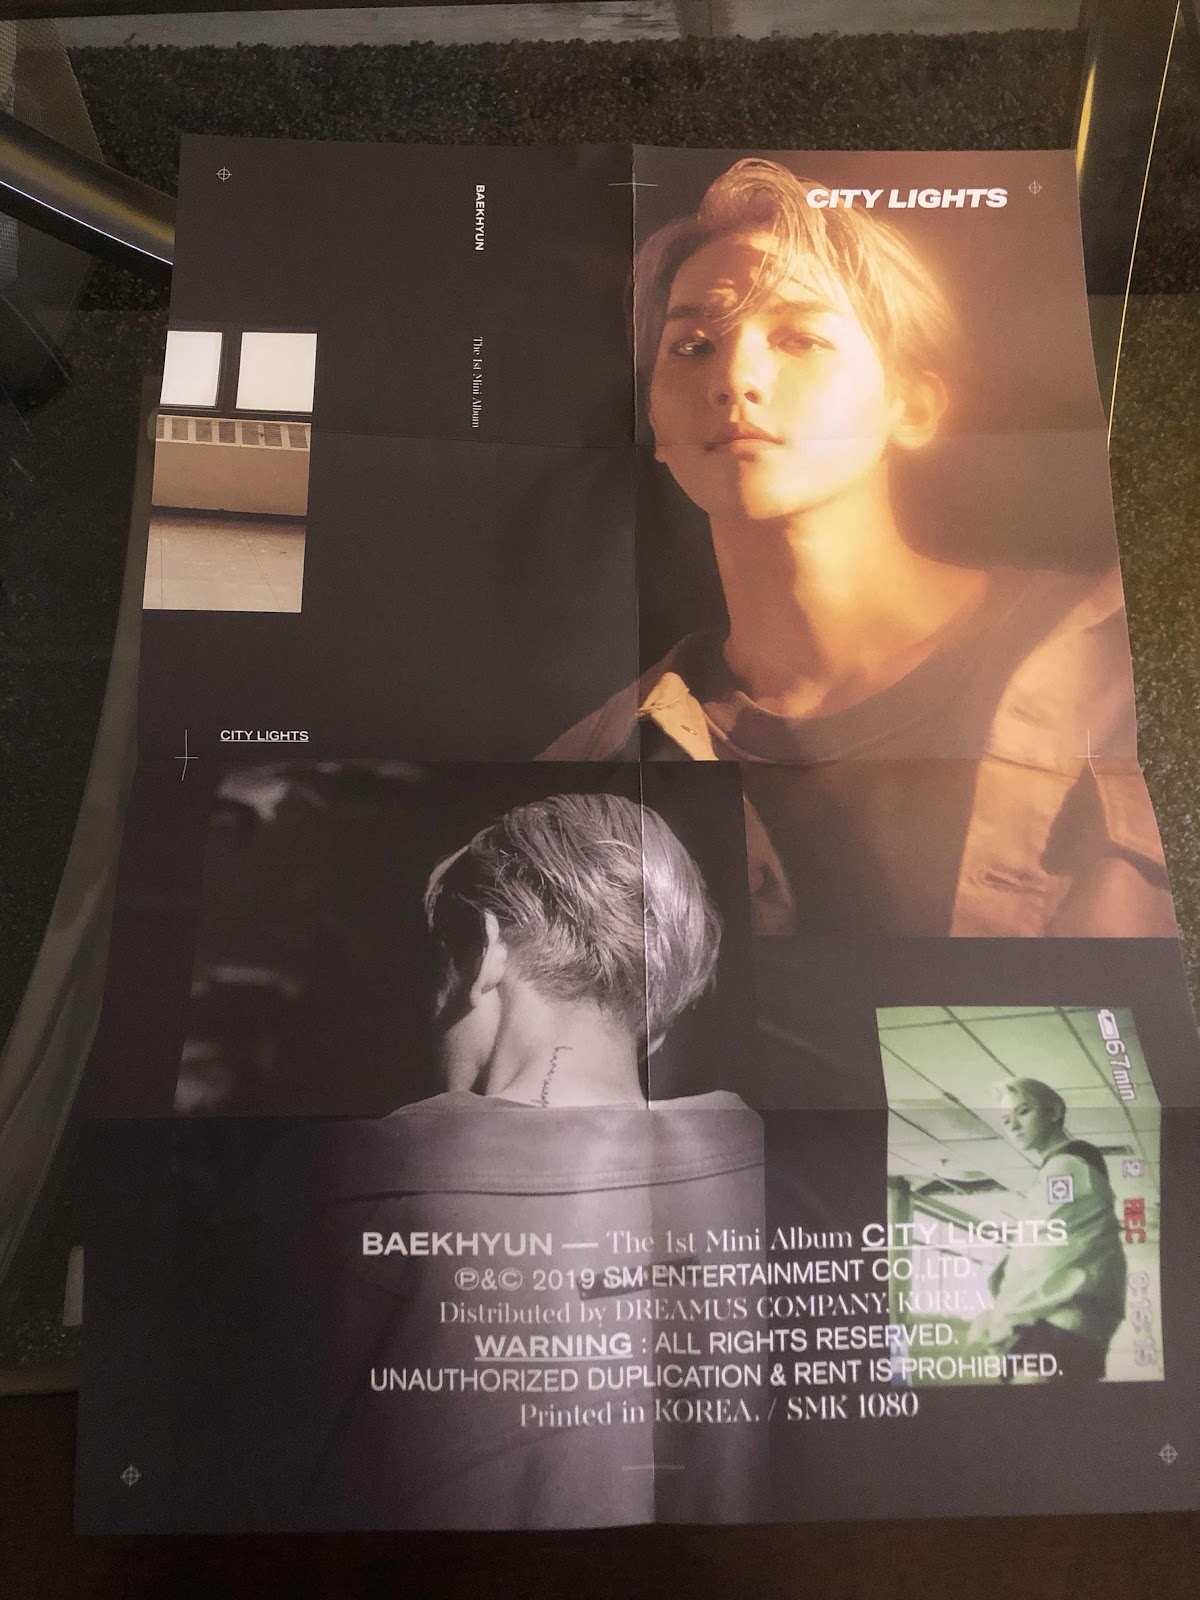
A poster.
A booklet.

A card.
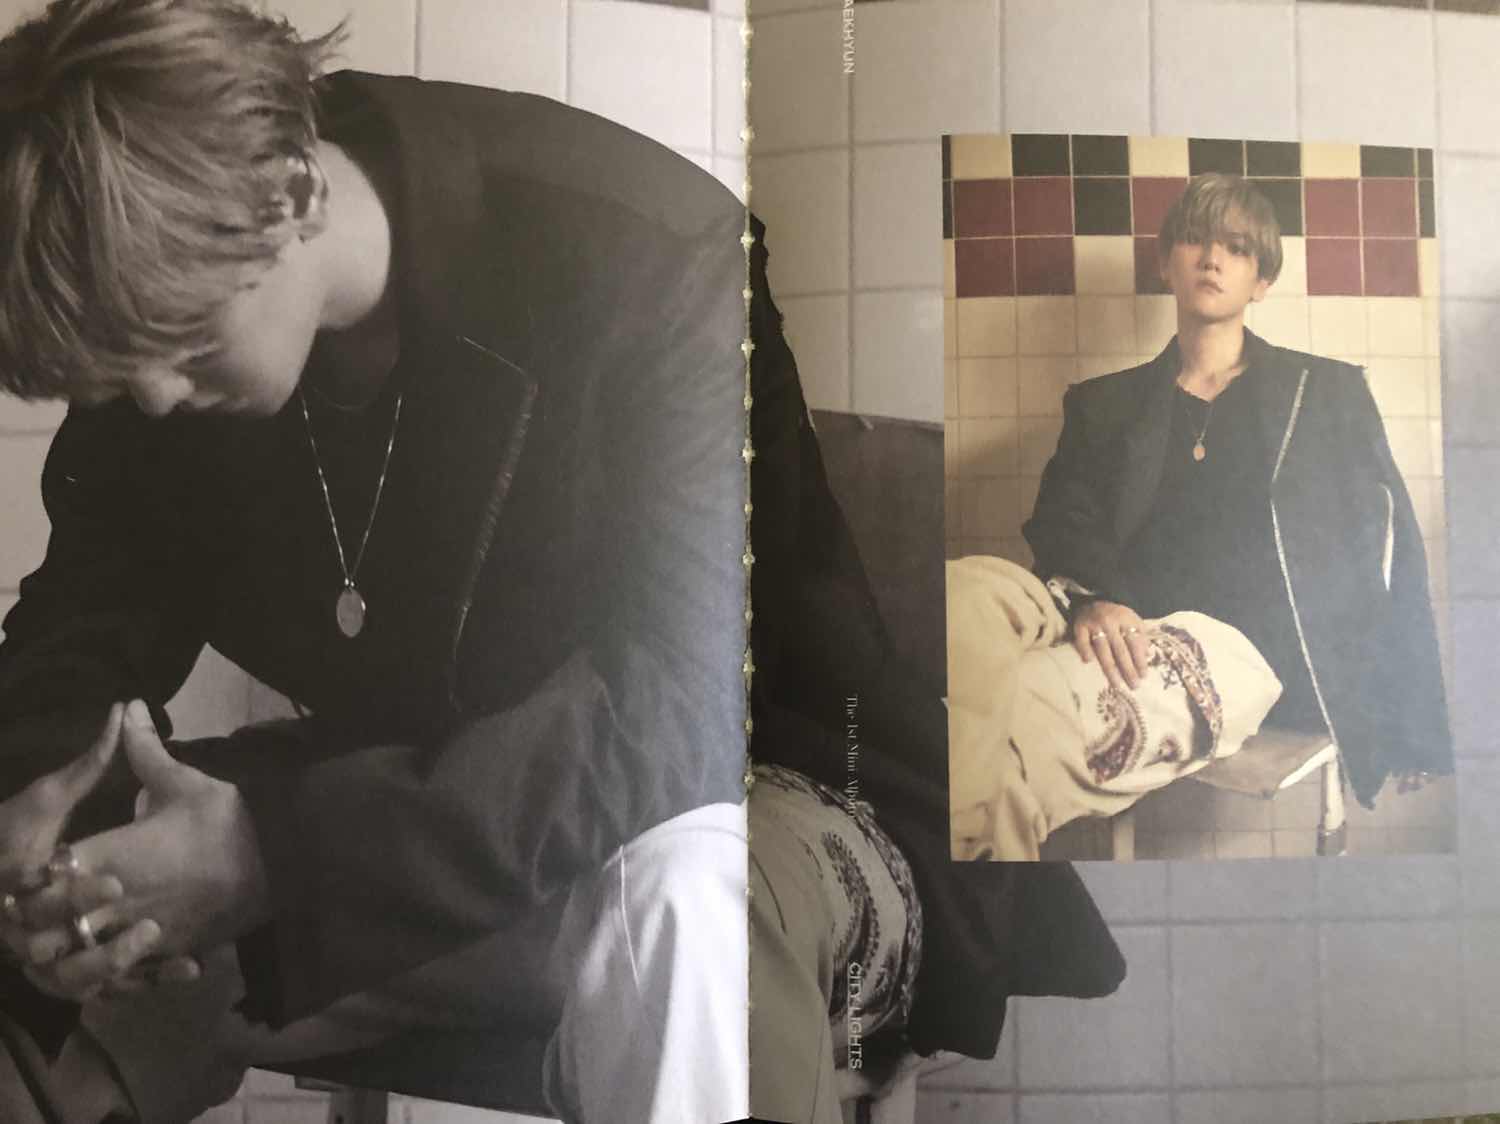
A book
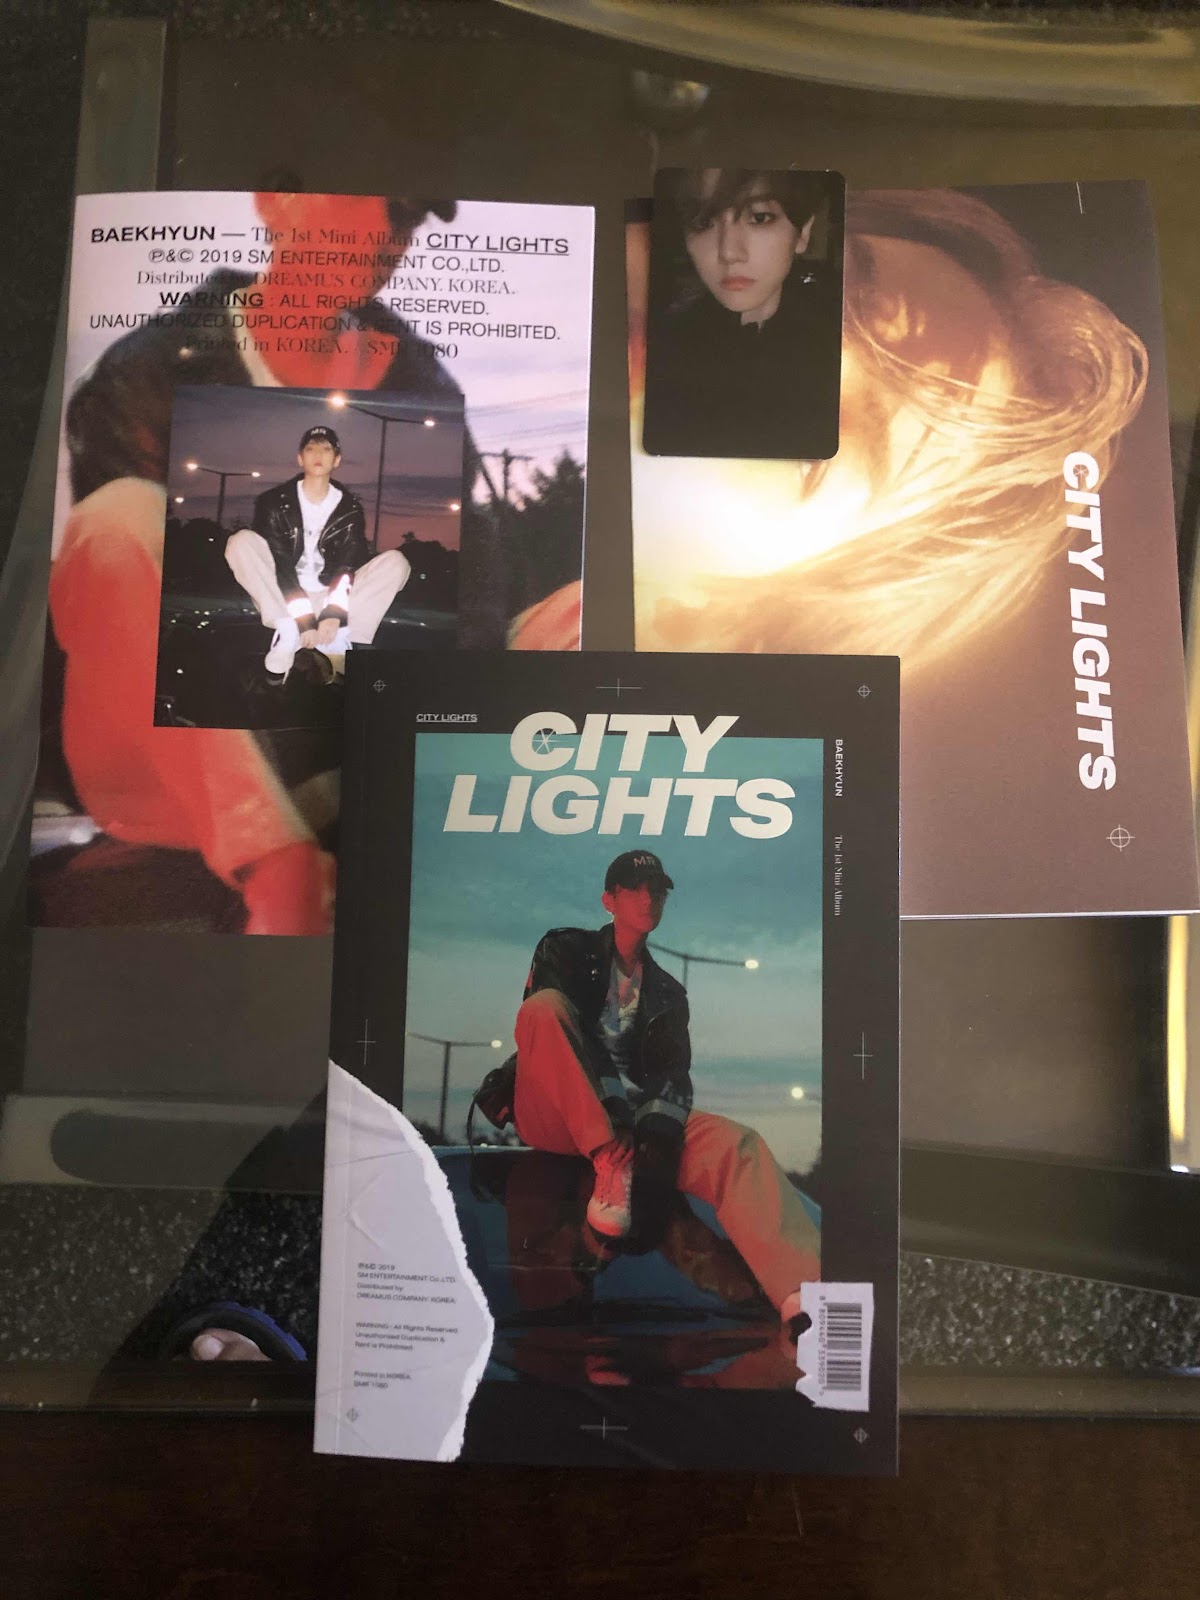
All that is the Night Version.
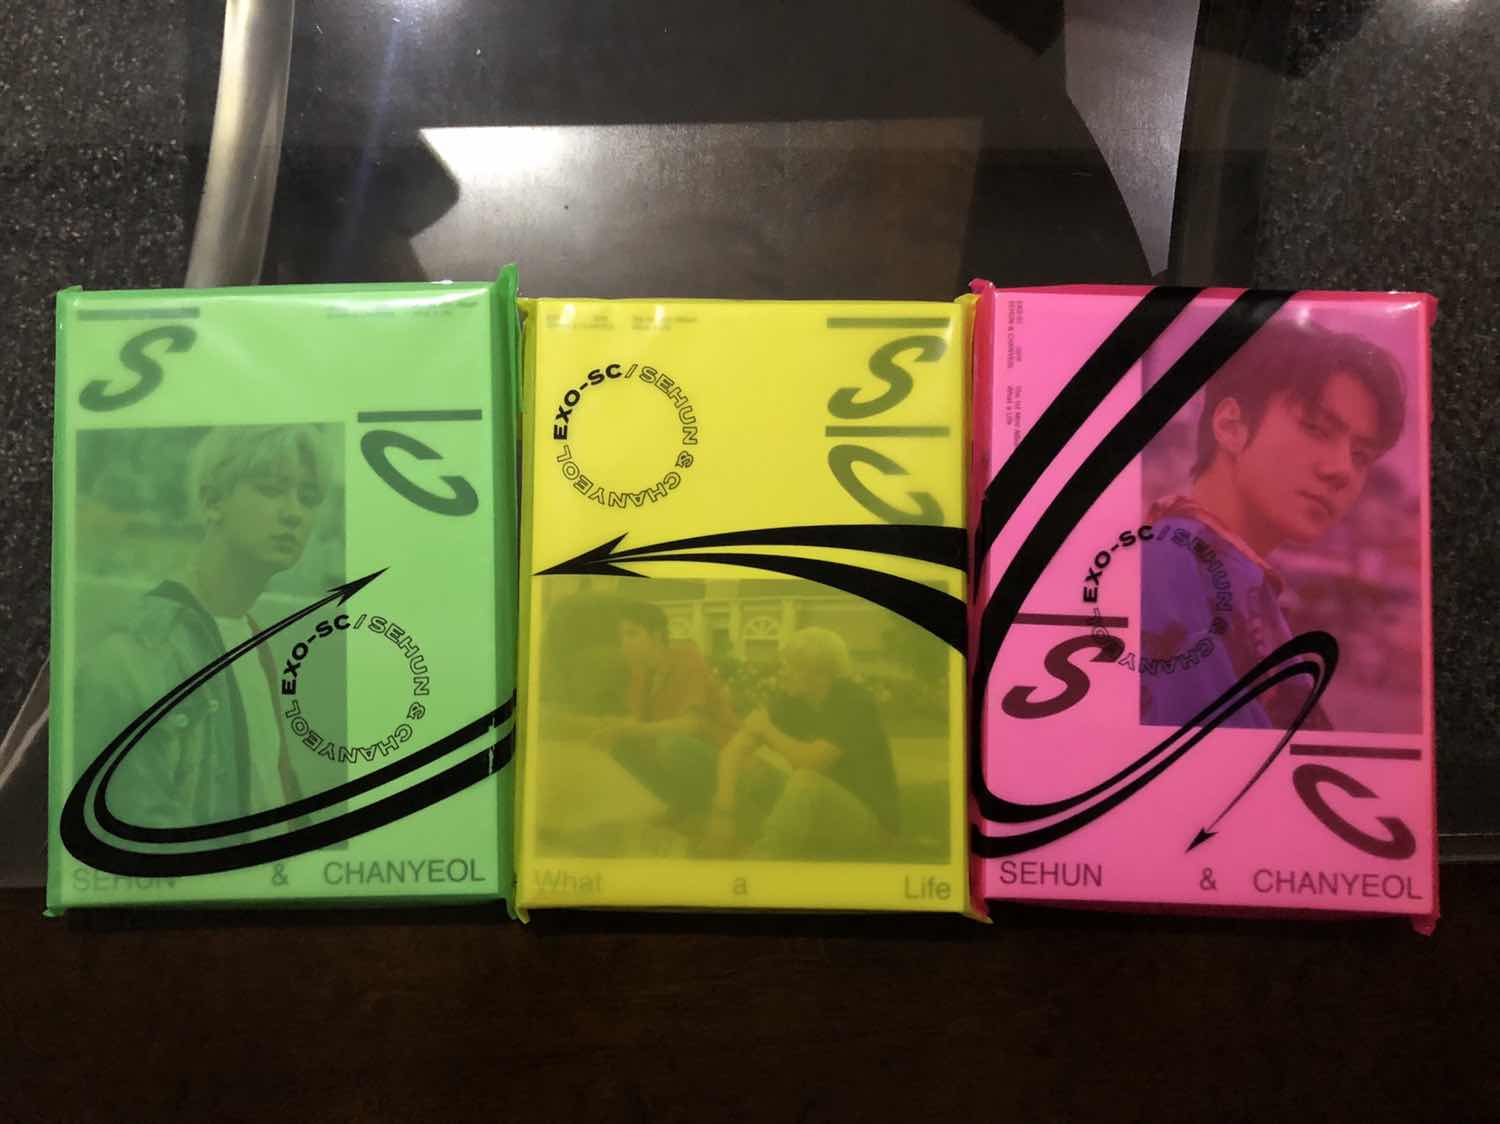
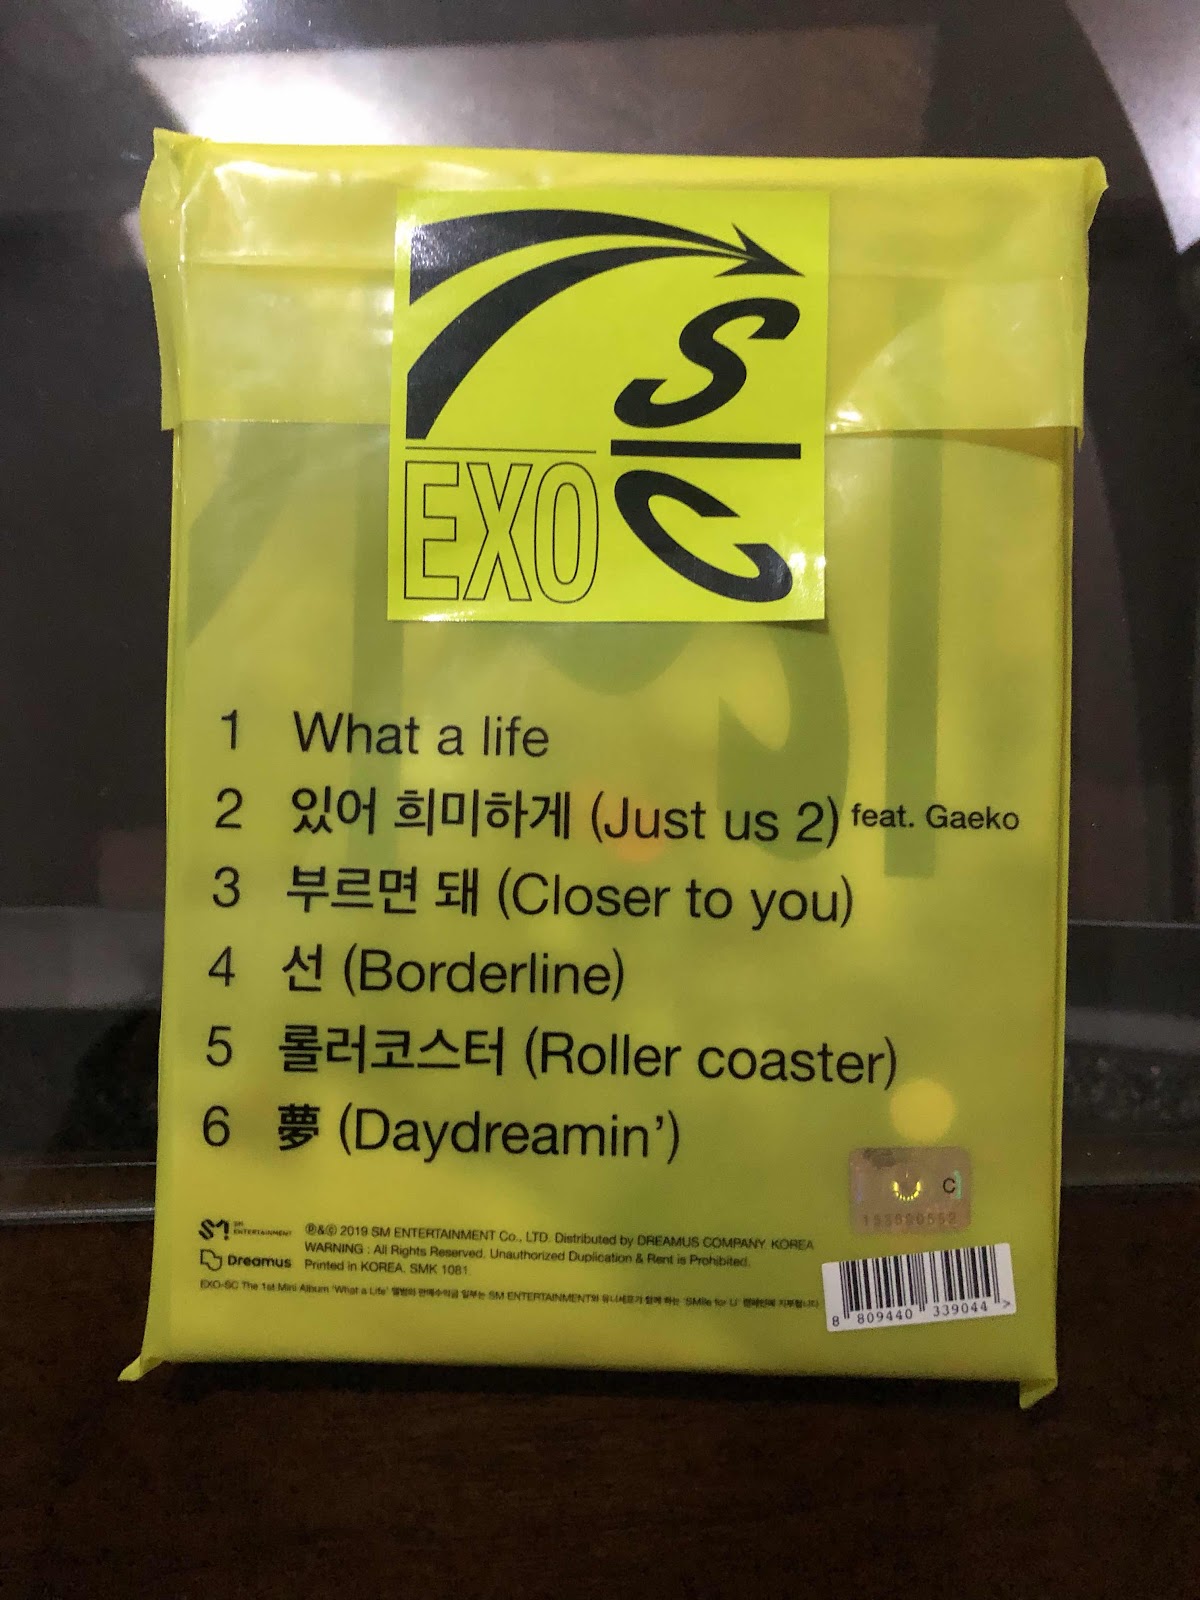
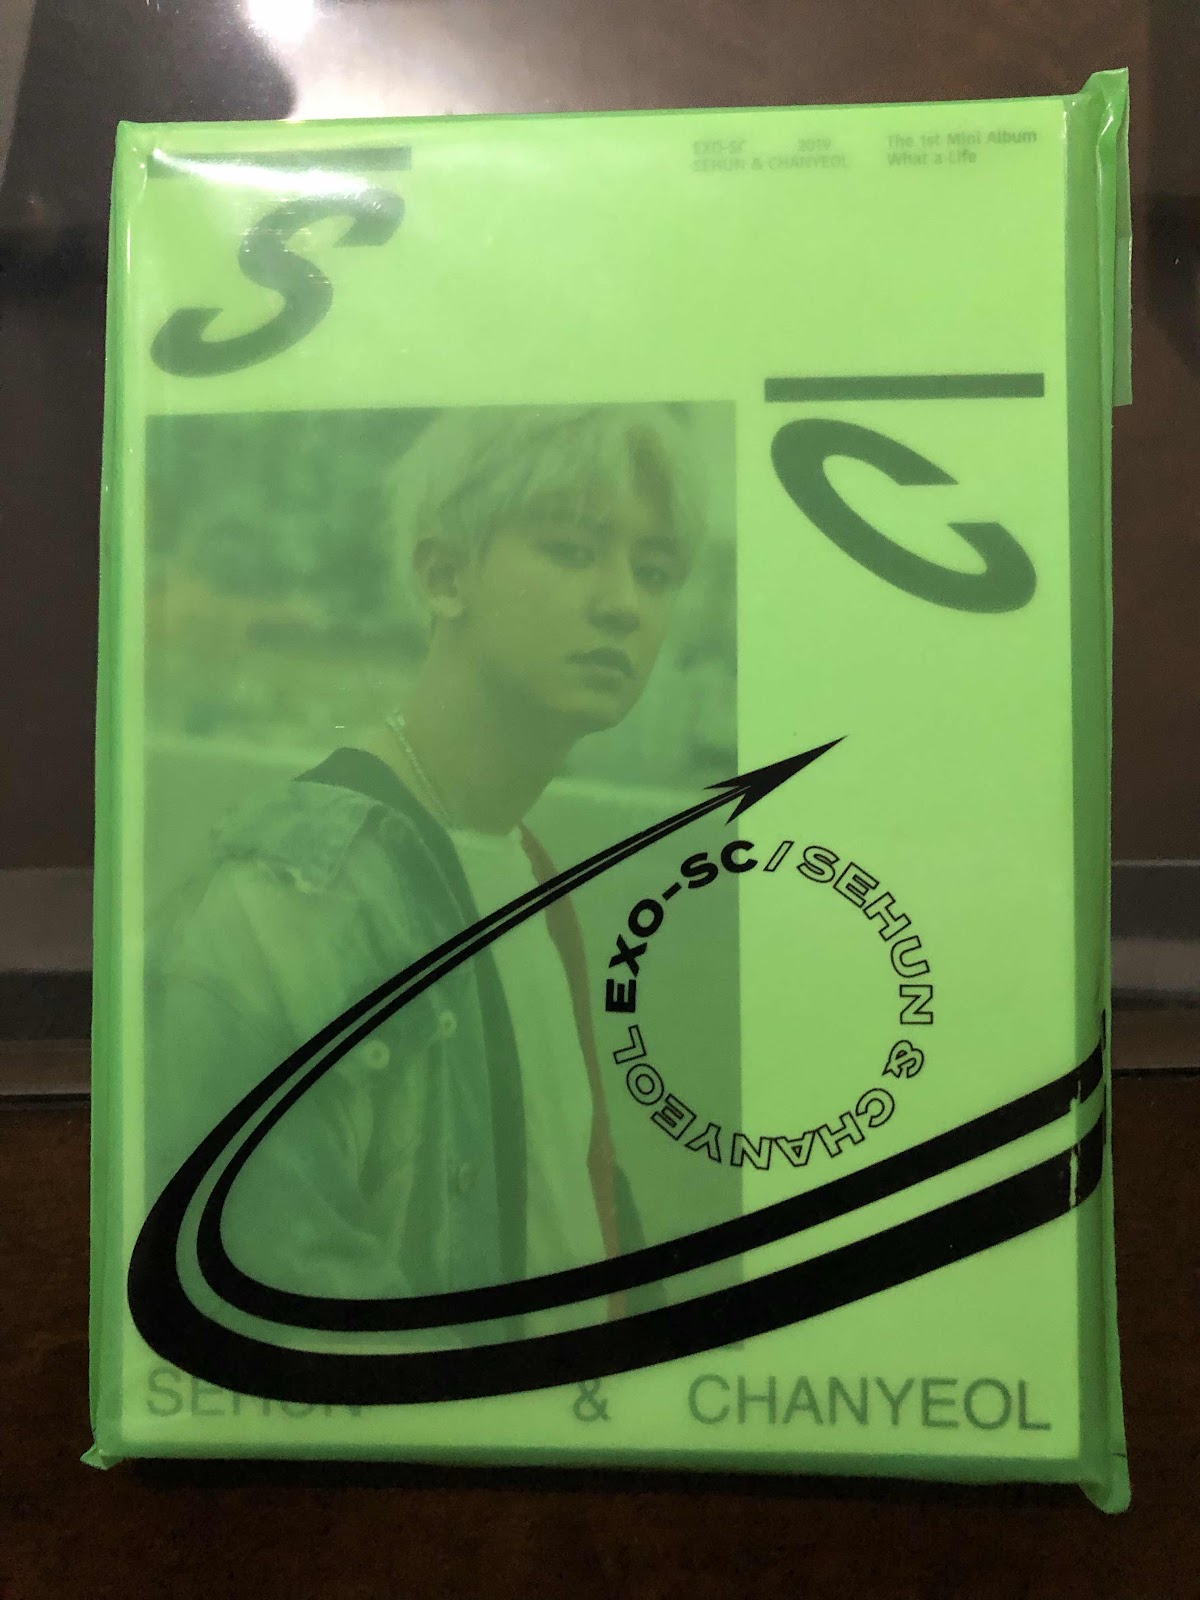
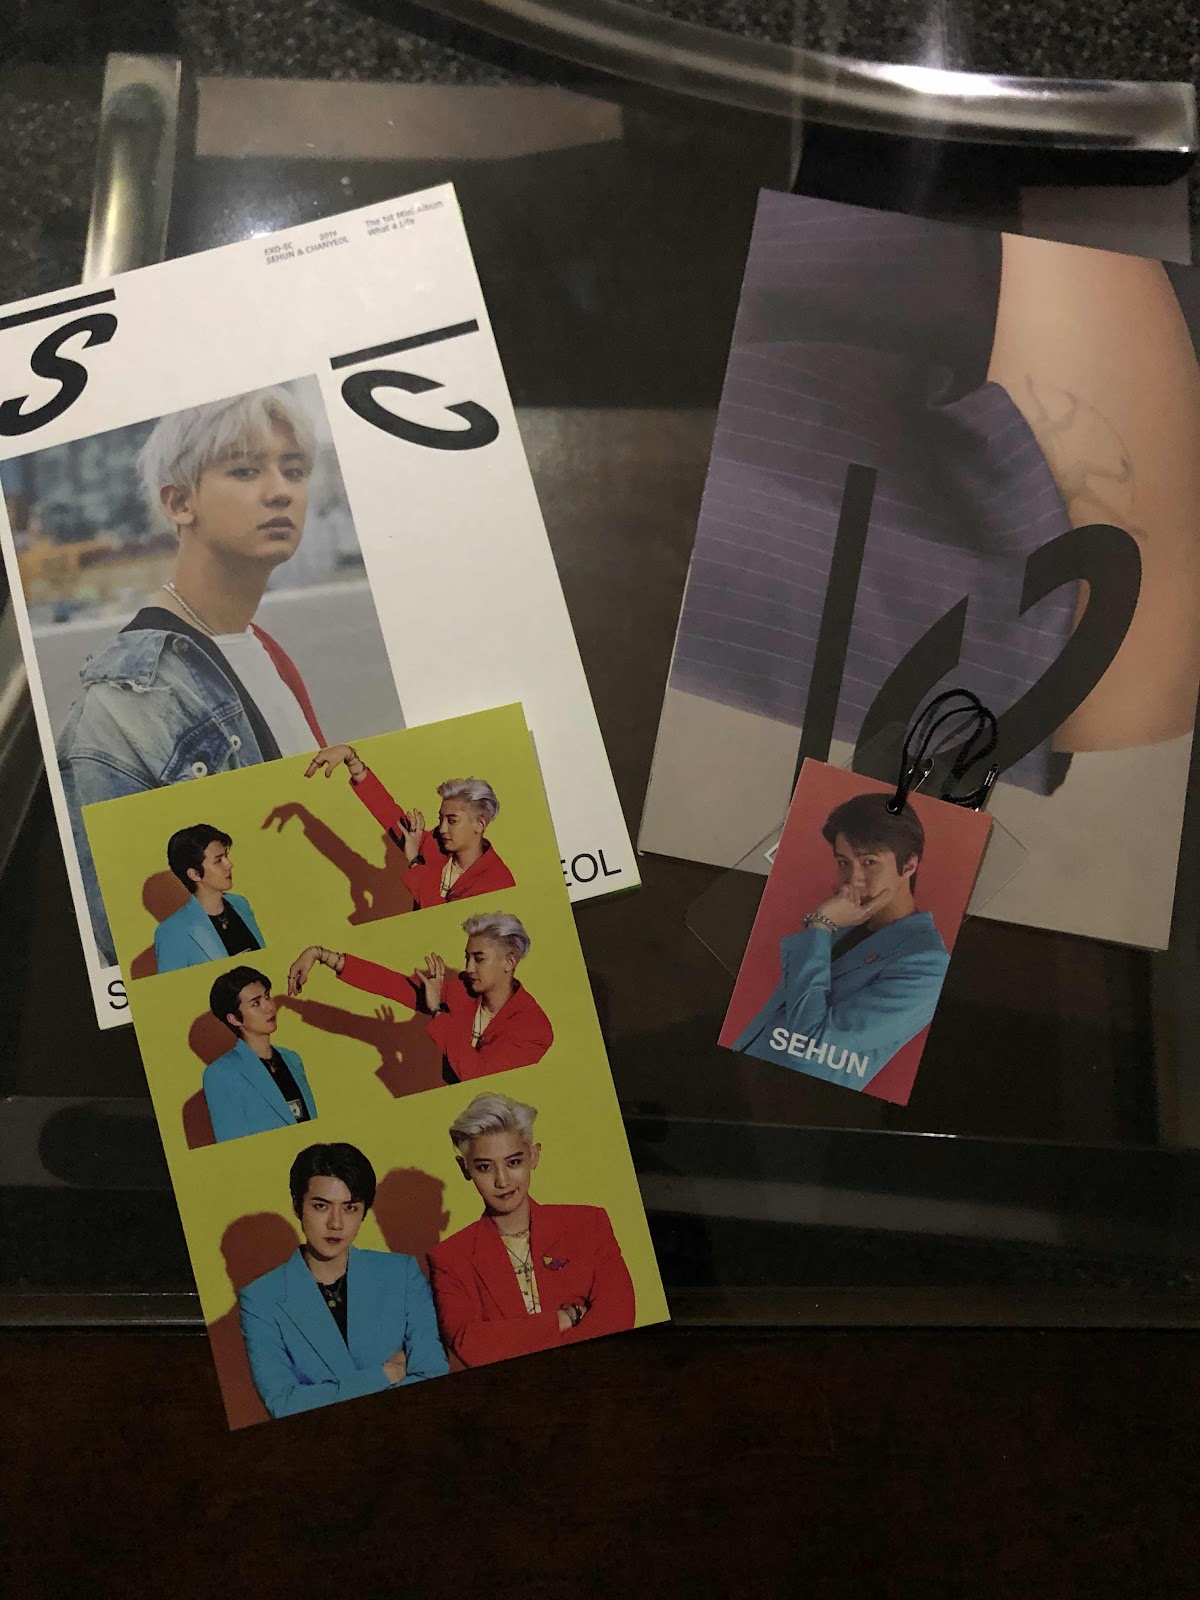
Another thing that happened this month is that a new sub-unit was formed in EXO. This sub-unit is made up of Sehun and Chanyeol. You know that the Maknae is on top when his name appears before his hyung on the name of the sub-unit which is EXO-SC. The album dropped on July 22, 2019 and there are three versions. One which has a picture of both of them on the cover (yellow) and one with Chanyeol's picture (green) and one with Sehun (red). I just realized that the three albums should be lined up in a certain order so I'll take a new photo and add that in so you can see.
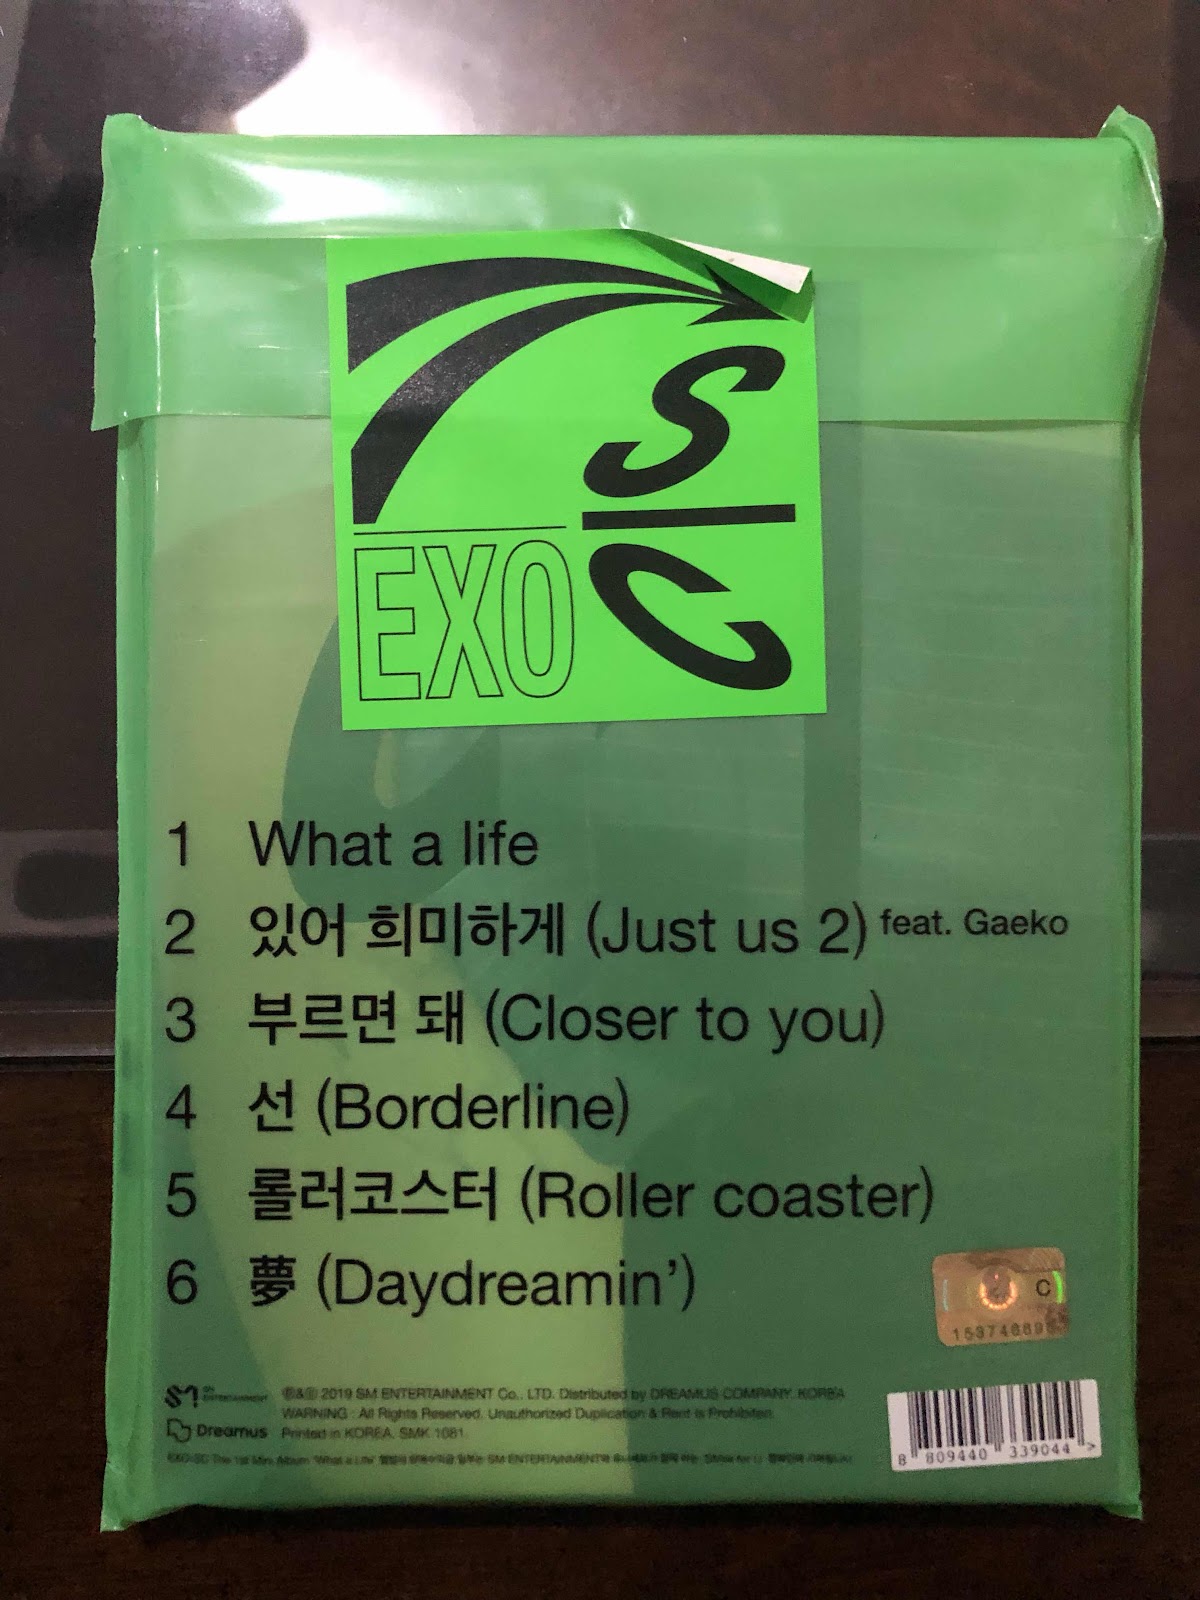
The Tracklist is:
1. What a life
2. Just Us 2
3. Closer to you
4. Borderline
5. Roller coaster
6. Daydreamin'
I have not chosen a favorite yet because I love them all but here are the MVs for some of the songs.
What a life
Just Us 2
Closer to you
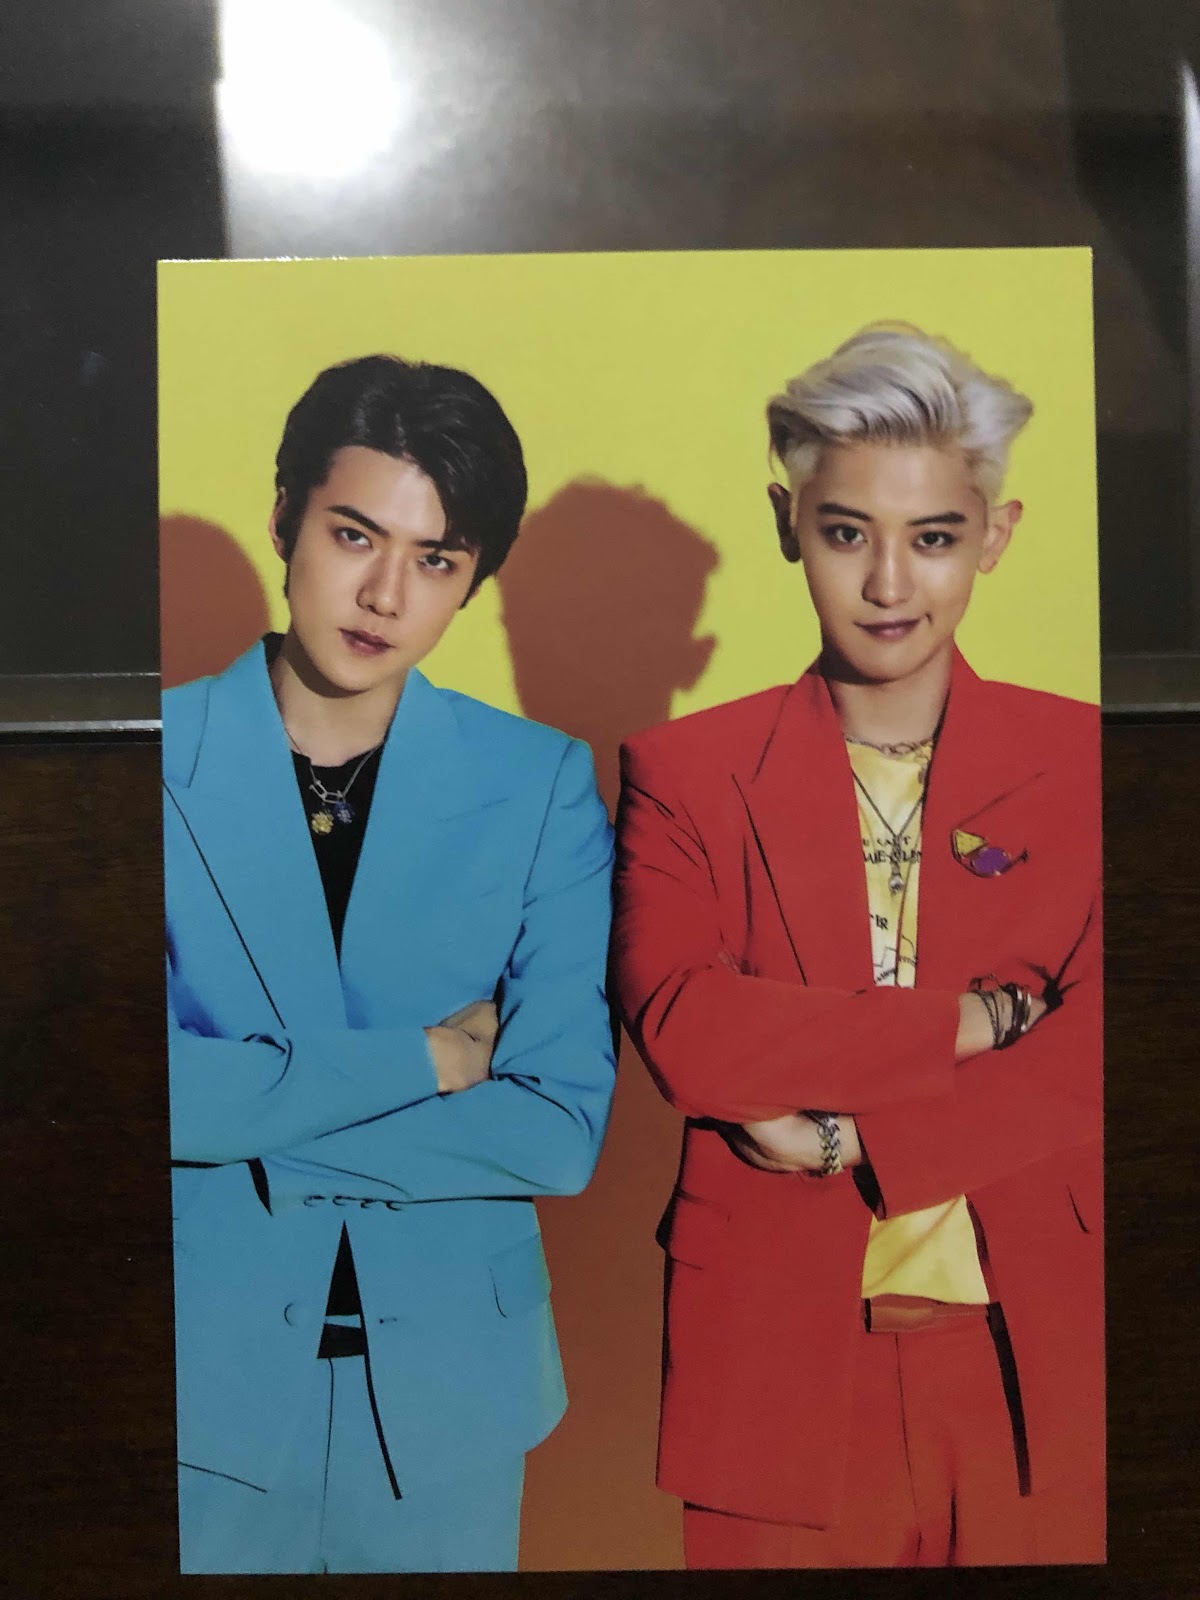
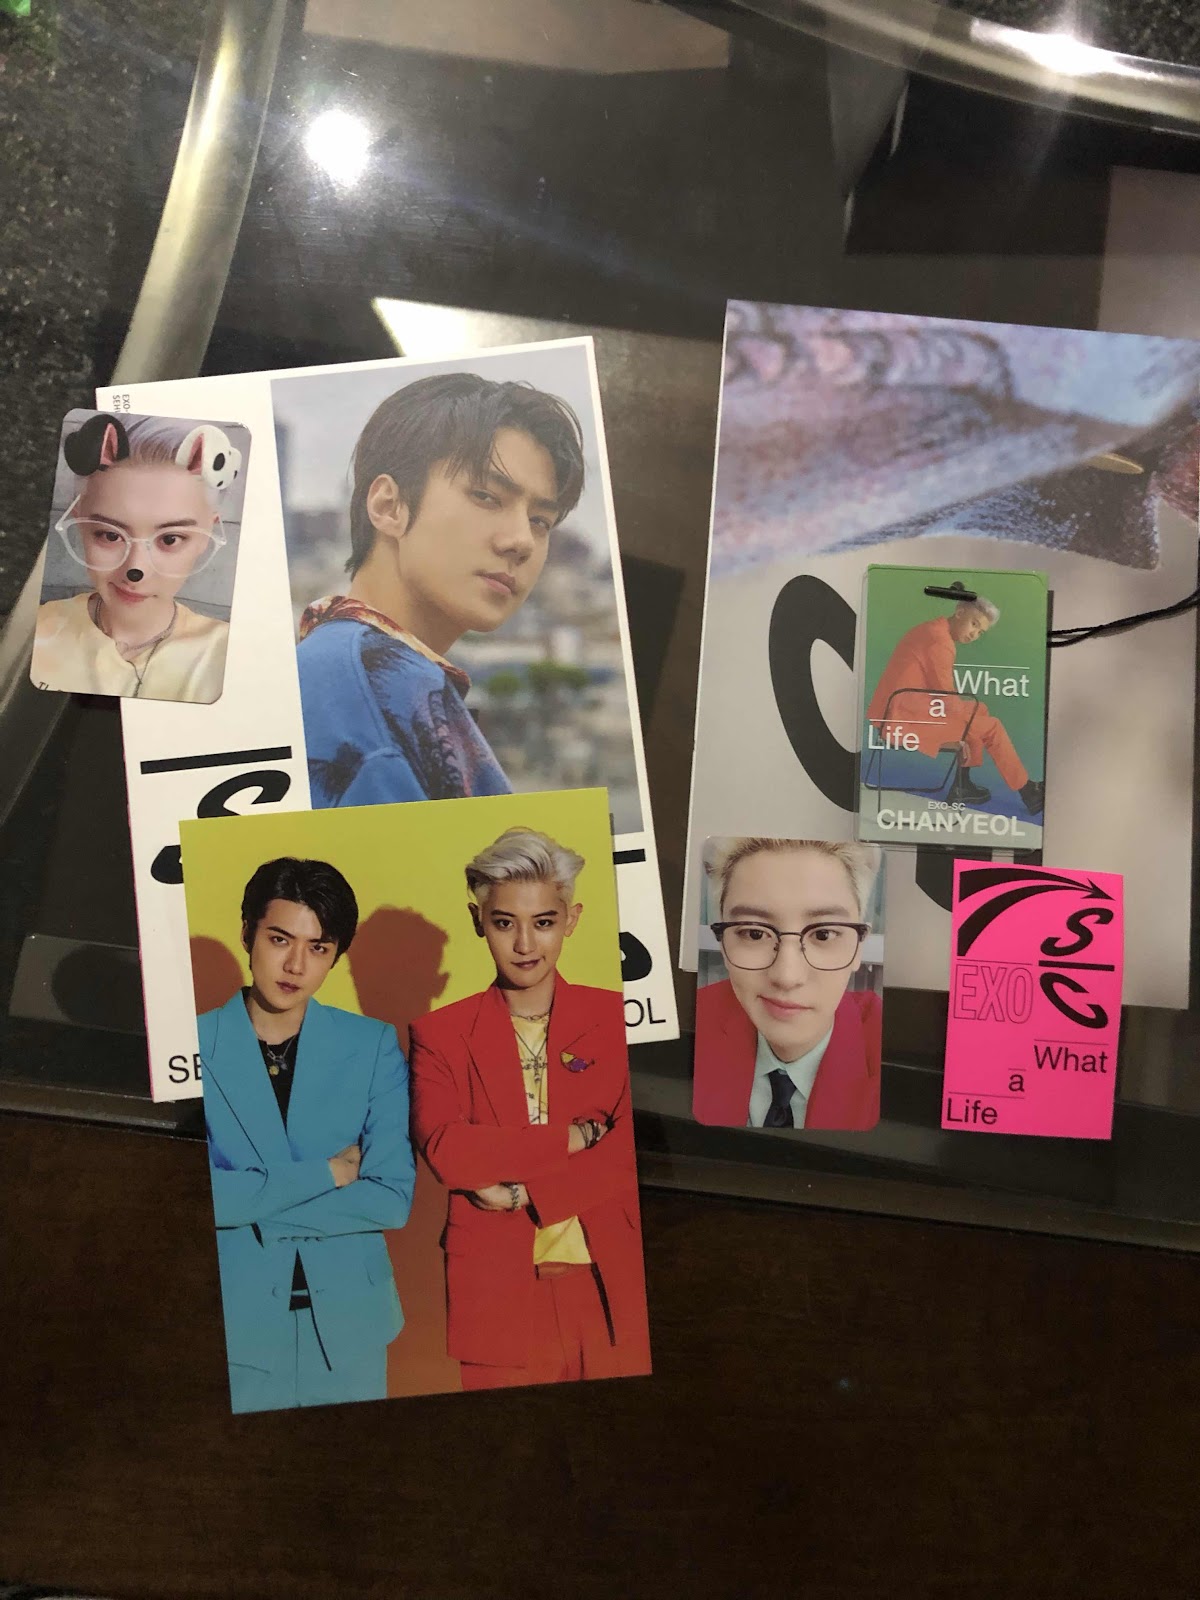
So starting with the Yellow version. Here is everything in the packet.

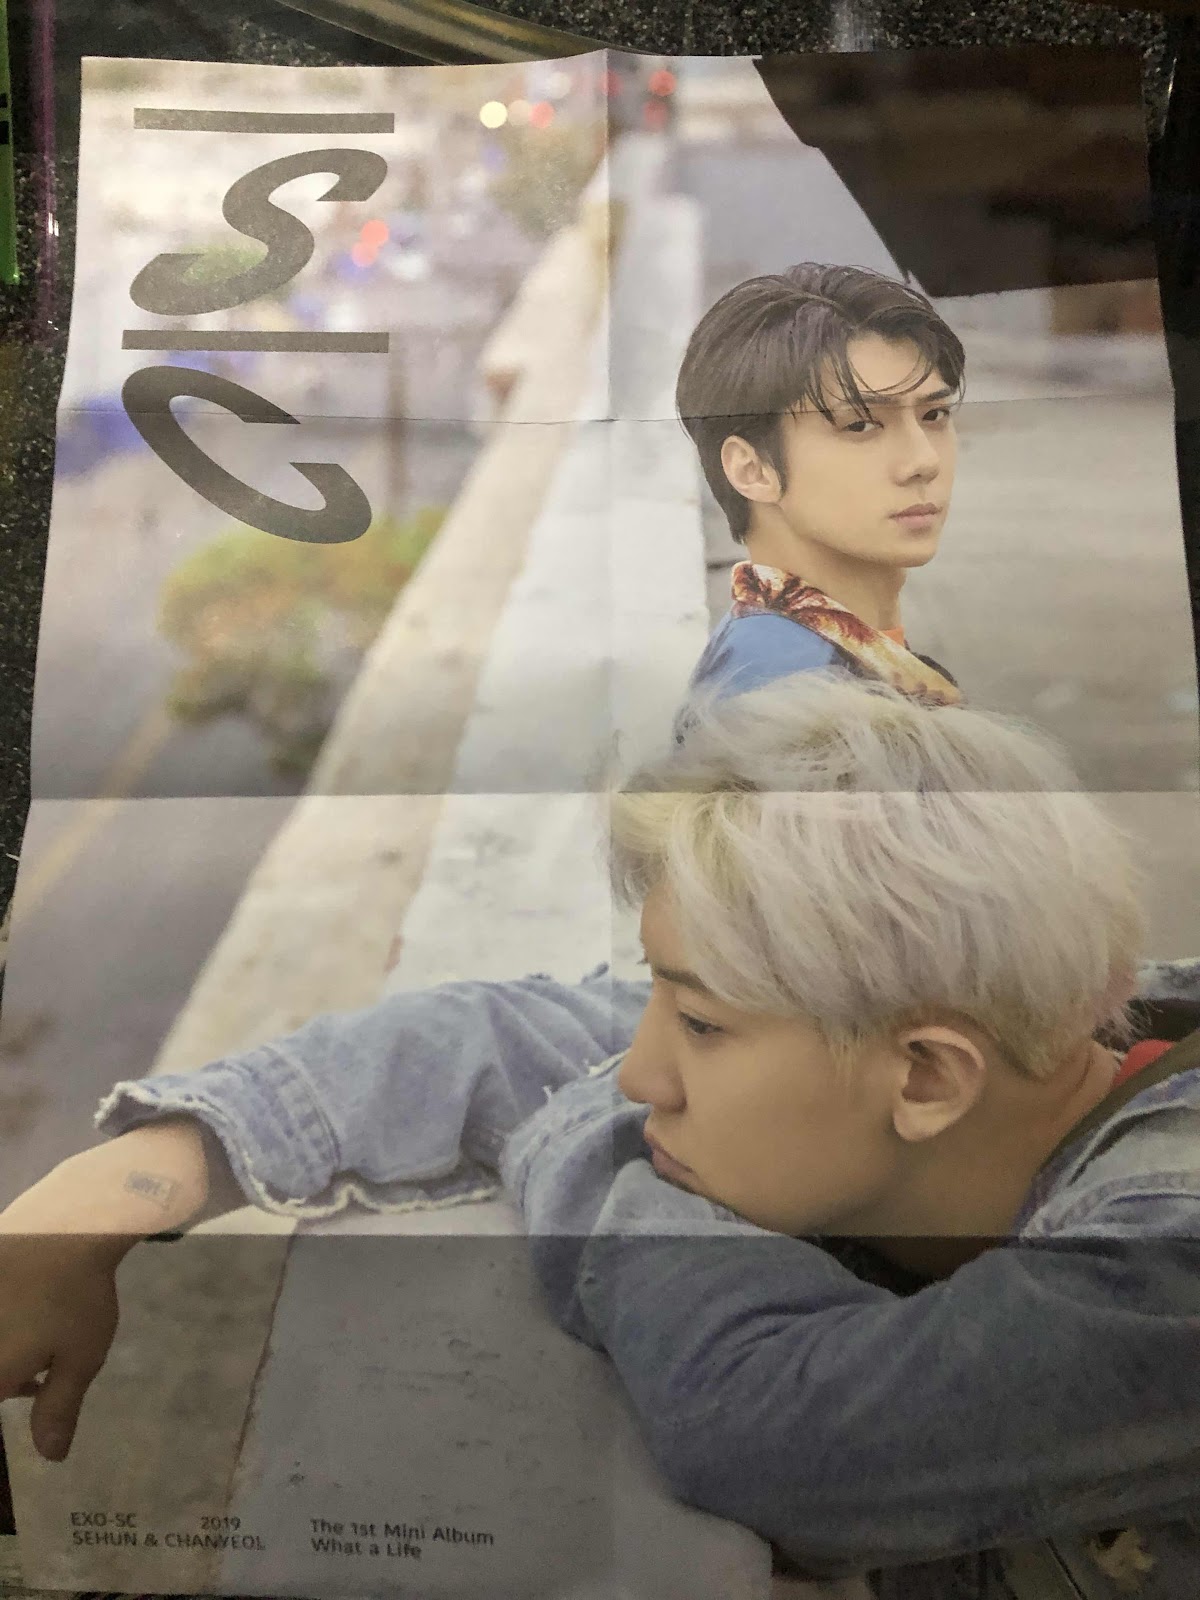
A folded poster with both Chanyeol and Sehun.
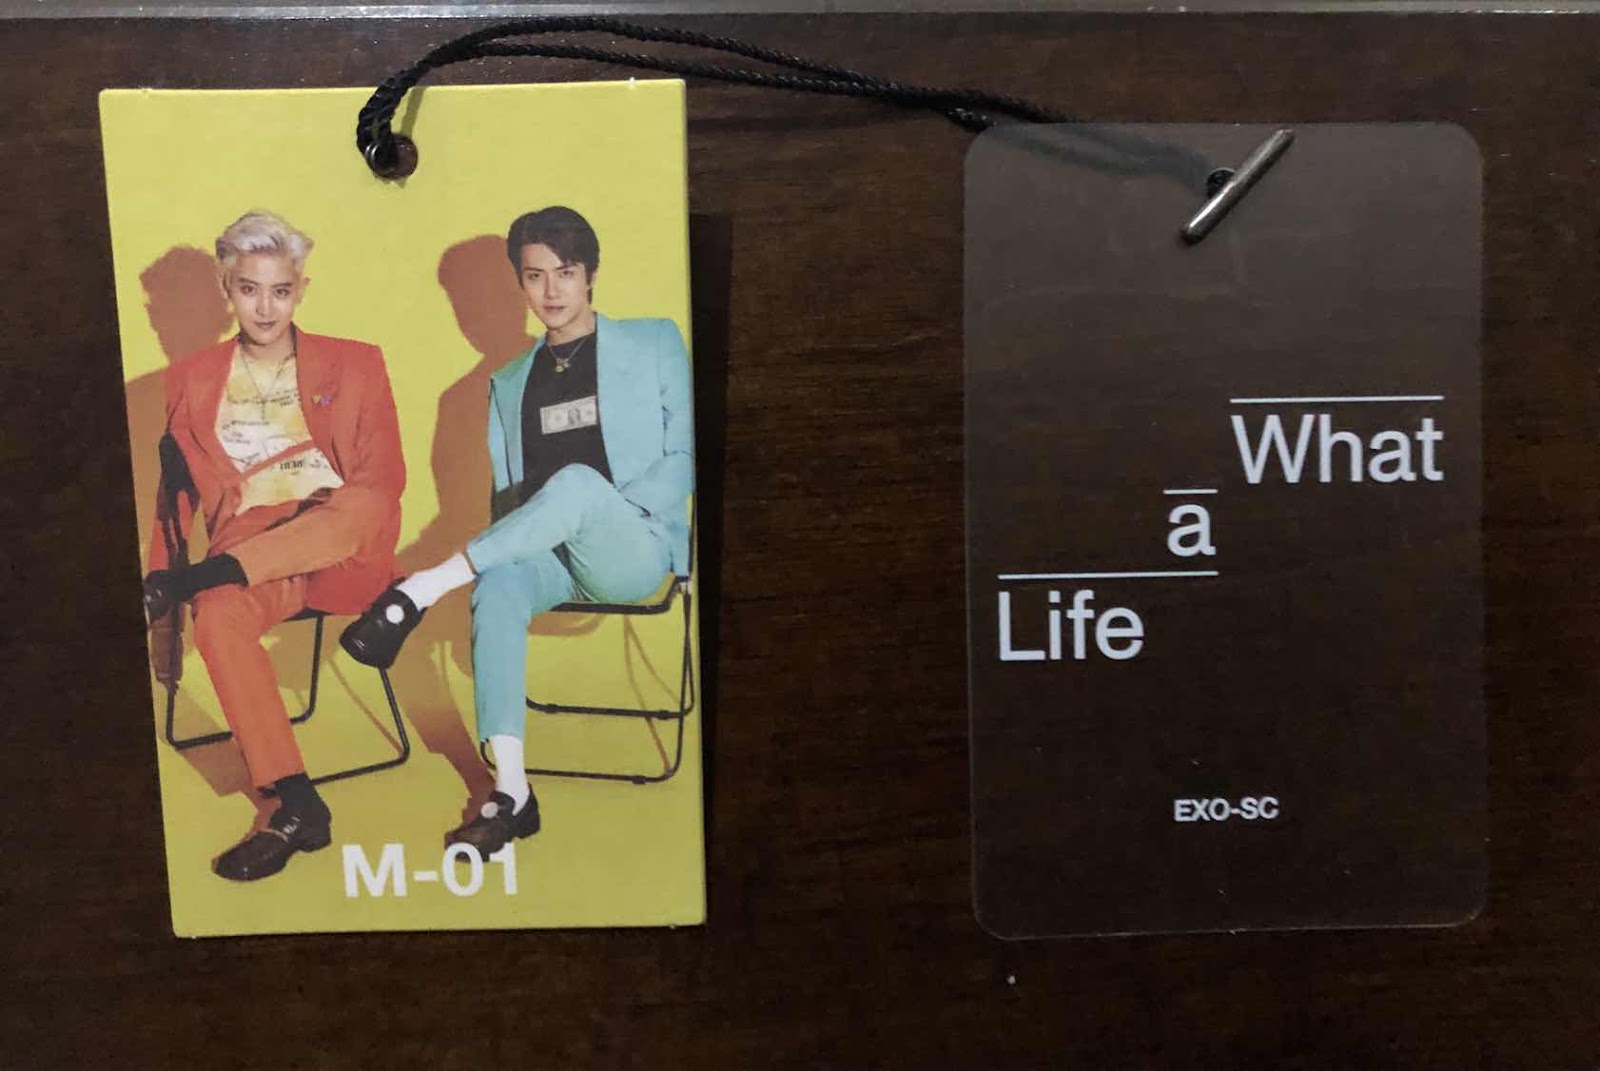
A Tag
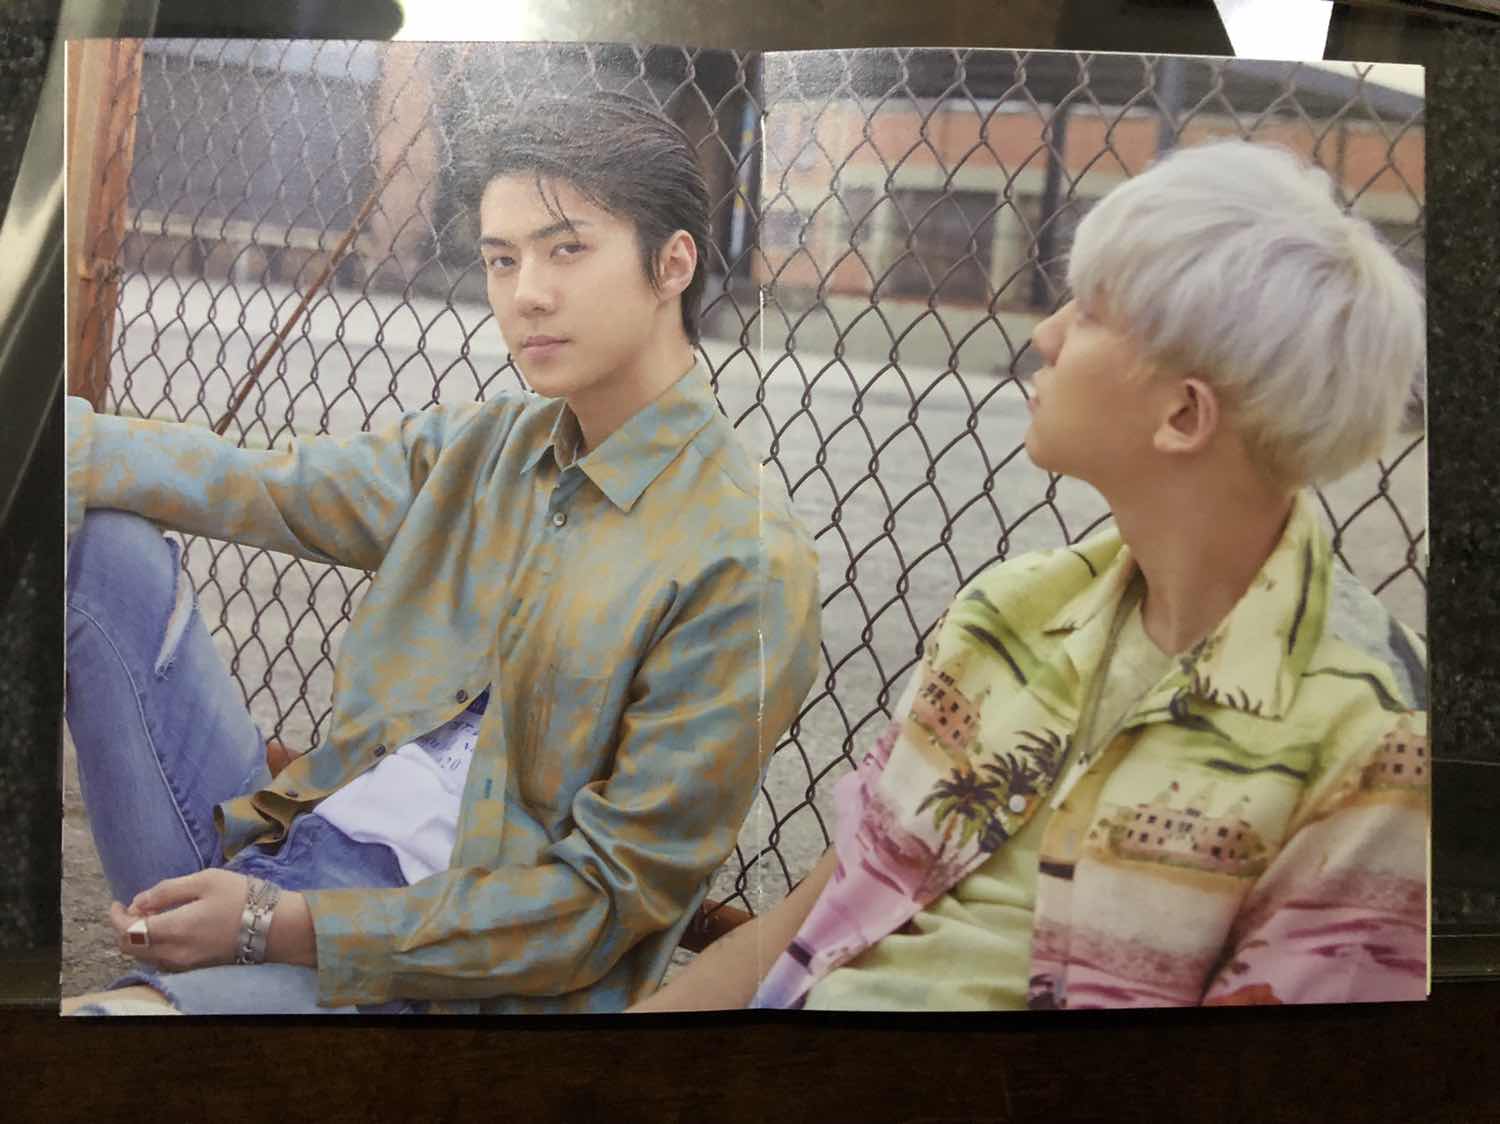
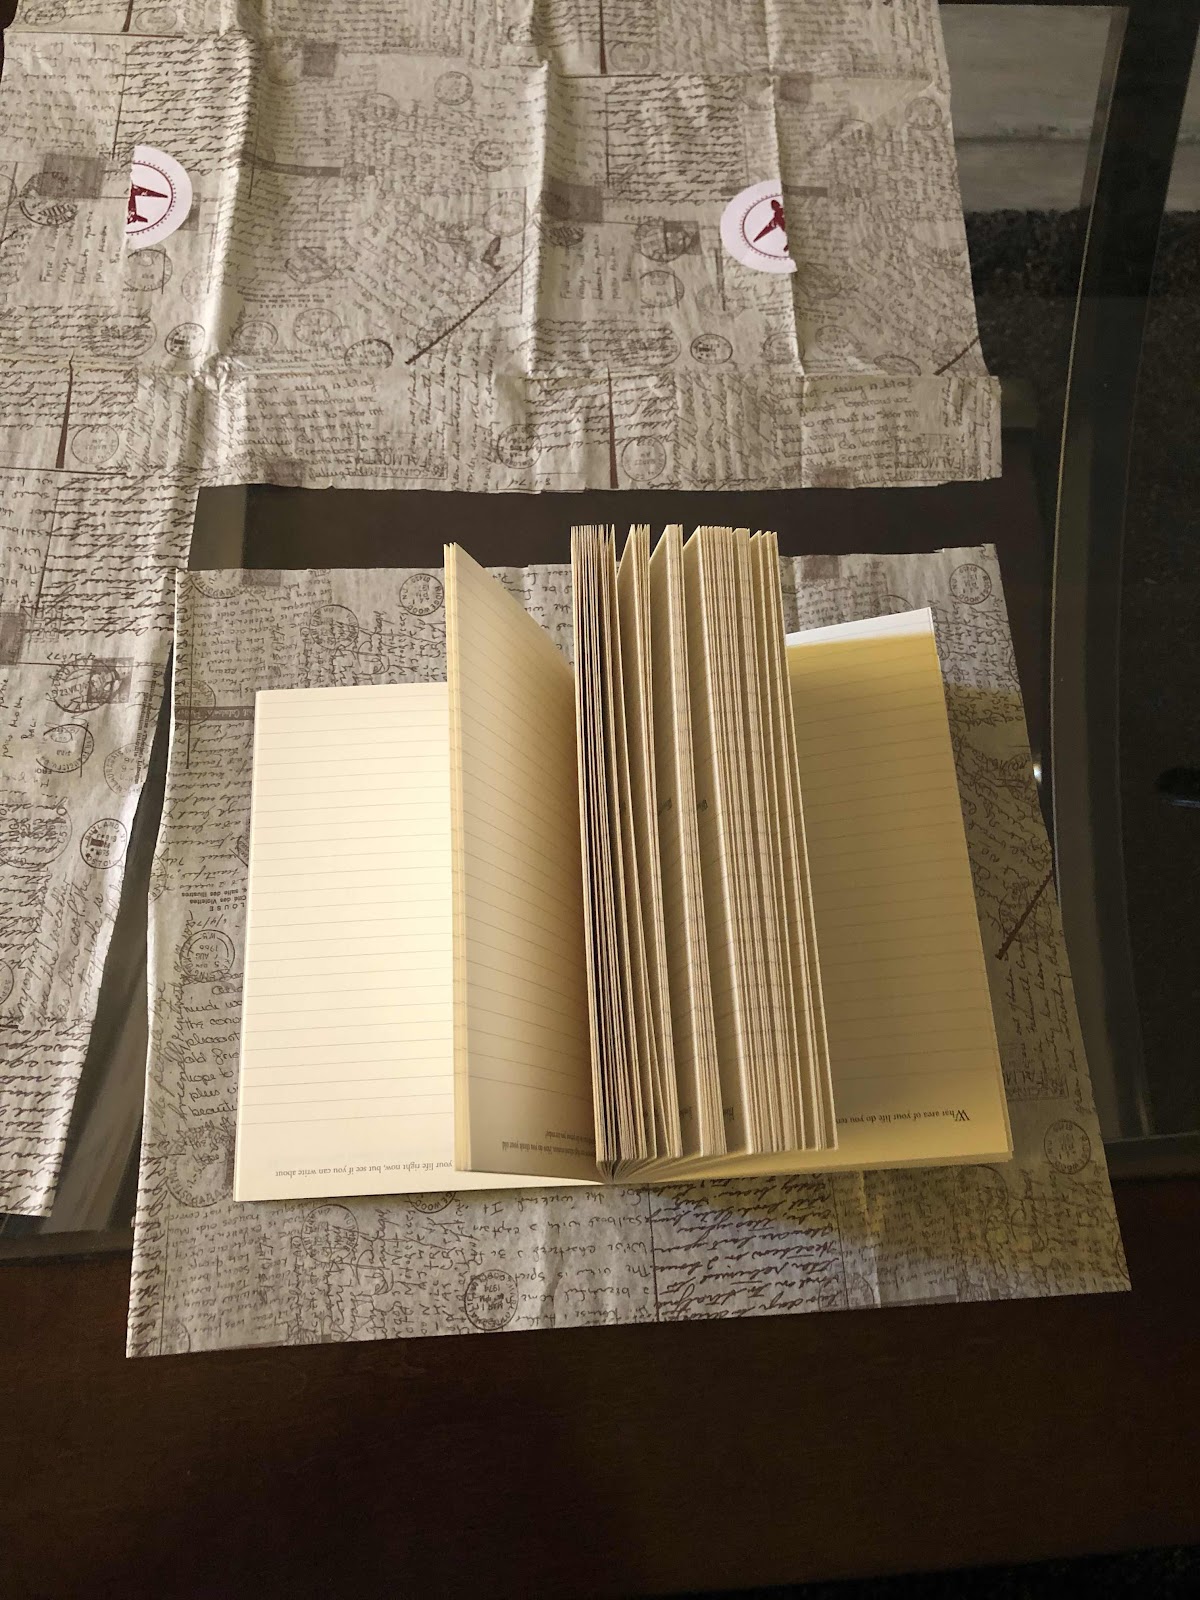
A book that lays flat which is my favorite kind of book.
A CD
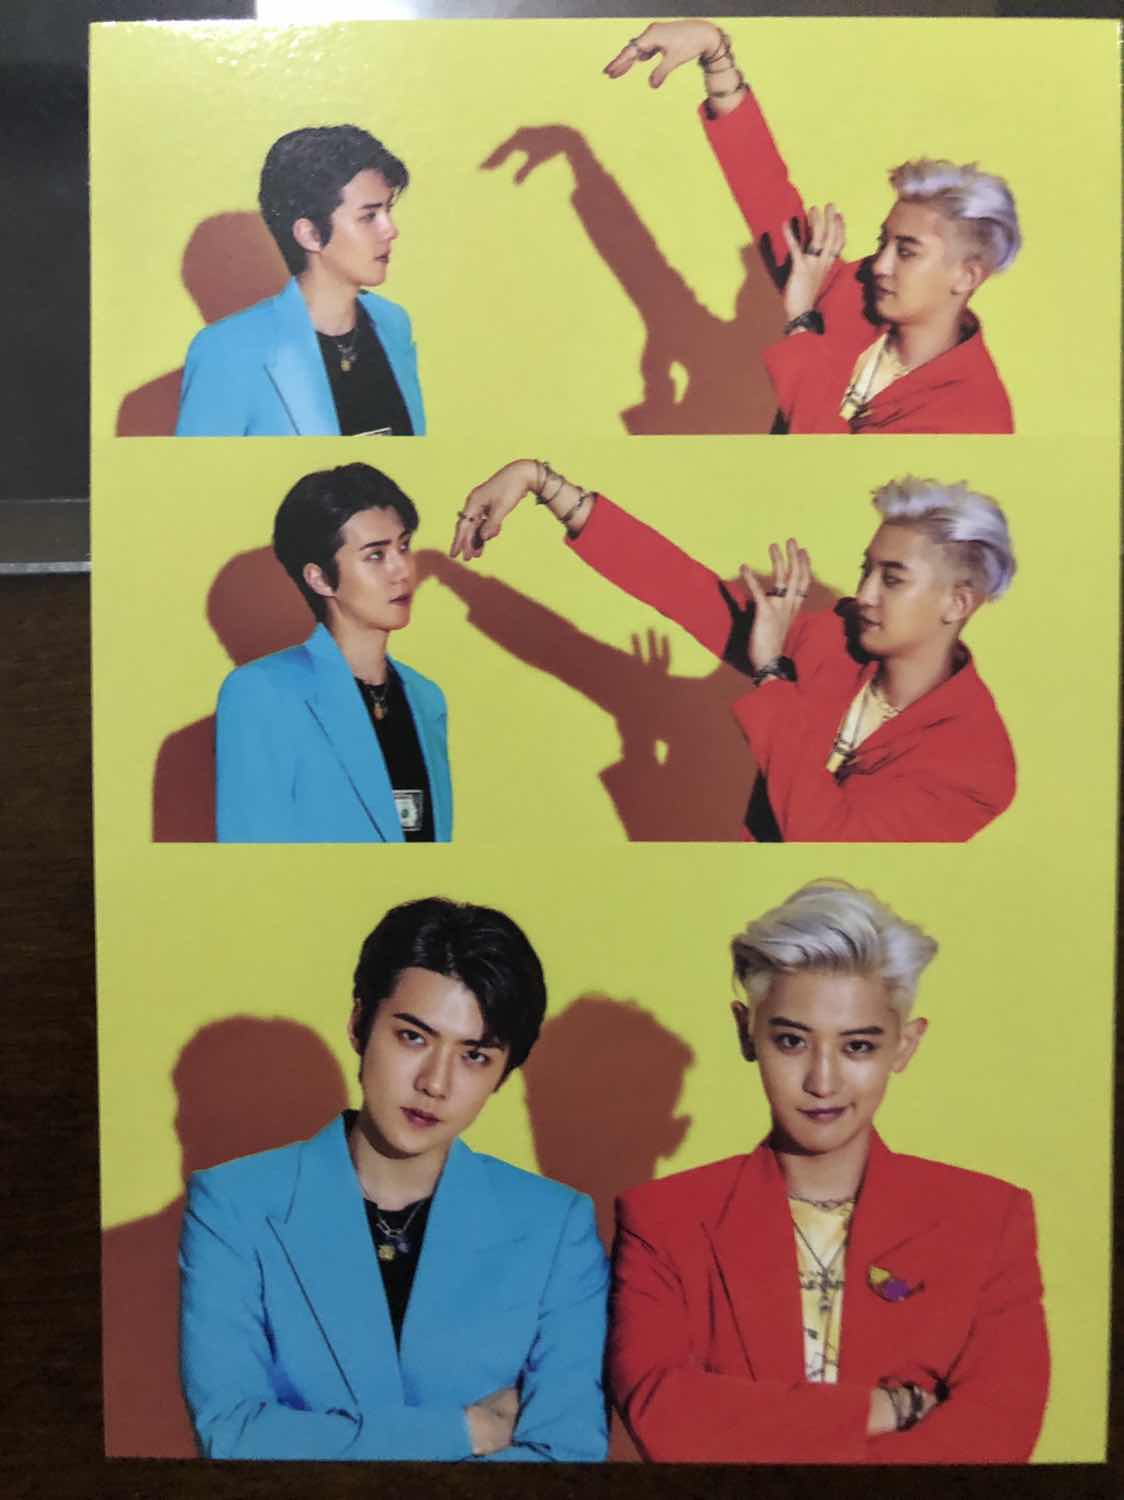
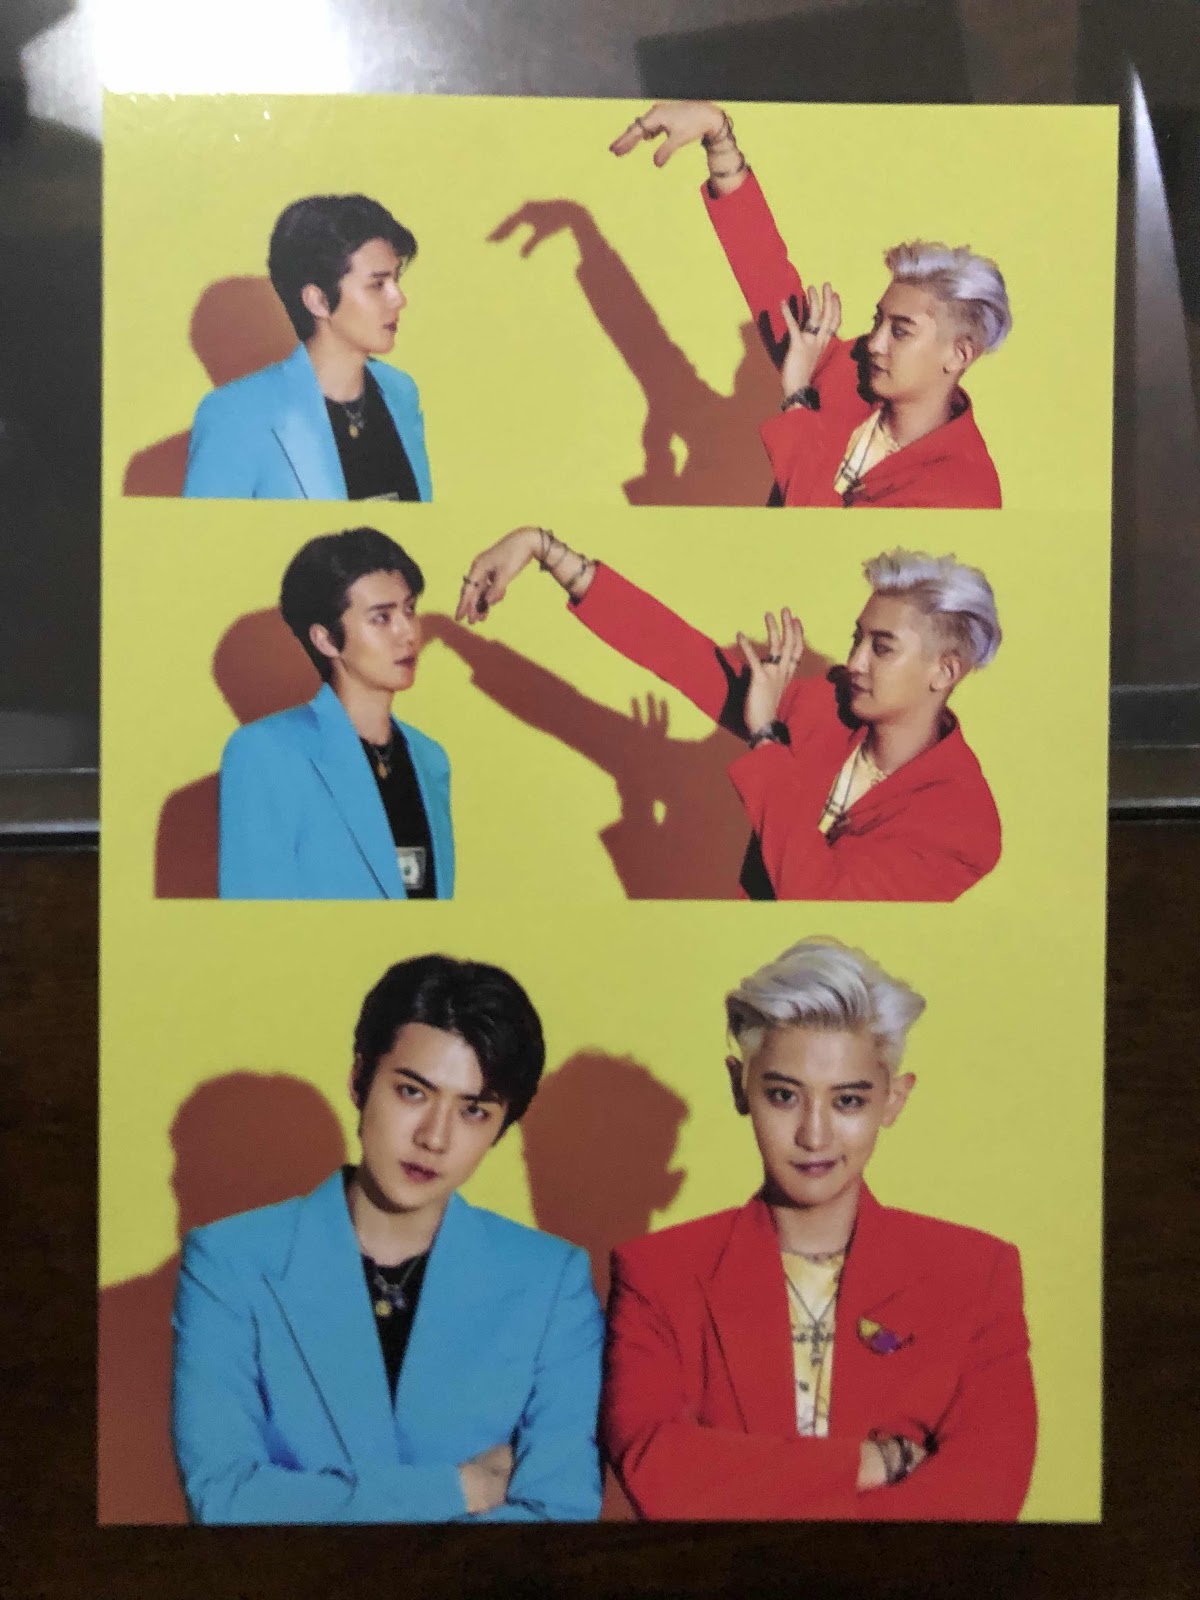
A postcard sized card.

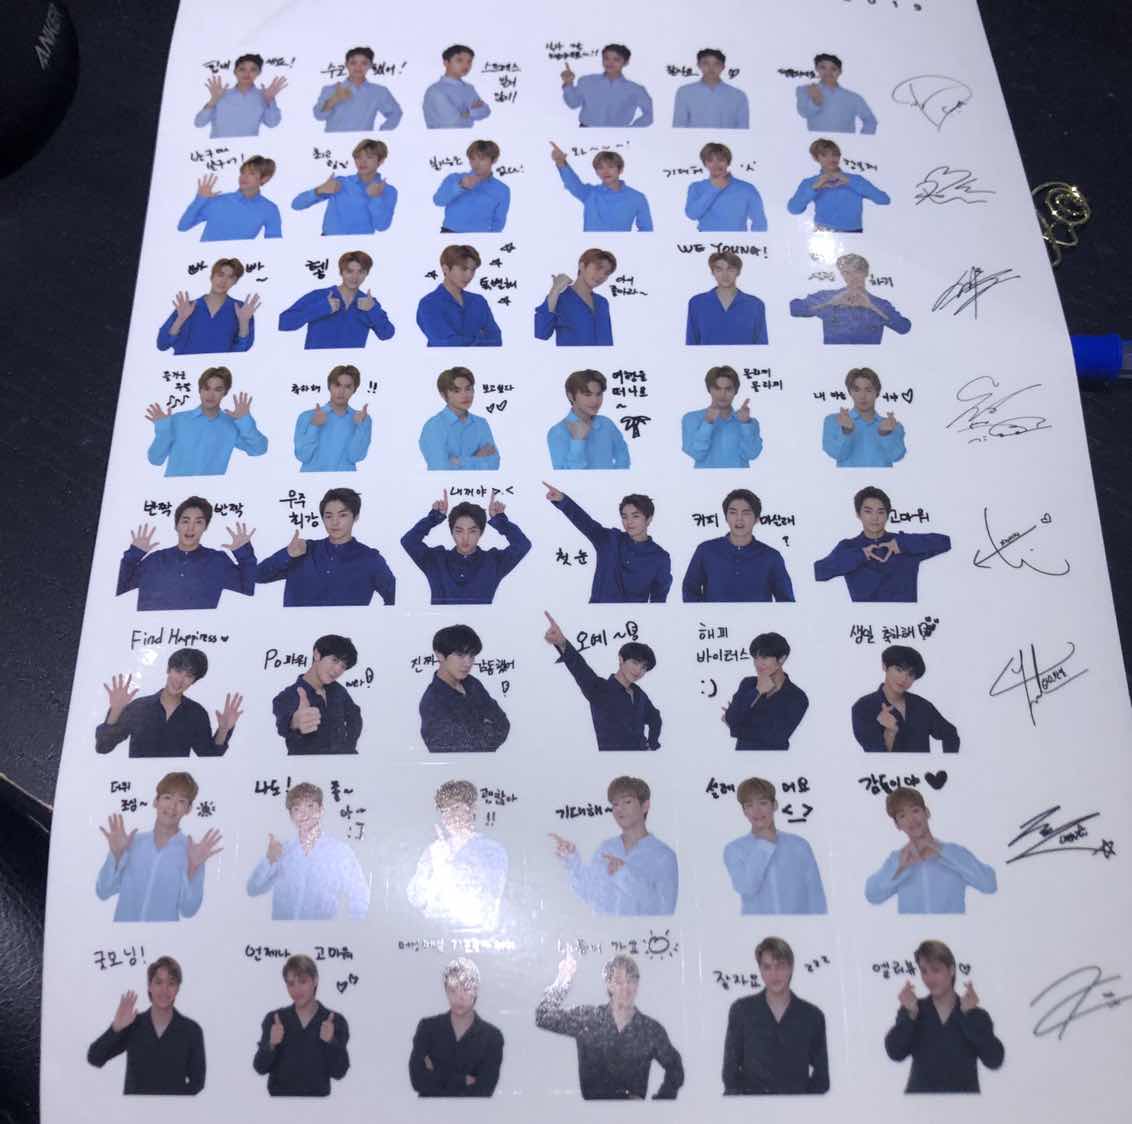
A sticker.
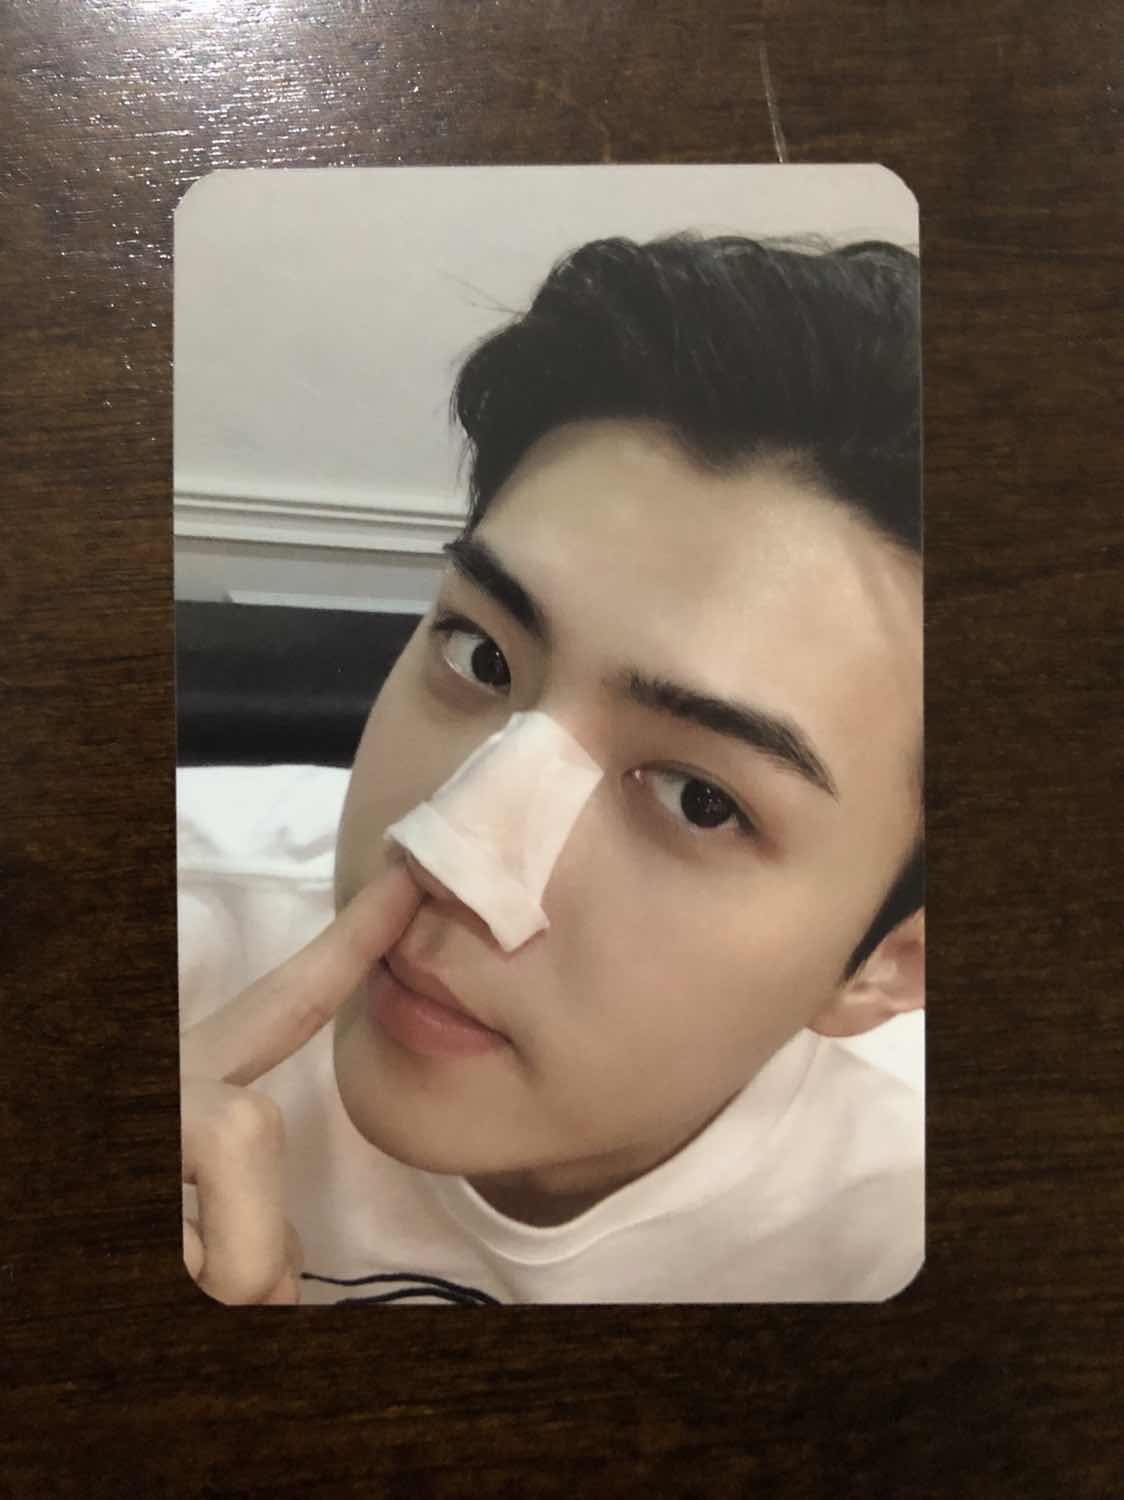
A card, can you tell Sehun is the maknae?? Also a dork, but he is still our baby golden boy.
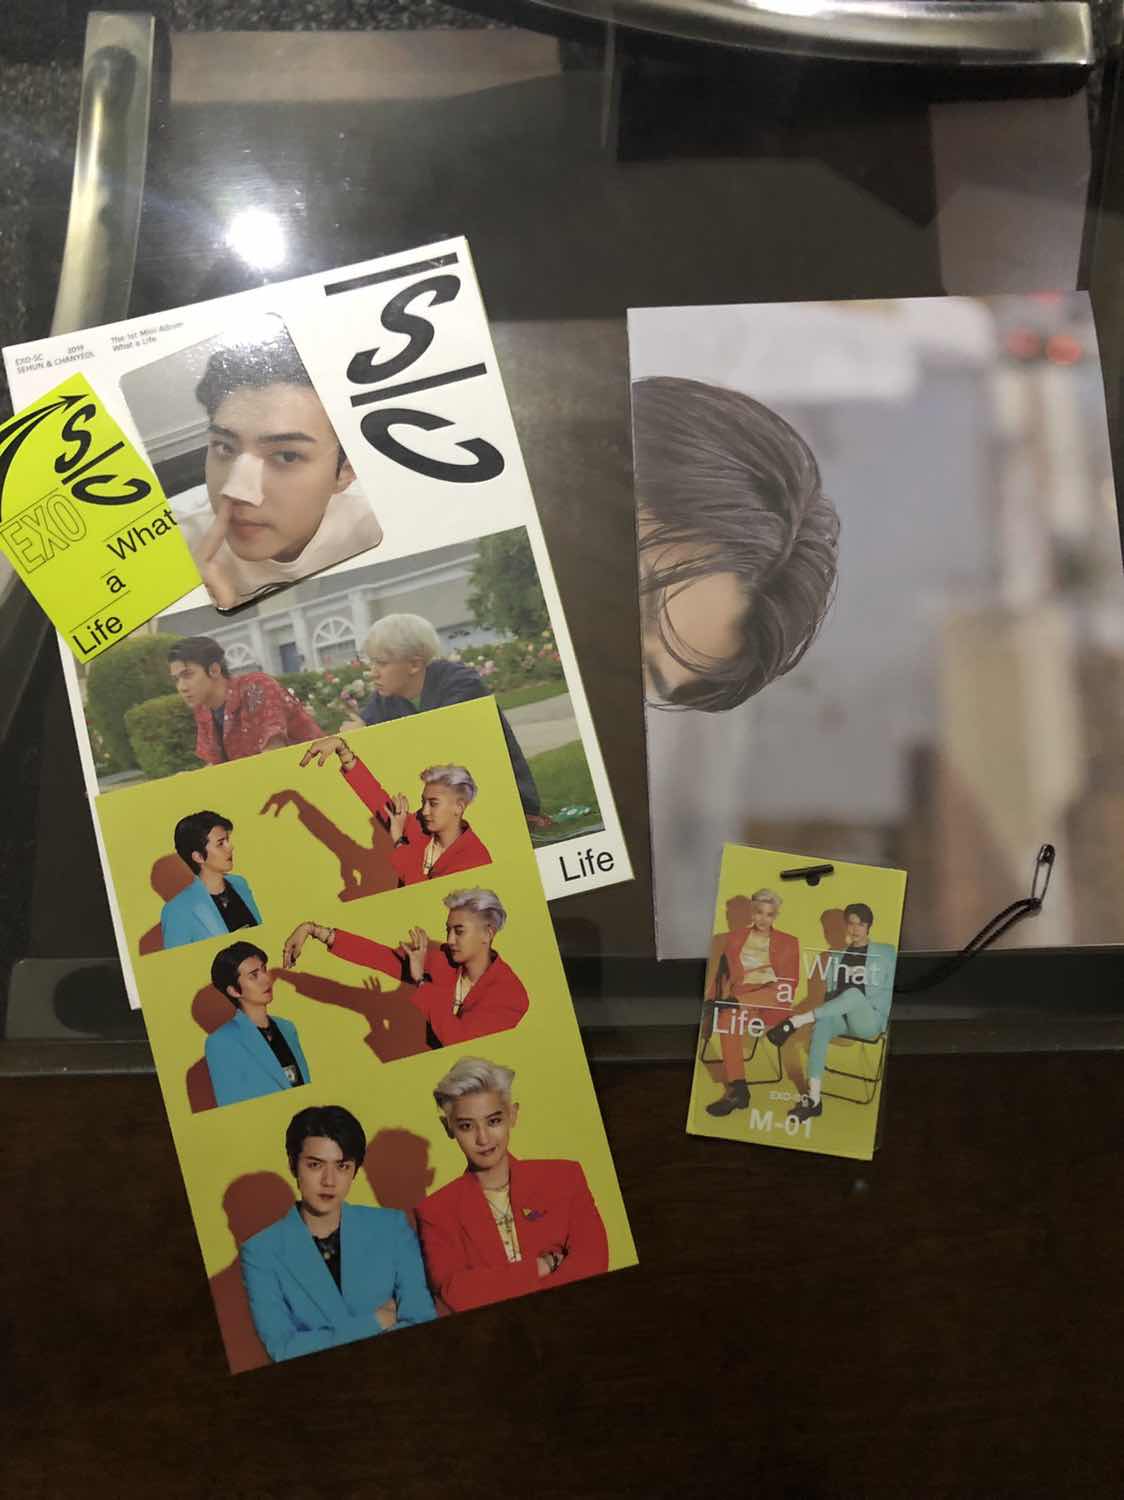
All that was in the yellow packet.


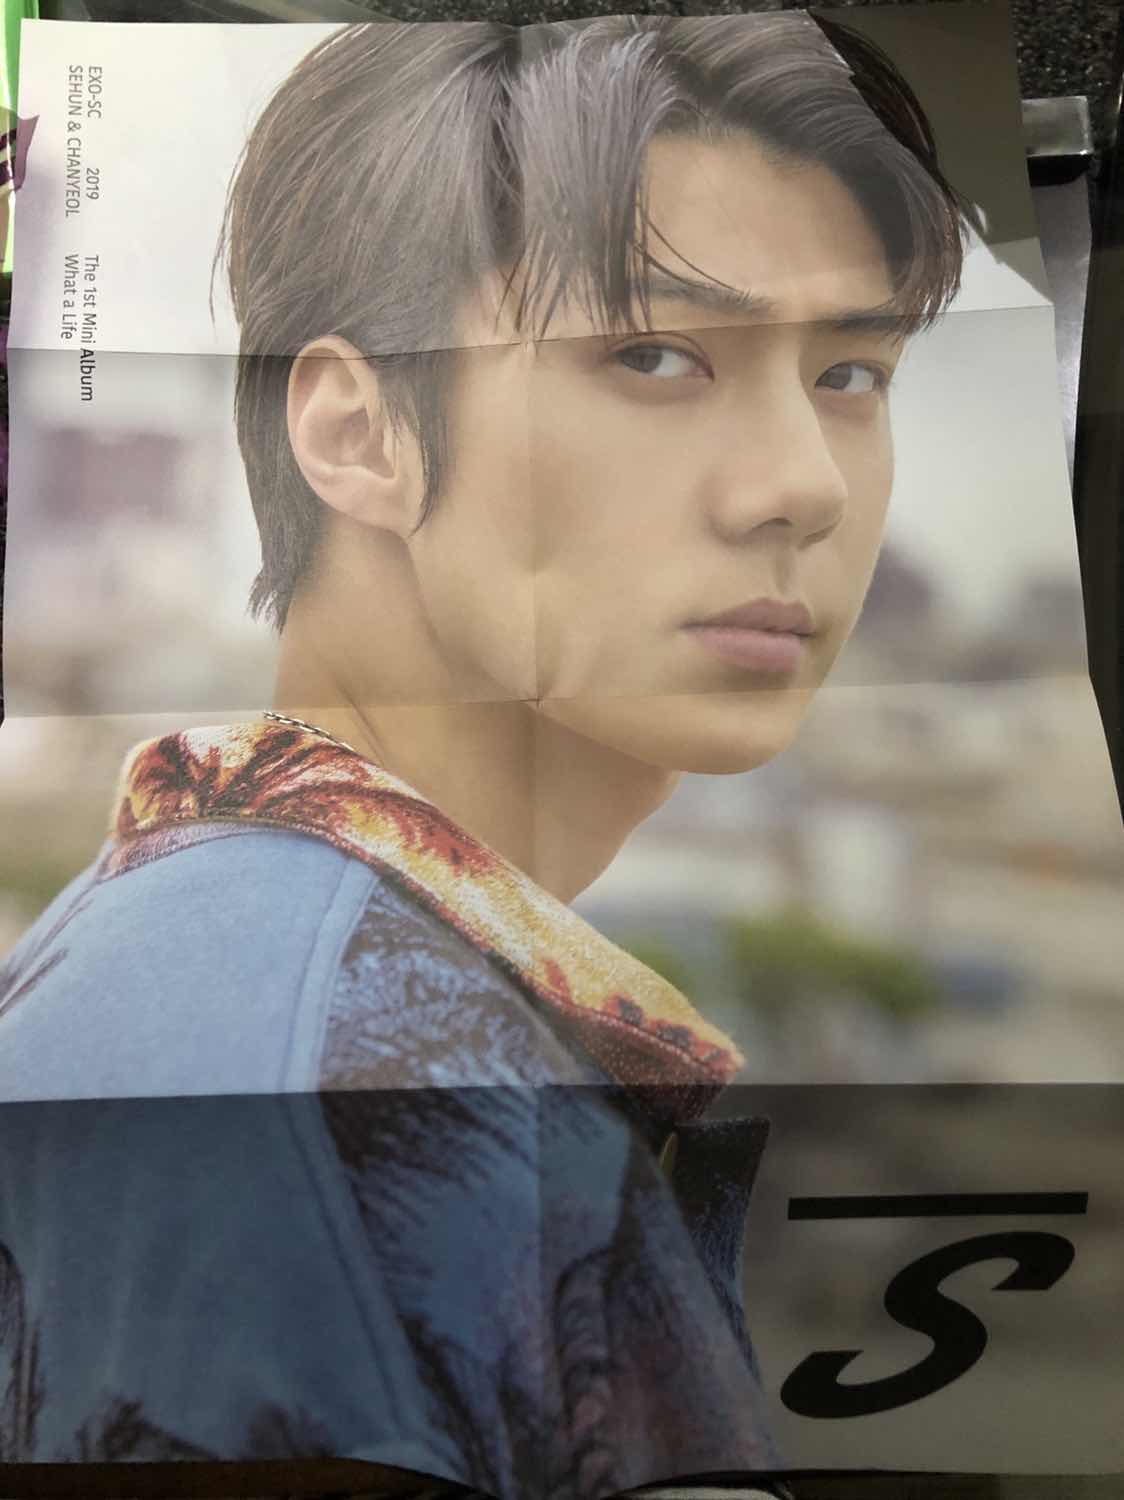
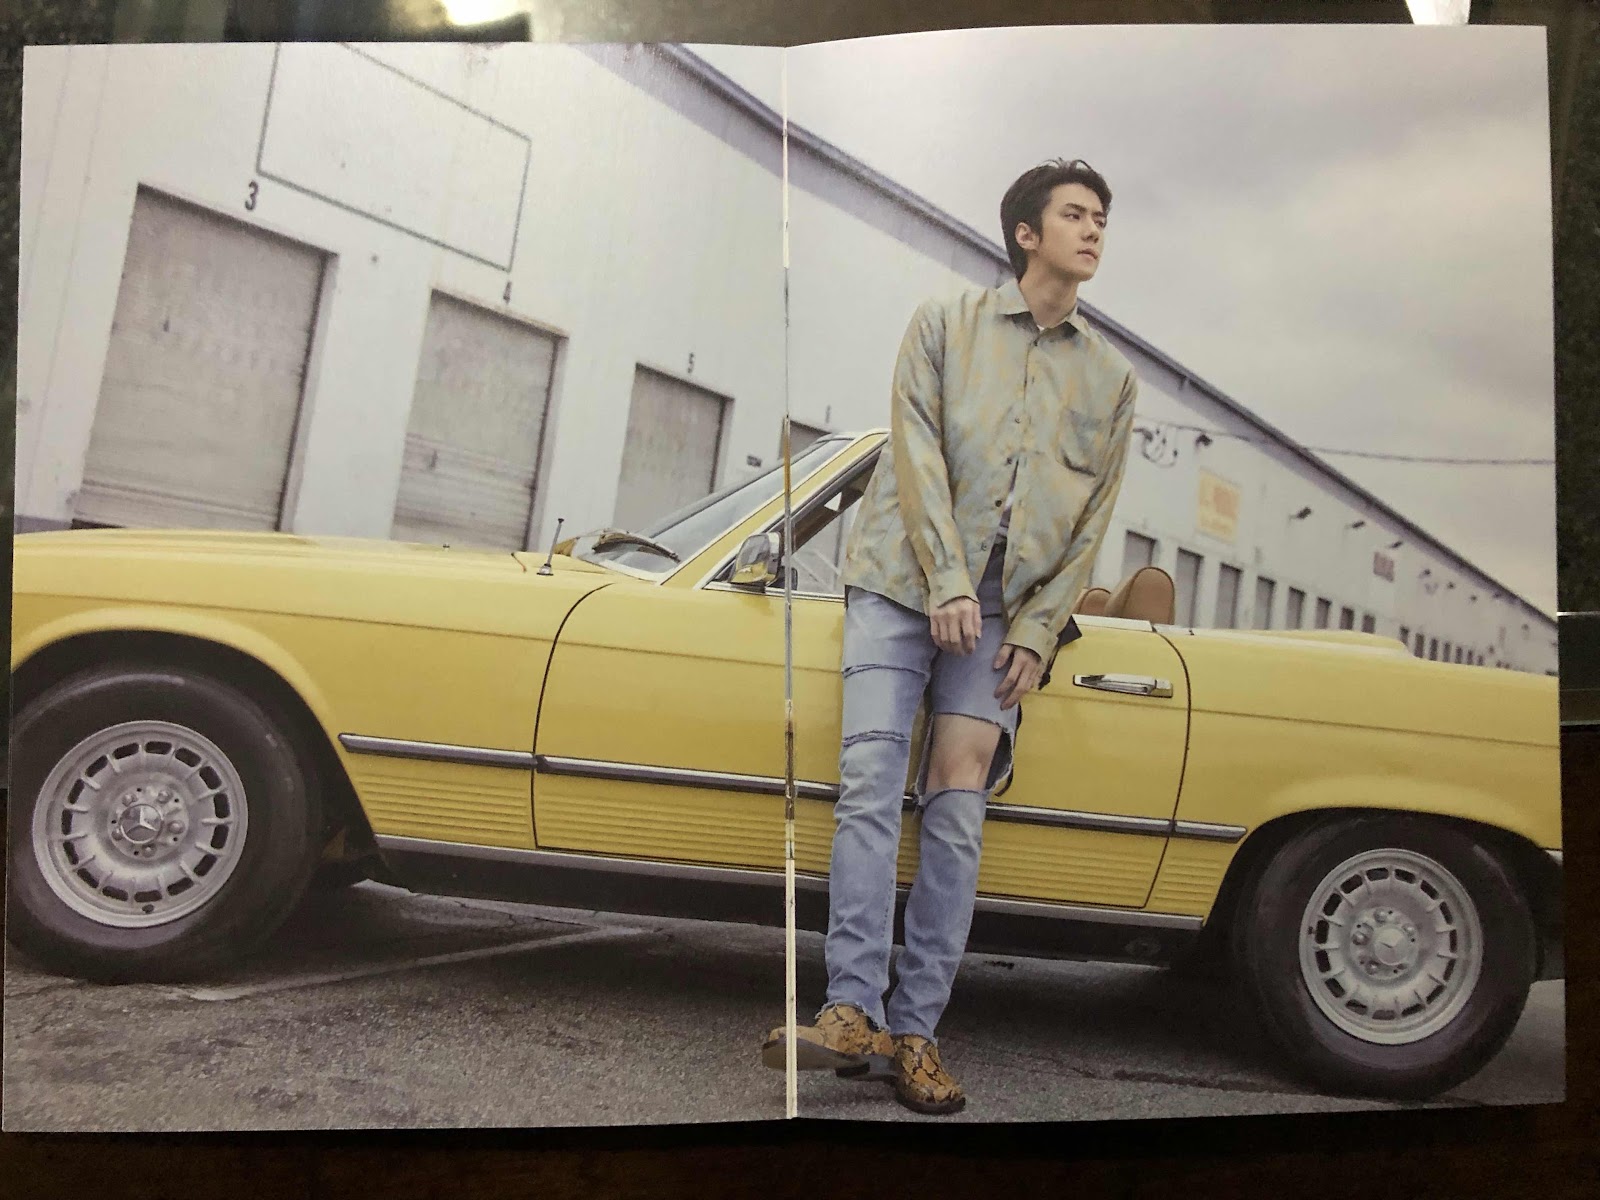
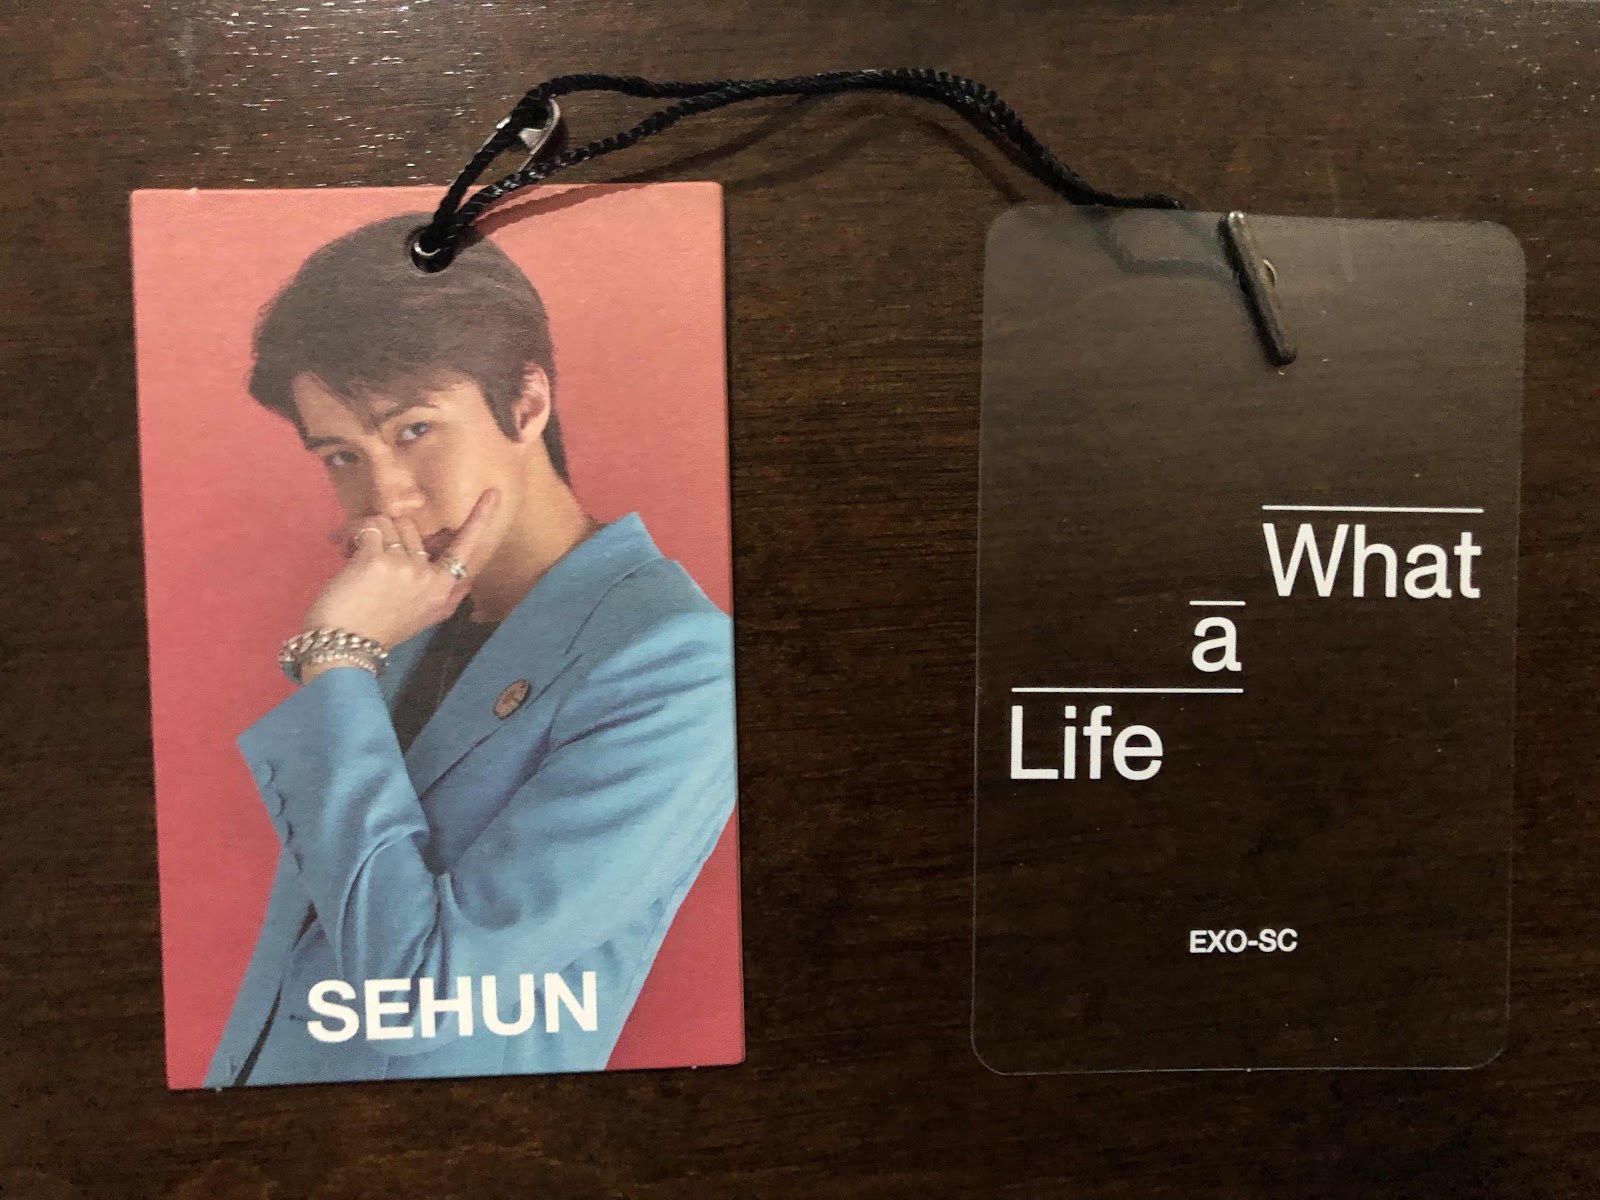
A folded poster of Sehun...Look at that beautiful boy!
A tag.
A book that lays flat.
A CD
A postcard sized card.

A card of Chanyeol, that giant baby knows how to take a picture ❤

A sticker.

And for some reason this version had two cards, not that I am complaining lol.
All that was in the red version.
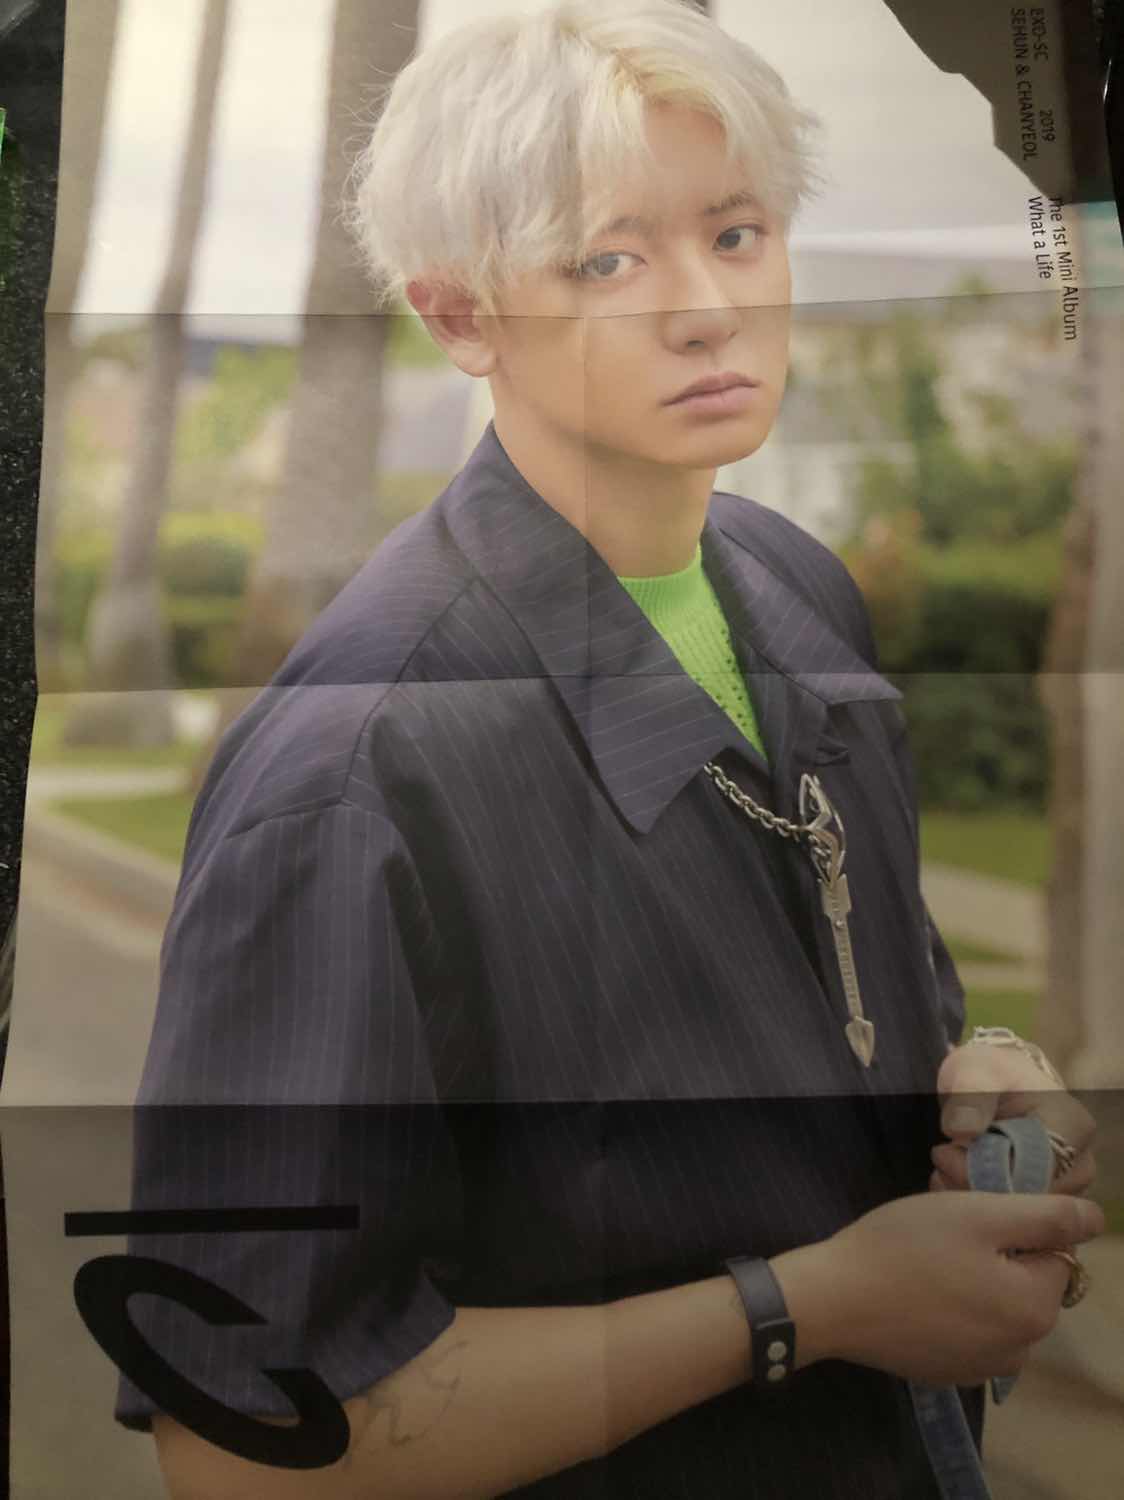
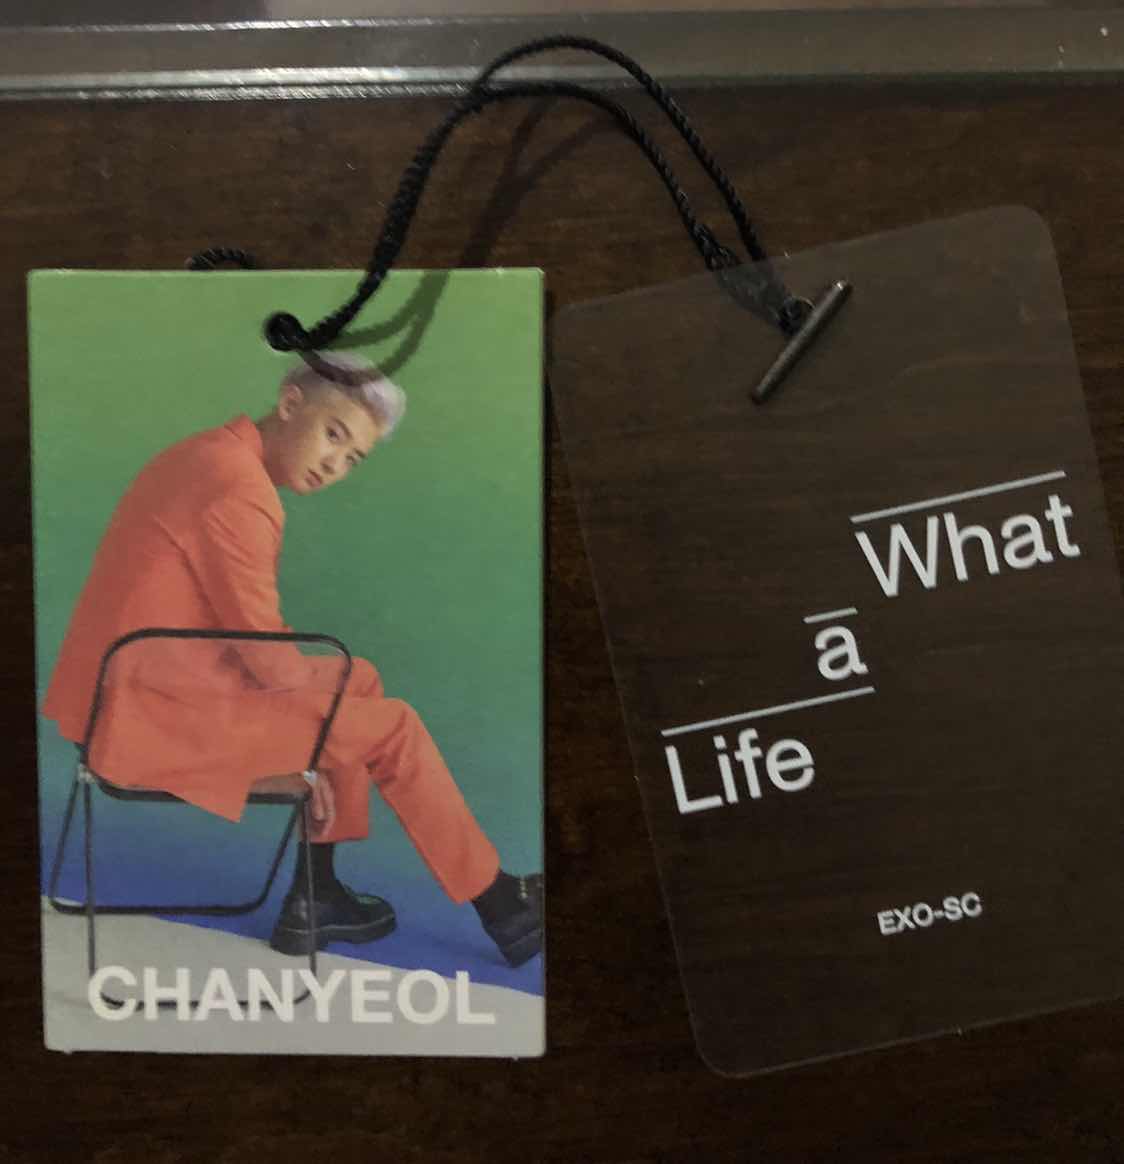
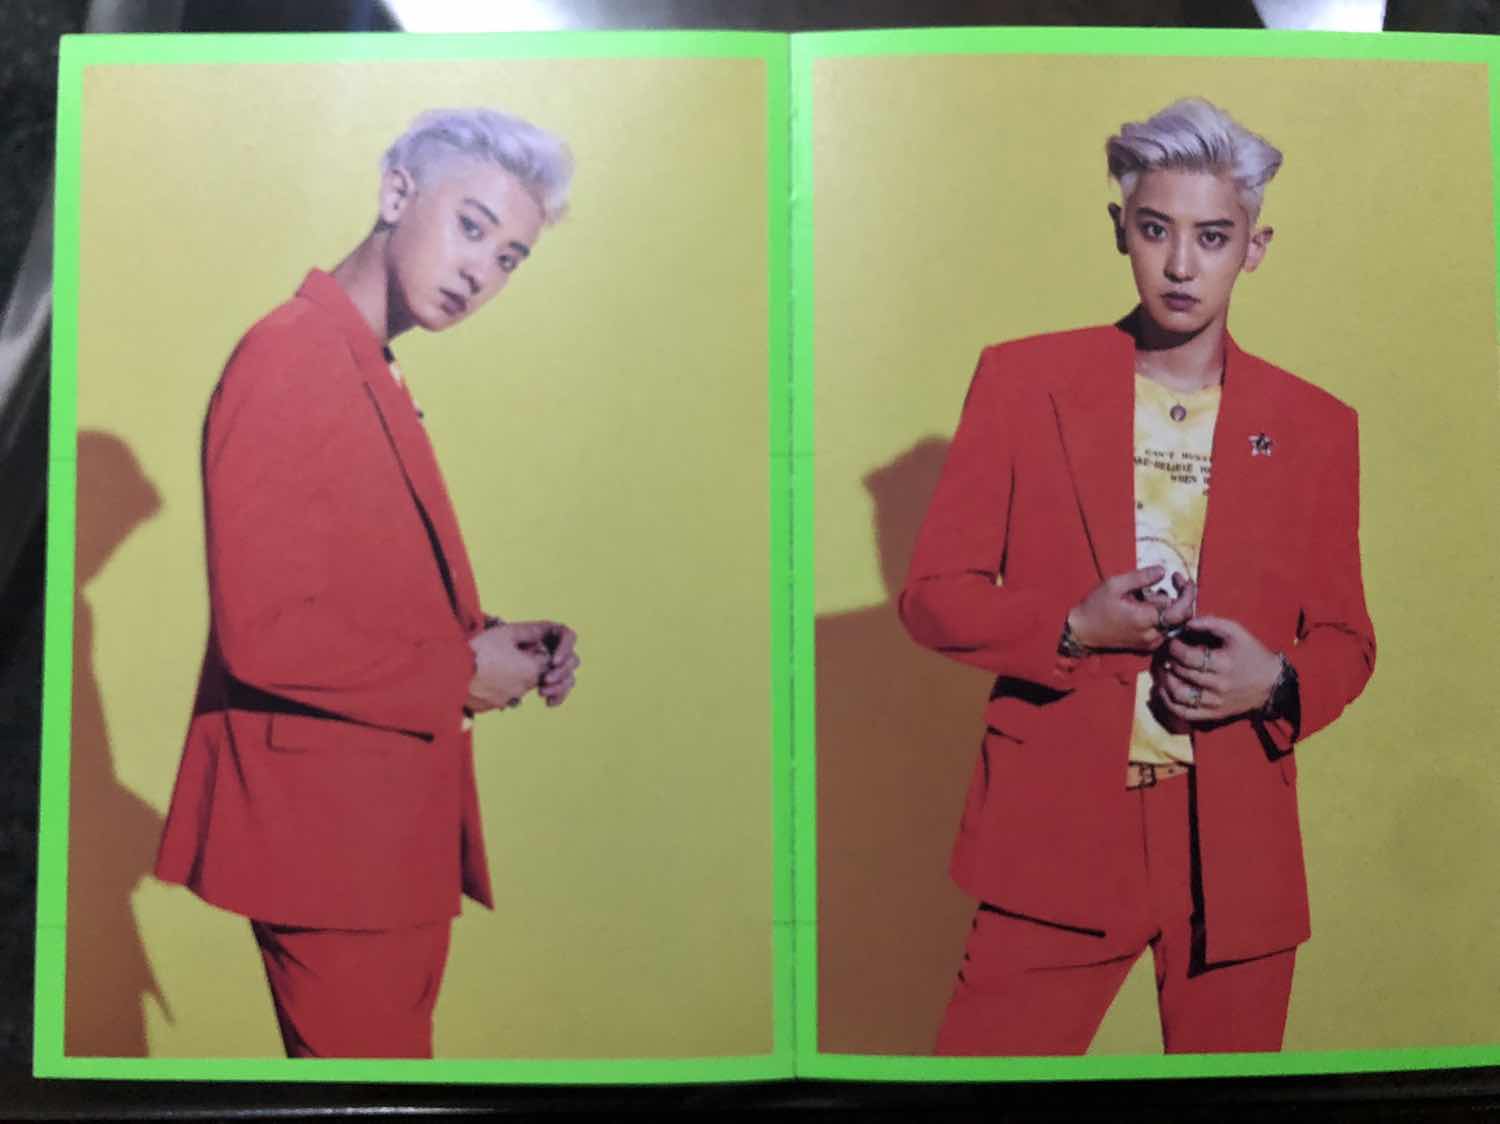
A folded poster of Chanyeol, and like I said previously, our happy virus really knows how to take a photo.
A tag.
A book that lays flat.
A CD.
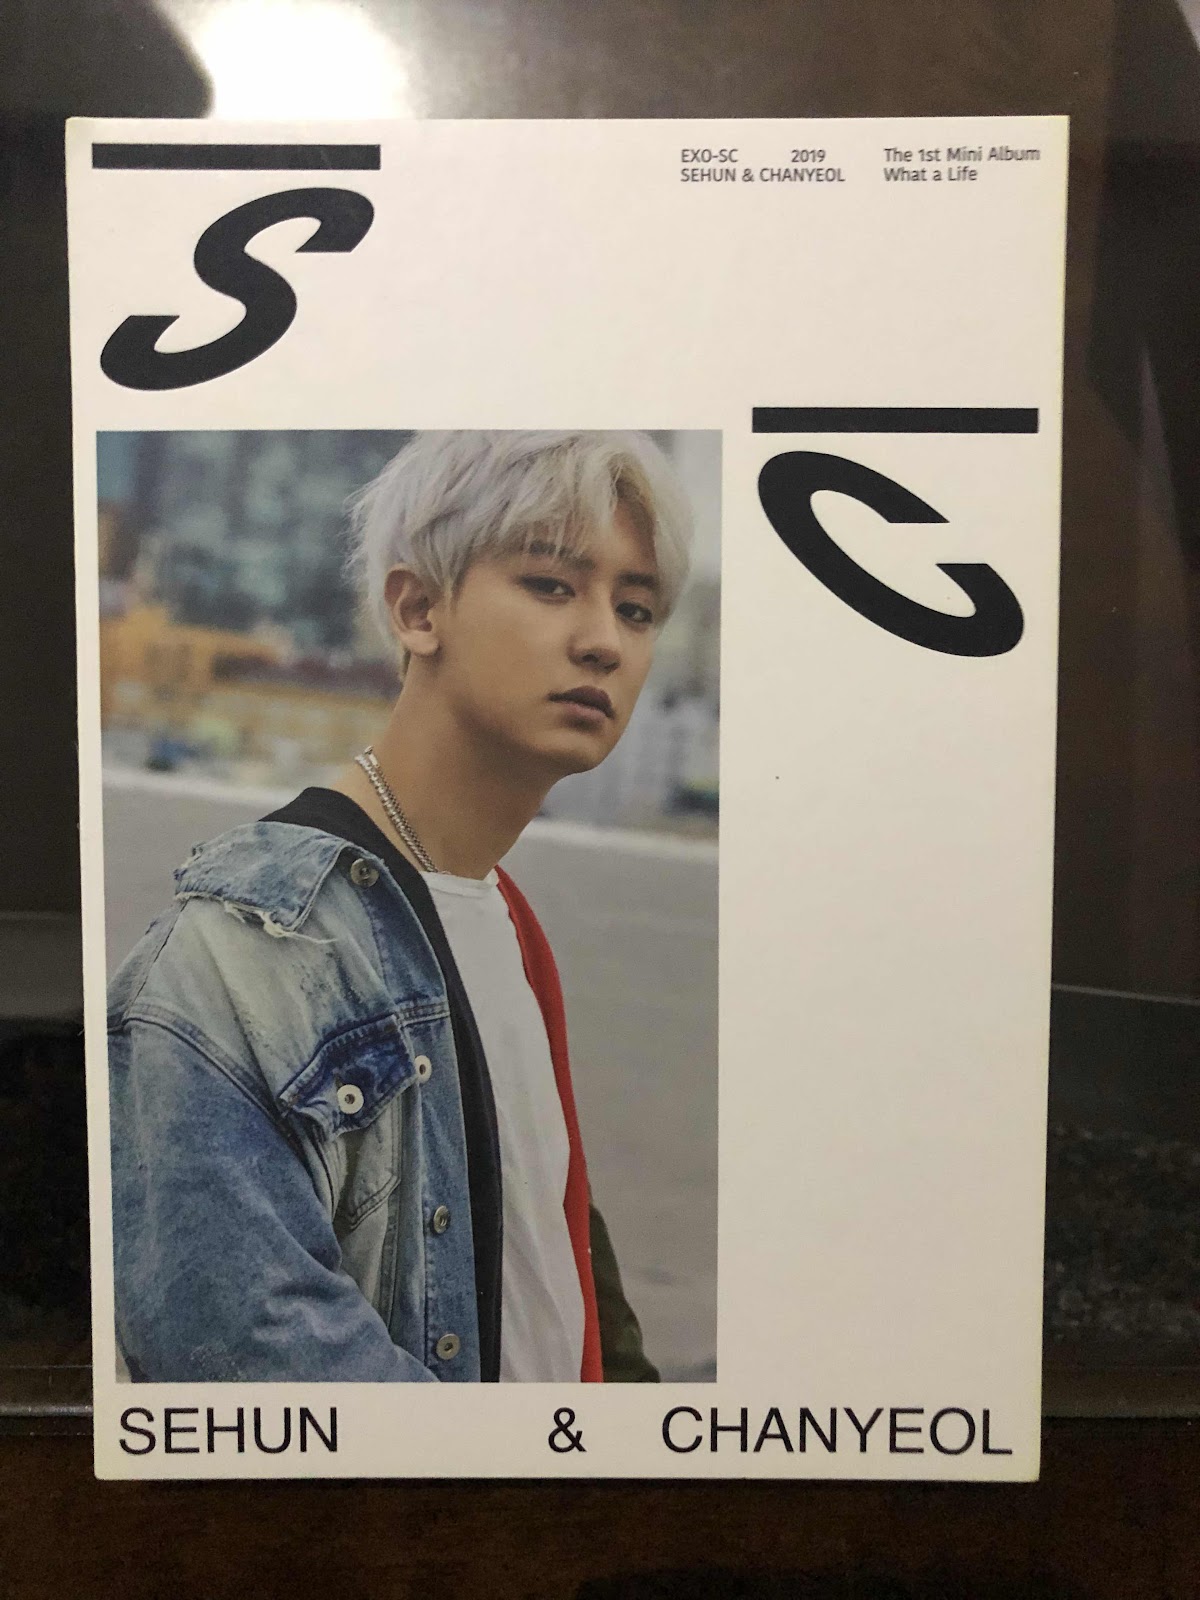
The cover of the book.
A sticker.
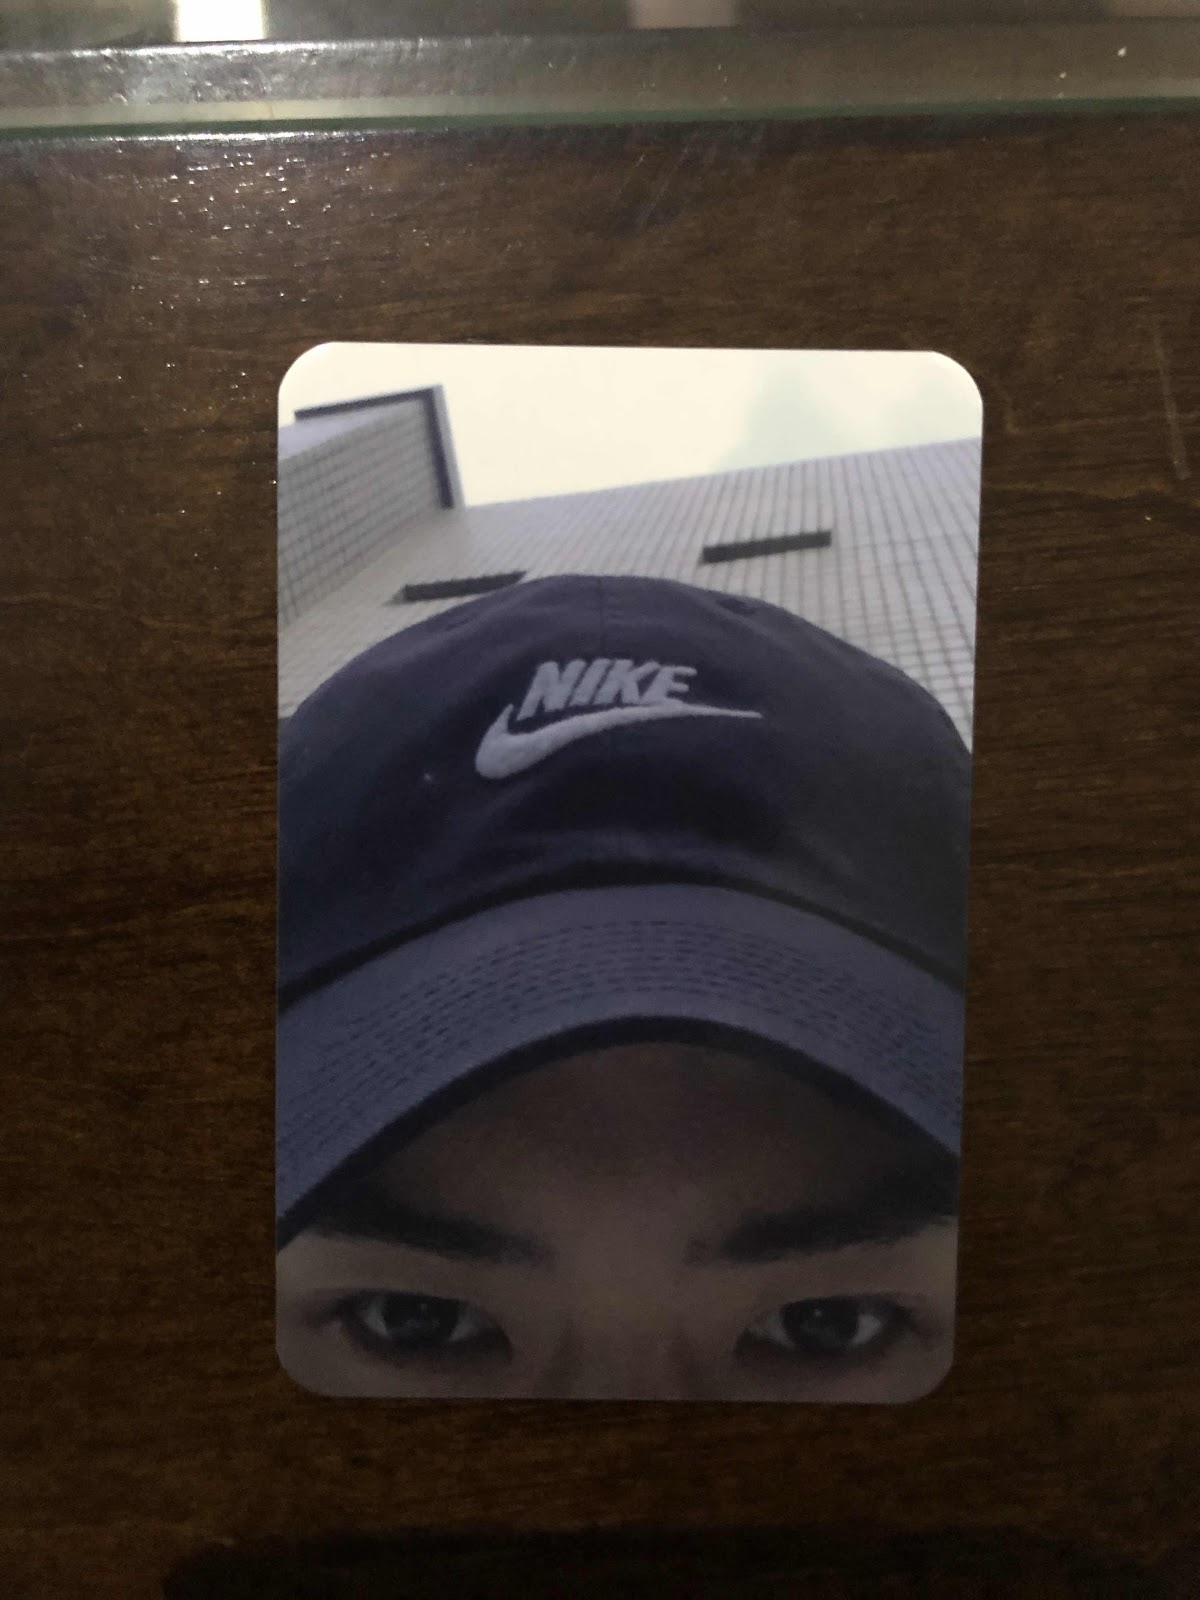
A card of Sehun. This reminds me of a picture that D.O. took for Universe if I am not mistaken...looks like Sehun already misses his hyung.
A postcard sized card.
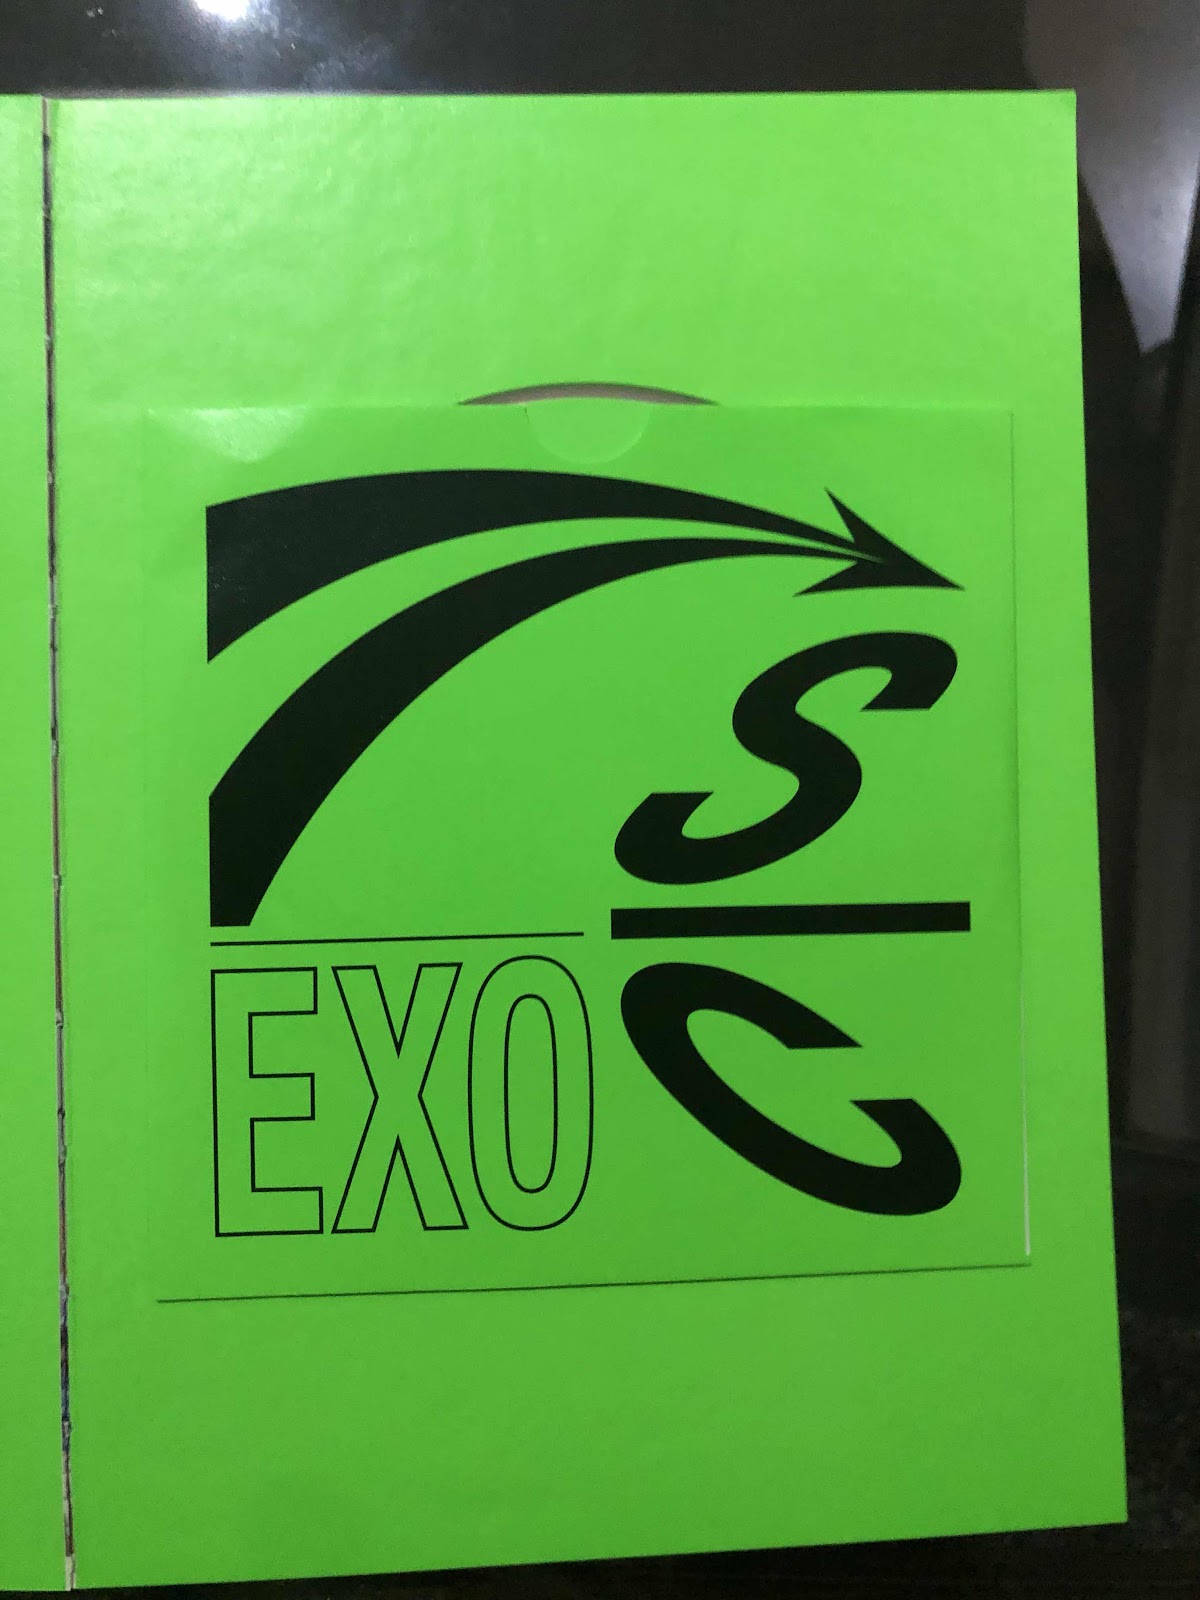
All that is the green version.
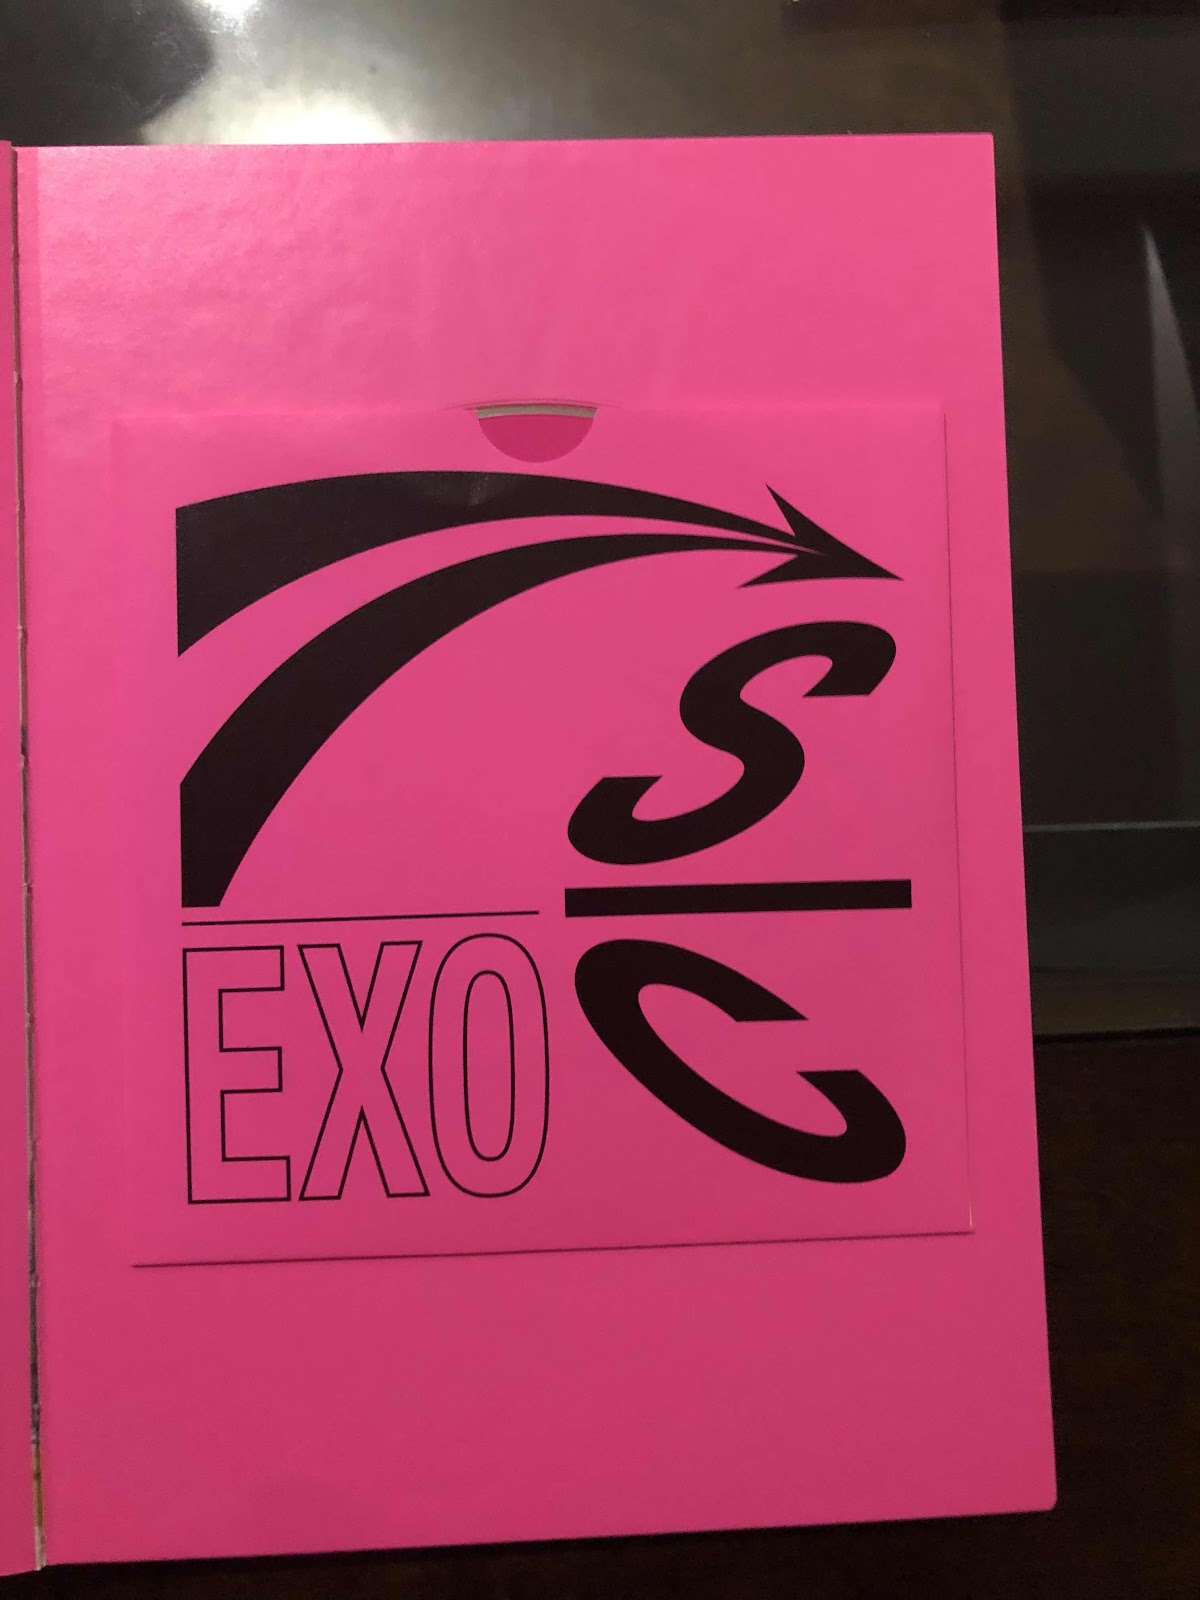
I love how the Chanyeol version had a lot of Sehun in it while the Sehun version had a lot of Chanyeol in it. I wasn't happy with SM because I felt like they short changed the boys with the logo and the versions but then when I saw the actual copies and heard the songs I felt like the versions fit well with the concept the boys were going for.
And this is it for the July Haul.