
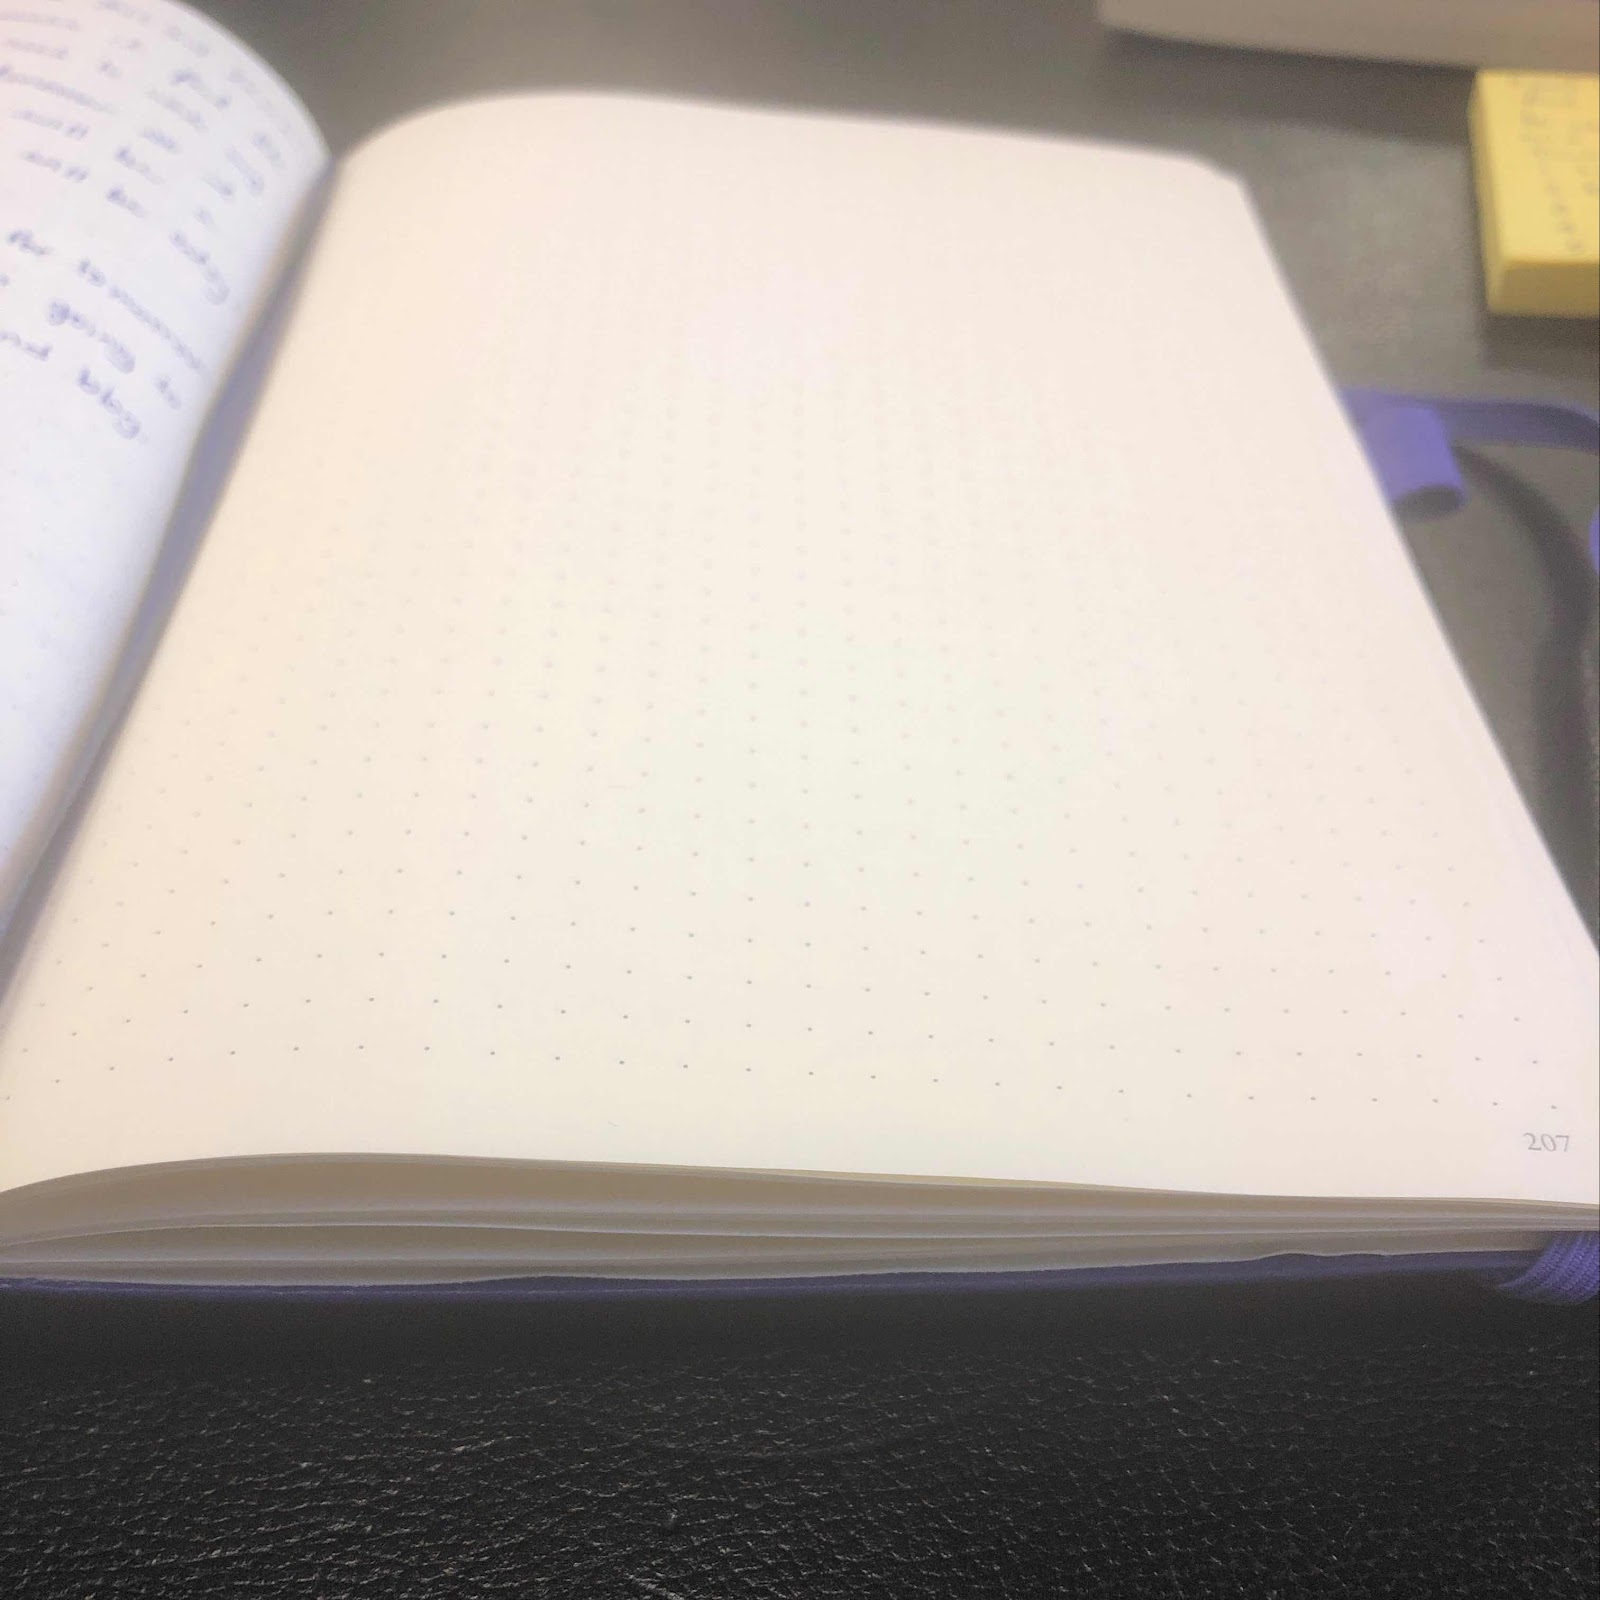
My Leuchtturn 1917 journal is almost at its end. So I decided that July was going to be the last month in this journal. I didn't want half a month in one and then the other half in another.
The notebooks I backed on kickstarter I'm not sure when I'll get so I decided to re-purpose a notebook that I have and know I'm not going to use as intended. (*update: They actually arrived and I will be doing a post on them soon but since I had already decided to use this journal for the rest of the year I'm going to set them aside for next year.)


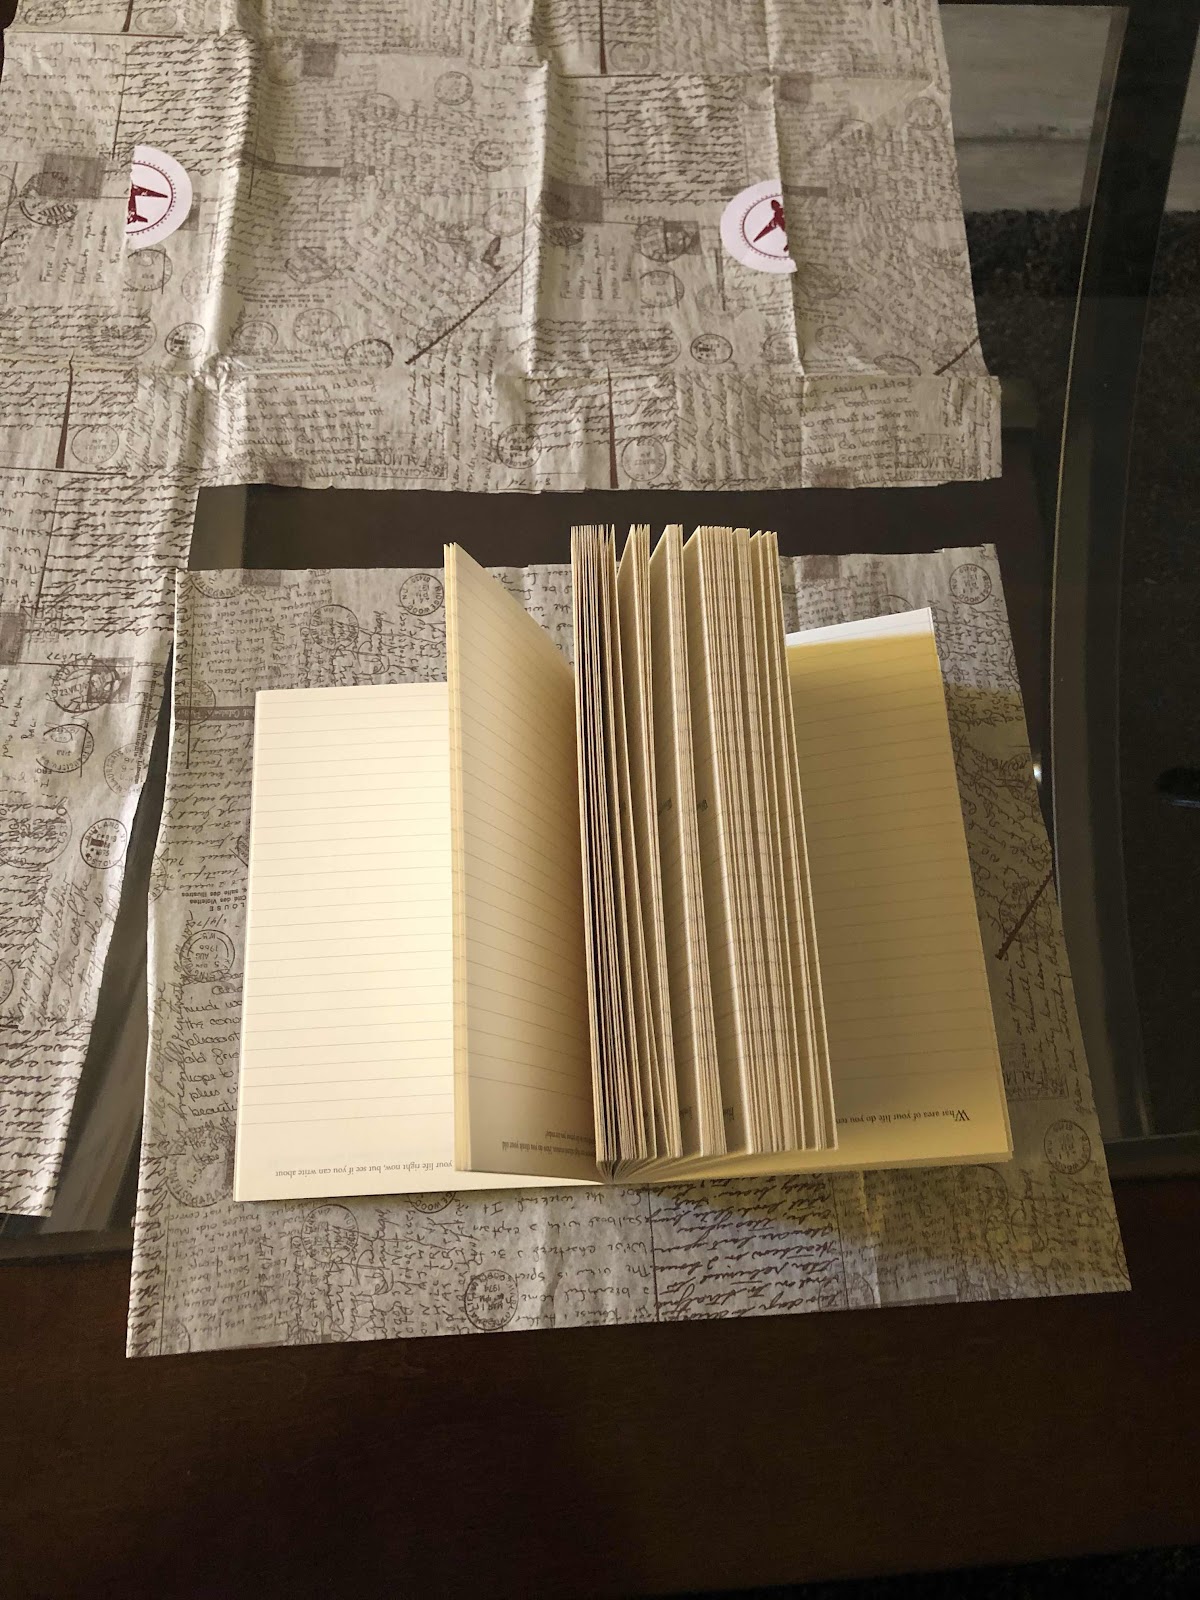
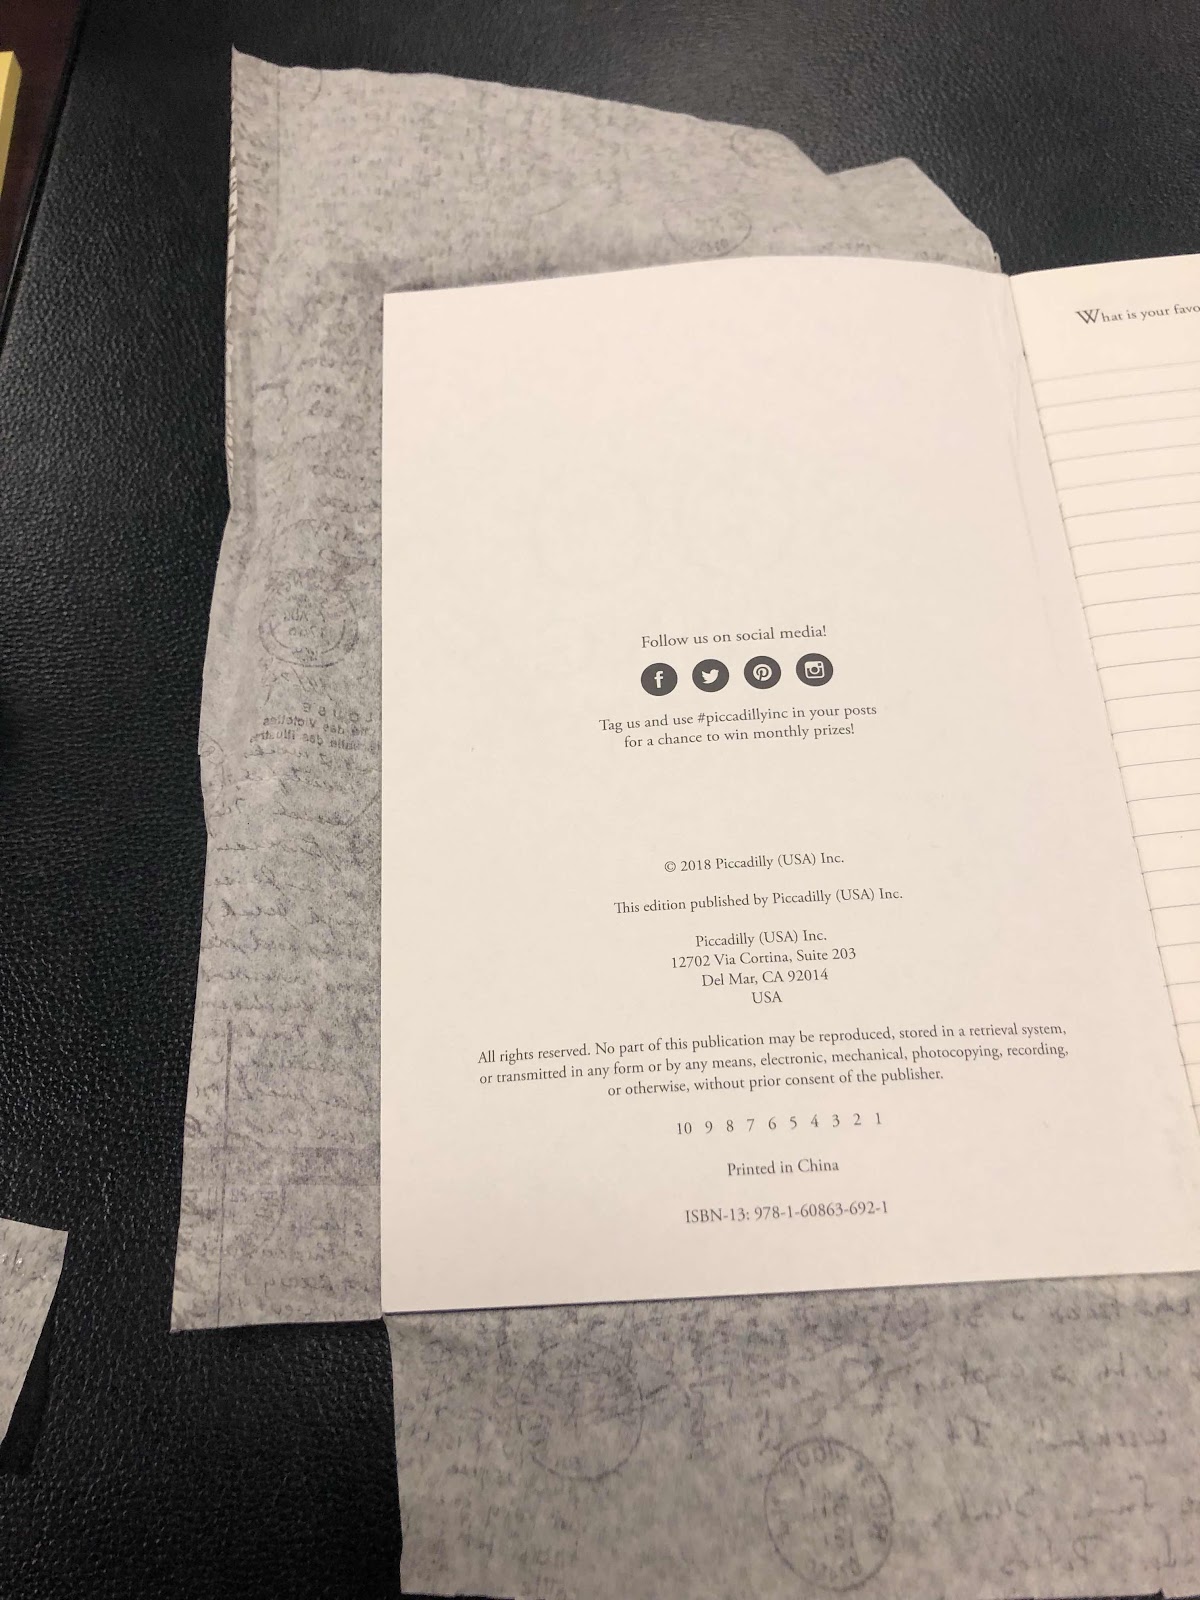
I don't do well with writing prompts and I honestly don't remember if I got this from a subscription box or if I bought it myself thinking to give it a try and failed at it. Anyway...it is getting a make over.
The first thing I did was cut the jacket and take out the slice that is the spine. Then I cut the pen that was on the jacked because I was sure I wanted to use it somehow.


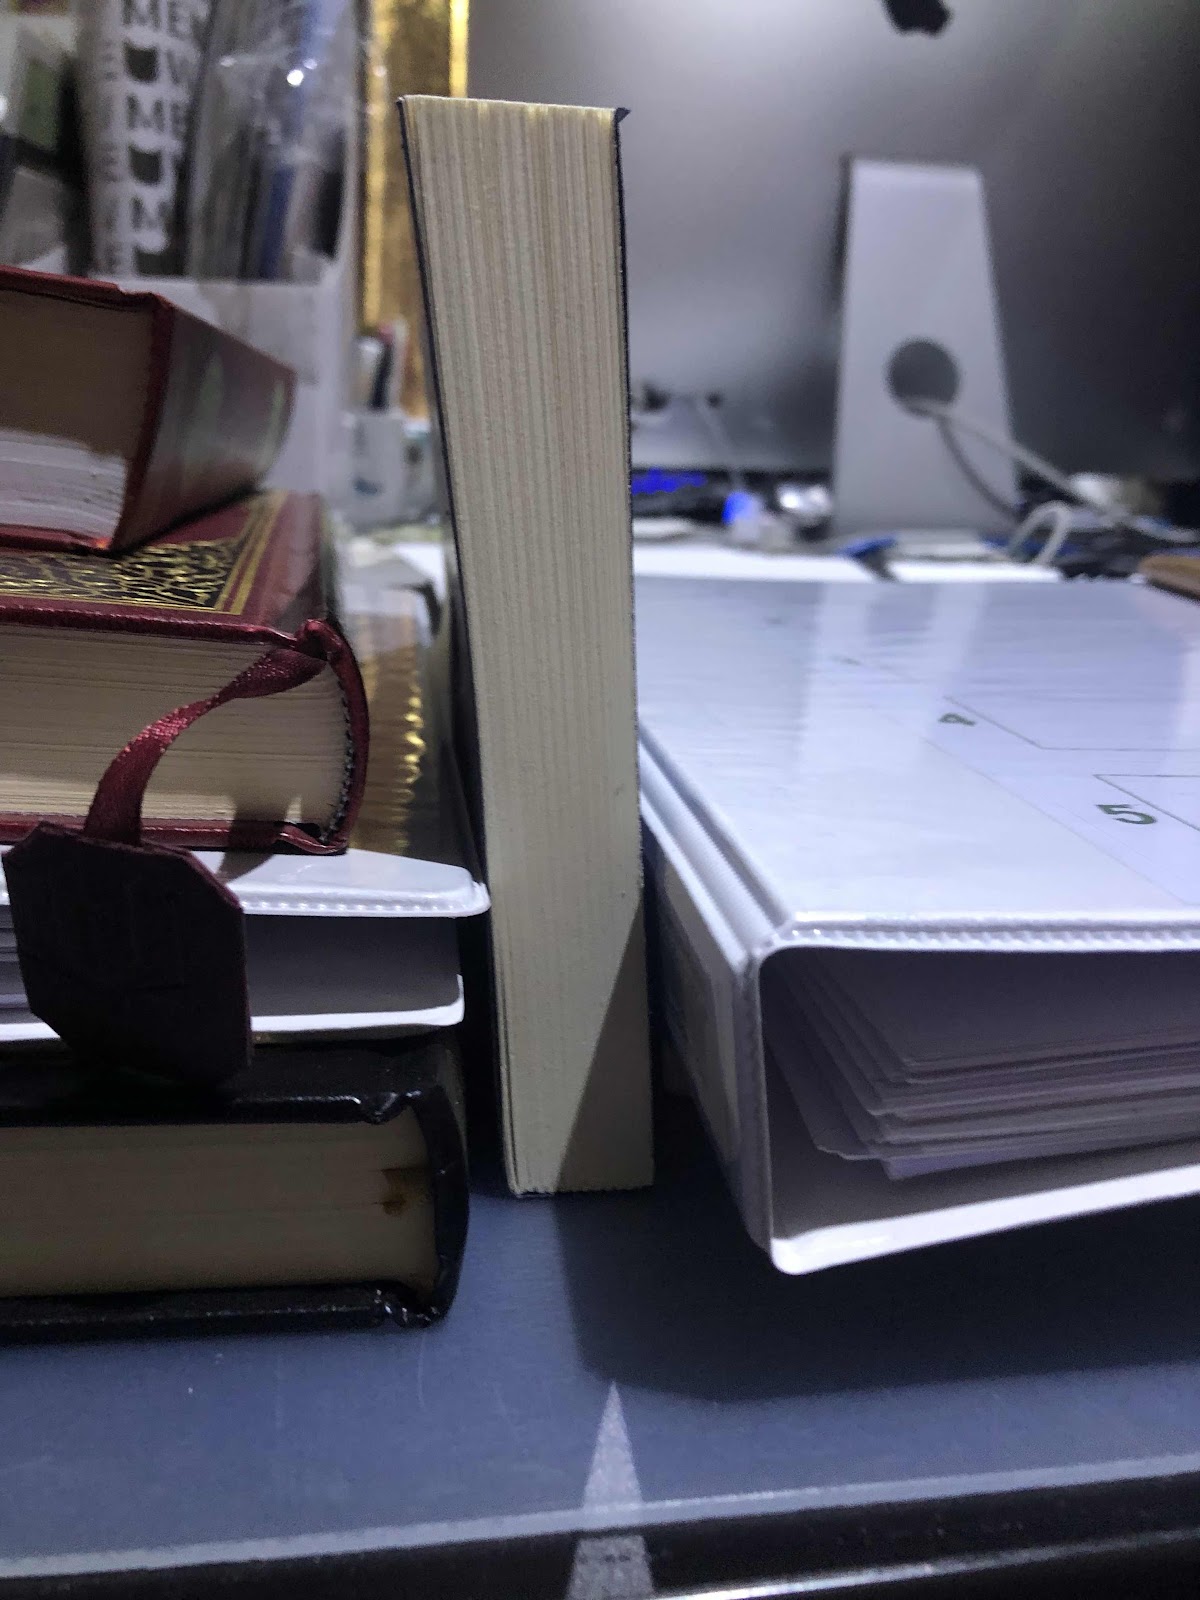
I took the spine and using PVC glue, glued it to the exposed spine of the notebook. I stood it up between some books so that its weight will help the spine stick. I have a bookpress, but it is useless in this situation. I left it like that over night.
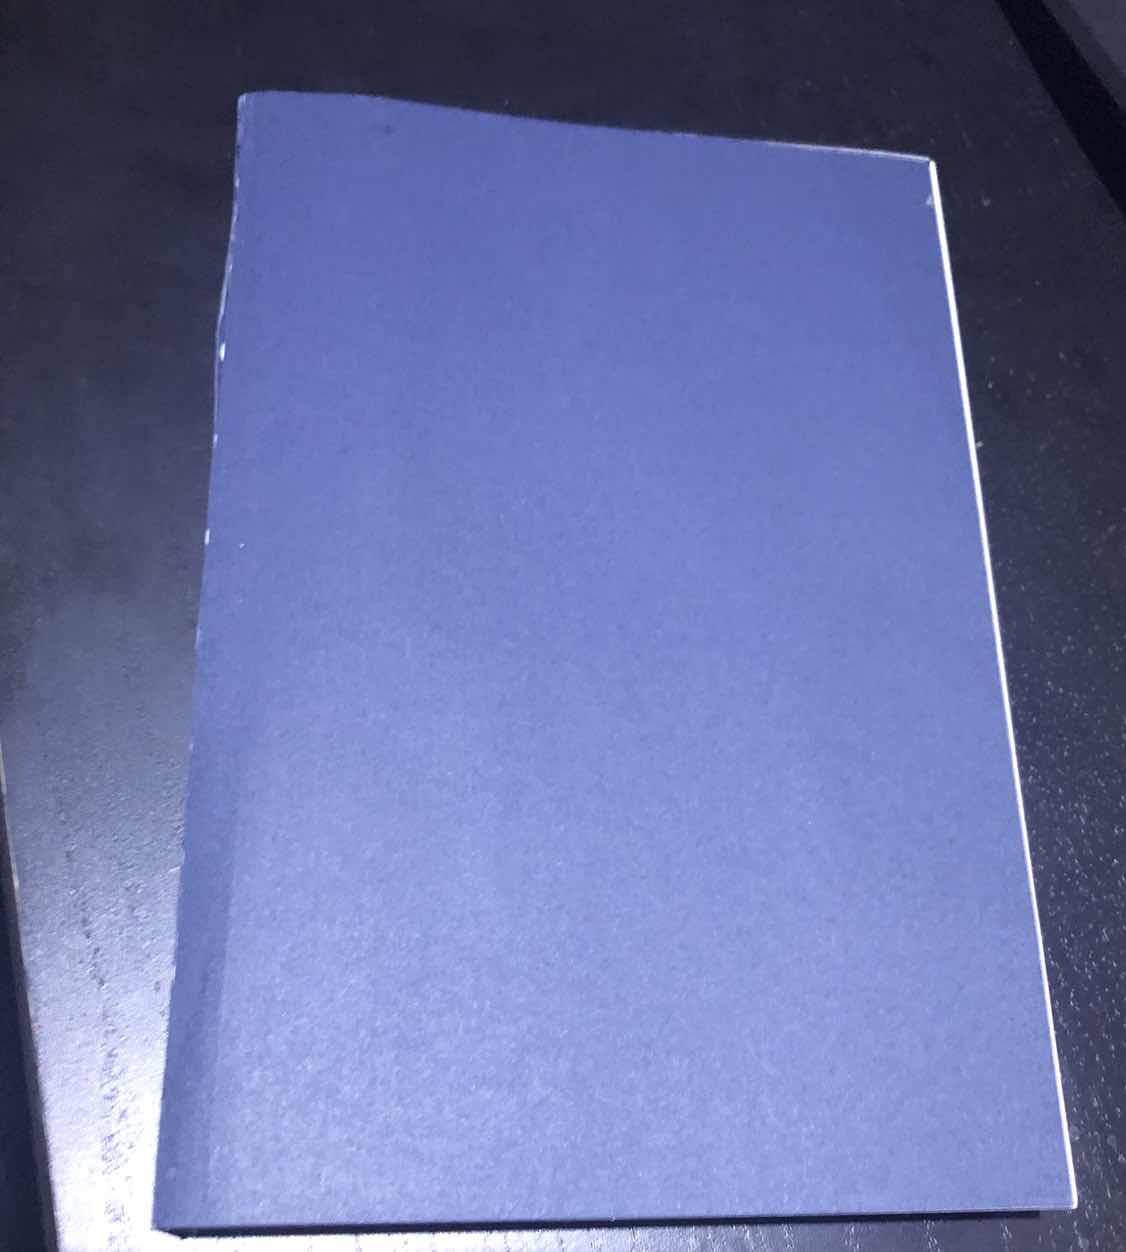

As you can see the spine and covers of the notebook are not perfect but that is okay since it will be covered anyway.
Next I'm going to decorate the covers. I'm going to use some decorated light paper and modpodge.

This paper was covering some journal that I got as a gift or maybe in a subscription box, I can't remember now and I loved it so much I kept it. I’m going to use it to cover the notebook.
The first thing I did was measure out the paper and cut it to a little bit more than necessary (in case of accidents).

Next I put a scrap piece of paper between the first page and the cover so that the modpodge doesn’t get on it.
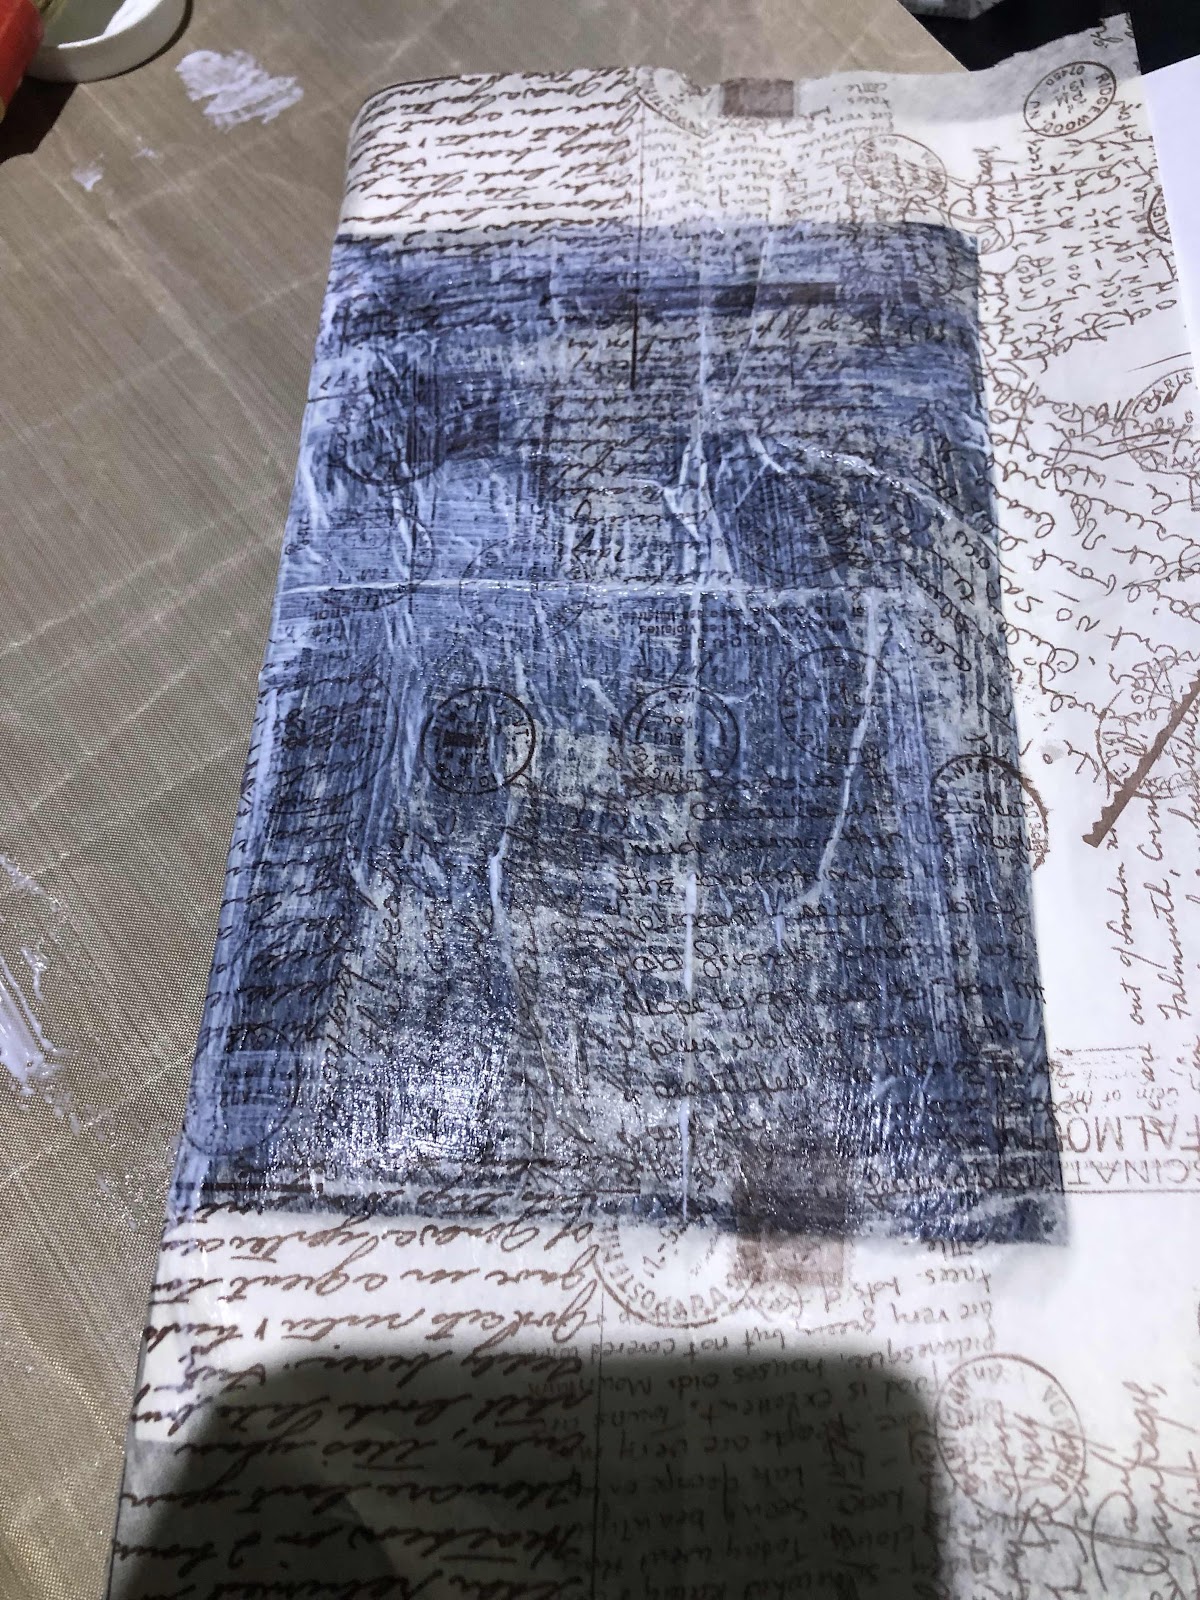
Then I applied the modpodge to one cover and the spine and stuck the paper on it. I’m going to wait for it to dry before I do the other side.
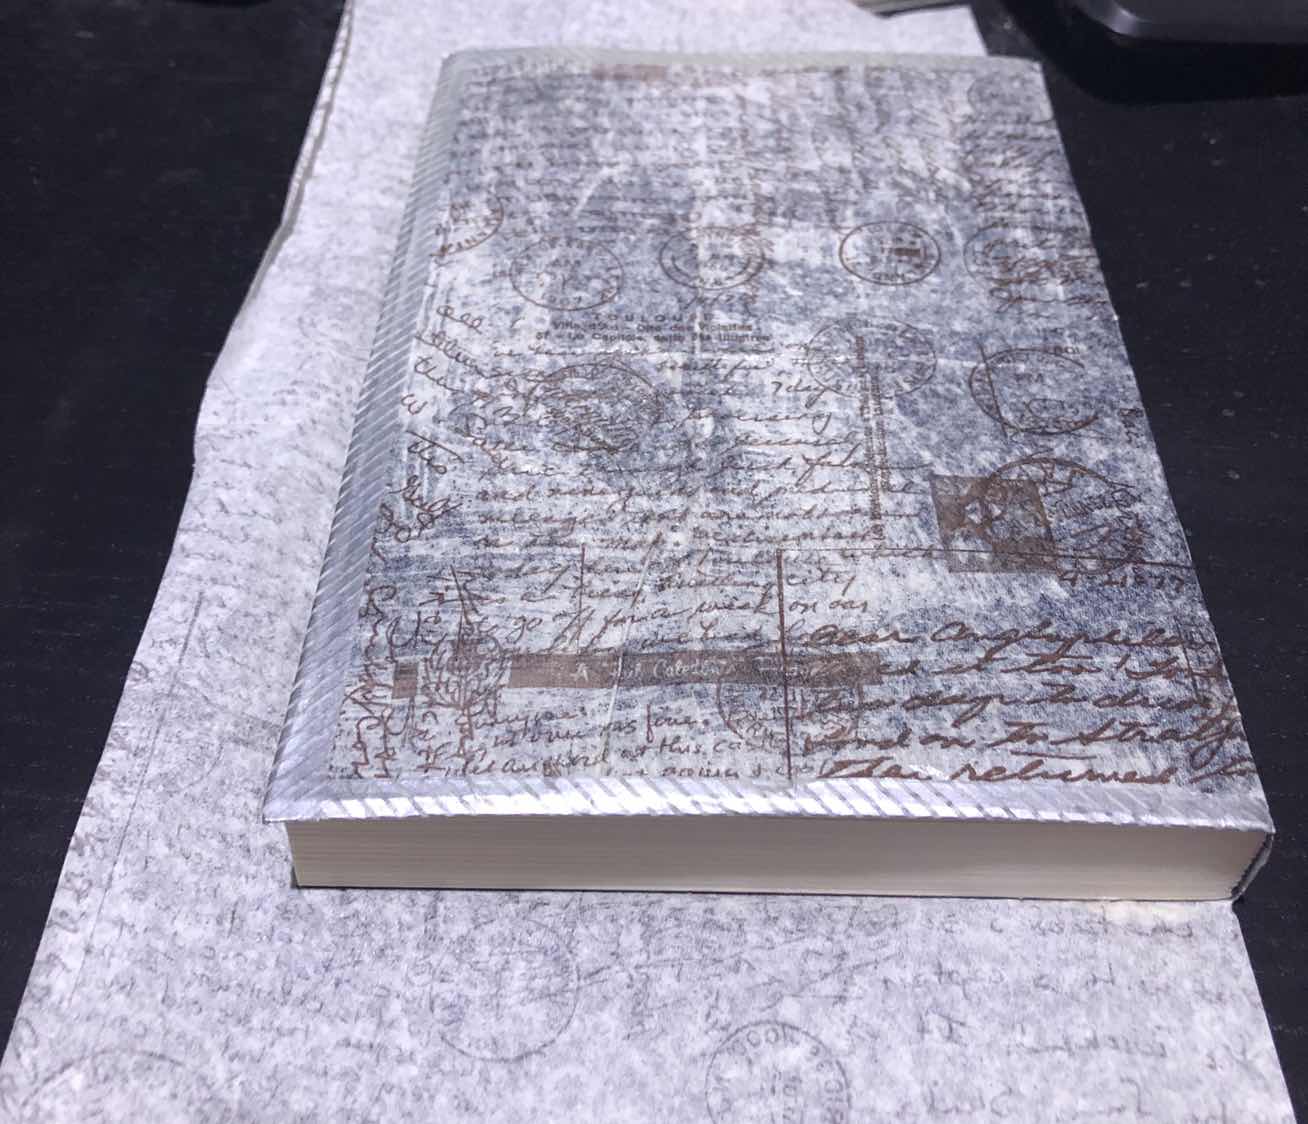
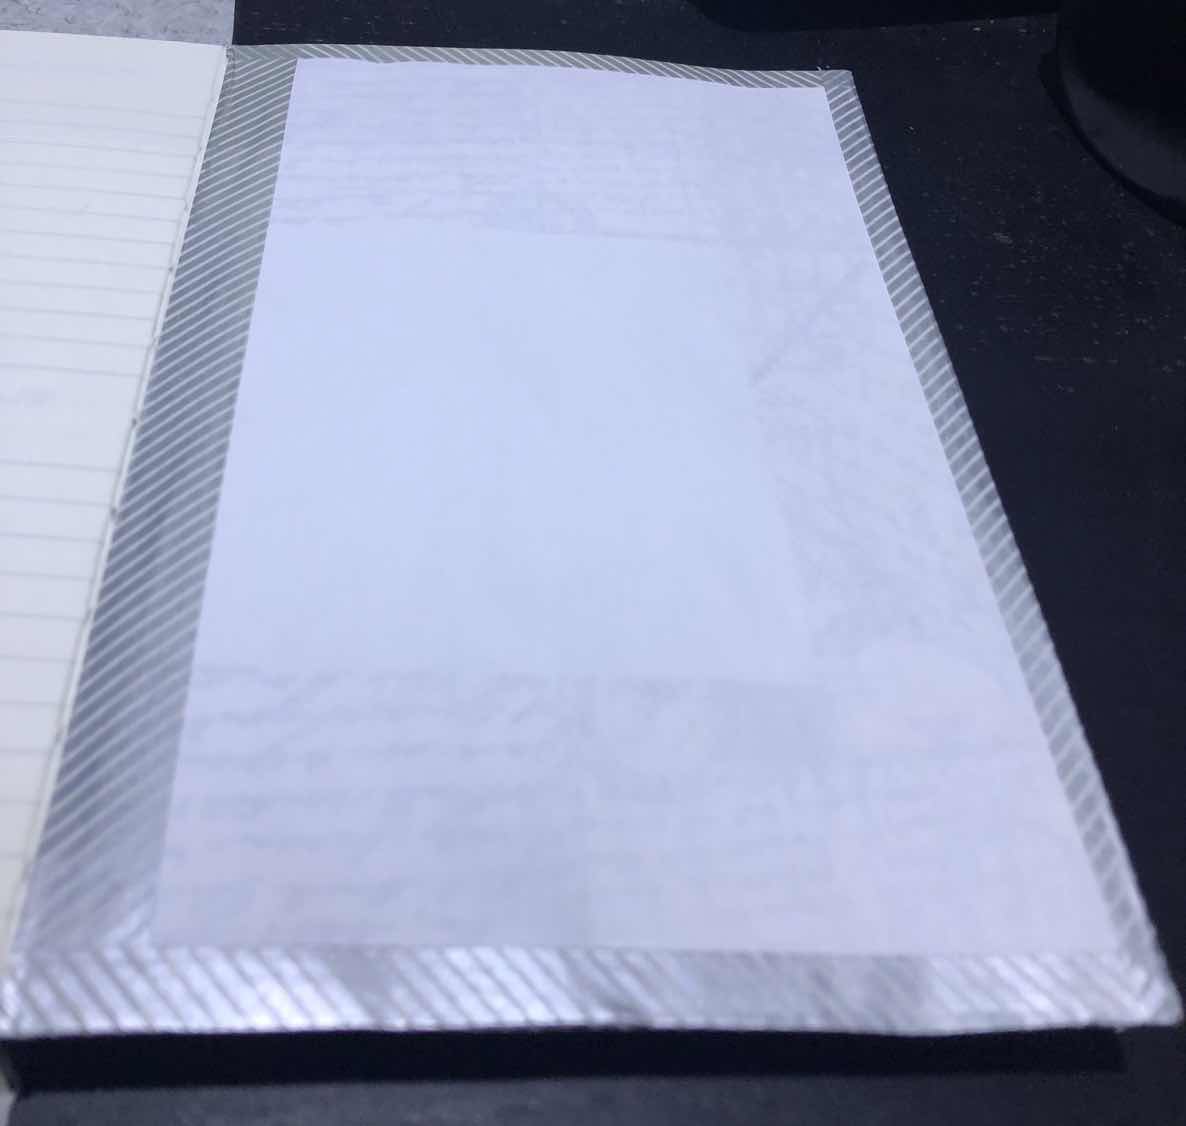
Now both sides have modpodge on them and I already folded the edges of the back cover. This is when I realized that the cover needed reinforcement so I added a white sheet to the inside of the cover and then I decided I needed to line the edges so I used some washi tape.
I’m not too concerned with it being neat because I like the messy look here.

Now I’m going to start on the front cover.

The first thing I did was cut the corners and trim the extra long edges.

I decided not to use modpodge on the cover so I used a double sided tape to tape the edges down. Next I added a white page to strengthen the cover only for the double sided tape to finish on me and I didn’t have a spare one (I did this at work) so I ended up using modpodge to stick it down.

Finally, I used washi tape on the edges (this looks neater than the back cover) Now I’m just going to apply a final coat of modpodge to the cover before adding embellishments.
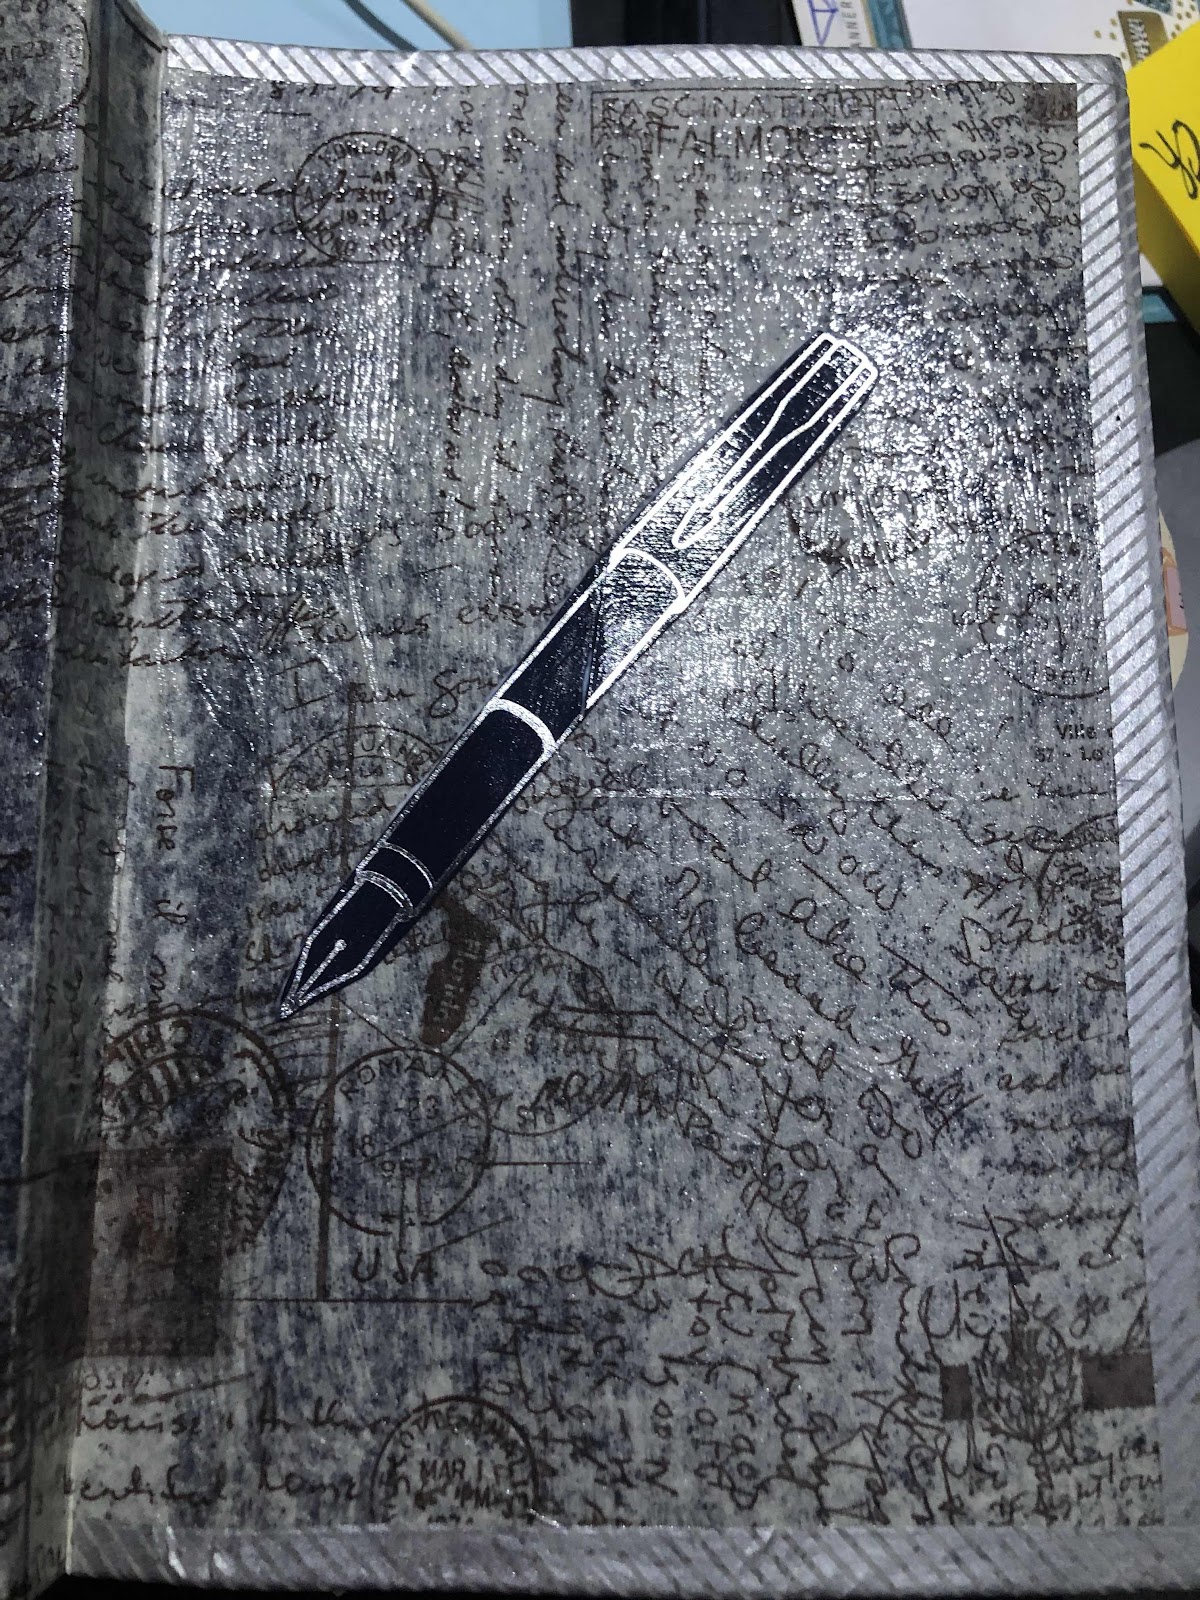
I was going to add the pen to the spine of the notebook and add my stickers and decorations to the front and back covers. However, I loved the look of the covers so much I decided to add the pen to the front of the cover and leave the back alone. I was also going to add some ribbons as place holders and for a closure for the notebook but in the end decided against all that because I hated the place holders in my journal and I didn’t want to ruin the covers by cutting them to add the closure ribbons. Instead, I went looking for some paper clips that I’ve been saving for just such an occasion.

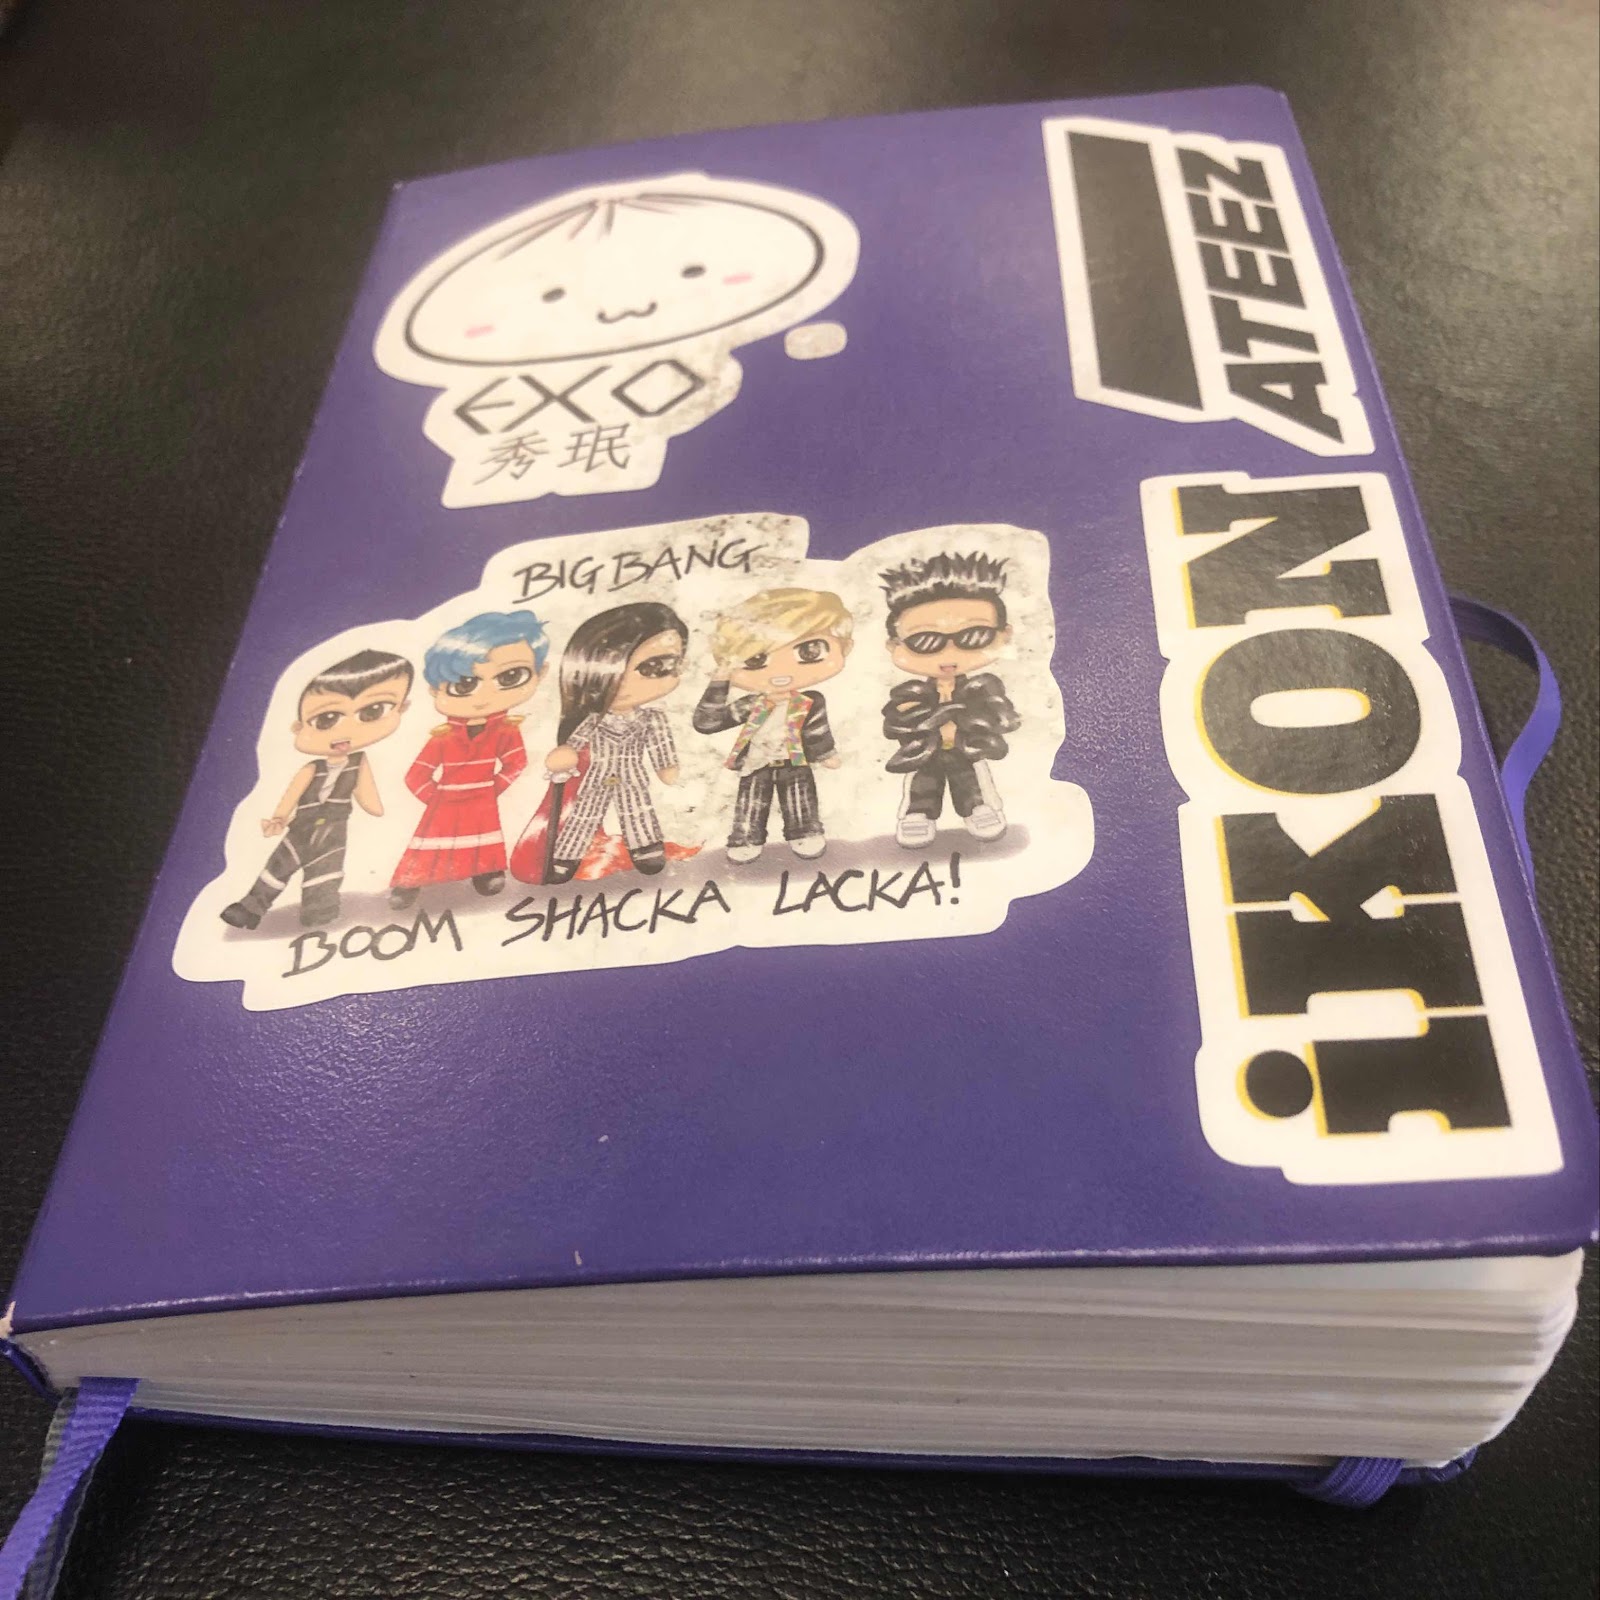
I added stickers to the inside of the covers. For me they seem too empty, and being a KPOP junkie I added stickers that I made...

Some that came with the seasonal greetings from my favorite group...
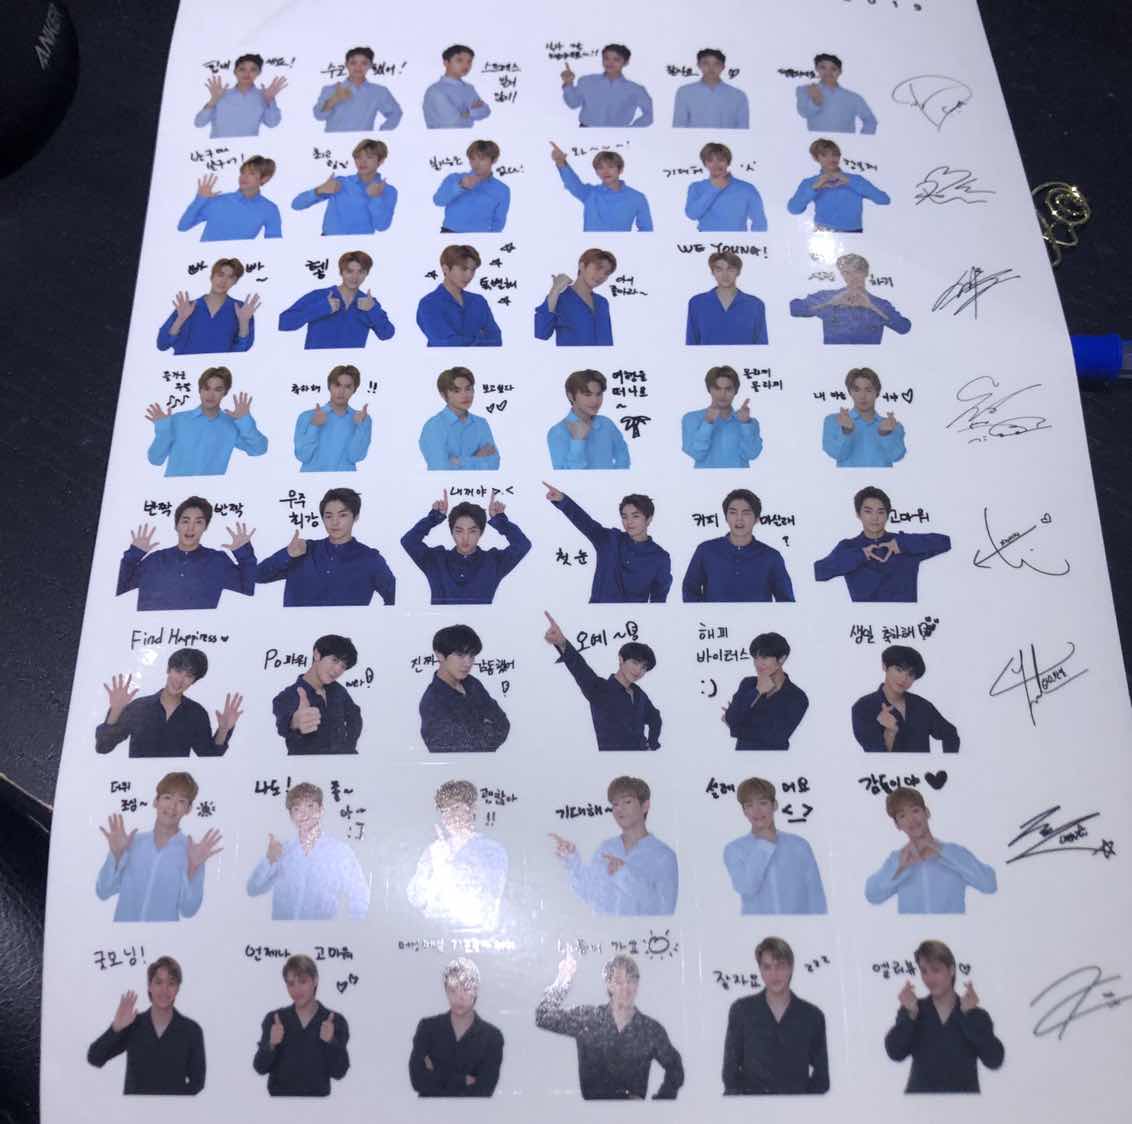
Some that came with the album of one of my favorites...

And some that I bought online...

So this is the inside of the front cover...

This is the inside of the back cover...

And it is done my new journal is born.

Back cover and inside back cover.

Front cover and inside front cover.
Front cover and inside front cover.
All in all, it took me four days to work on this journal because I needed to give modpodge time to fully set. I love the final product and I’m glad I did this. I hope you enjoyed the journey with me.
No comments:
Post a Comment